
Газонокосилки Makita ELM4621 - инструкция пользователя по применению, эксплуатации и установке на русском языке. Мы надеемся, она поможет вам решить возникшие у вас вопросы при эксплуатации техники.
Если остались вопросы, задайте их в комментариях после инструкции.
"Загружаем инструкцию", означает, что нужно подождать пока файл загрузится и можно будет его читать онлайн. Некоторые инструкции очень большие и время их появления зависит от вашей скорости интернета.


14
ENGLISH
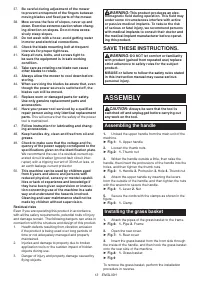
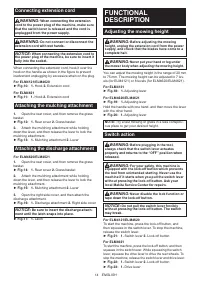
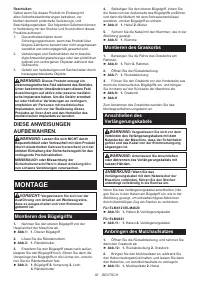
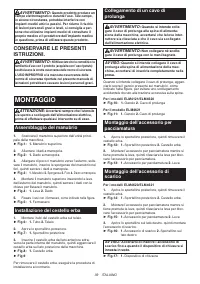
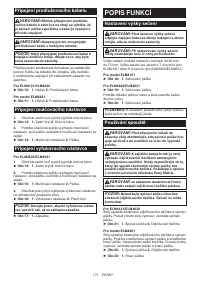
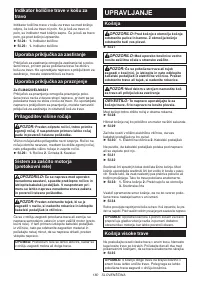
Connecting extension cord
WARNING:
When connecting the extension
cord to the power plug of the machine, make sure
that the switch lever is released and the cord is
unplugged from the power supply.
WARNING:
Do not connect or disconnect the
extension cord with wet hands.
NOTICE:
When connecting the extension cord to
the power plug of the machine, be sure to insert it
fully into the socket.
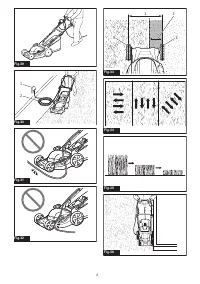
When connecting the extension cord, hook it over the
hook on the handle as shown in the figure to prevent
inadvertent unplugging by excessive strain on the plug.
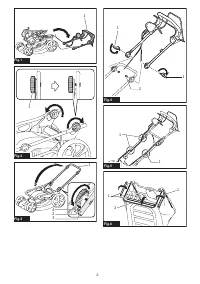
For ELM4121/ELM4620
►
Fig.10:
1.
Hook
2.
Extension cord
For ELM4621
►
Fig.11:
1.
Hook
2.
Extension cord
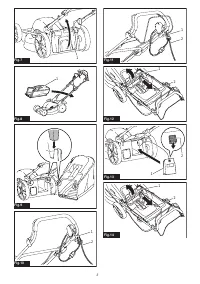
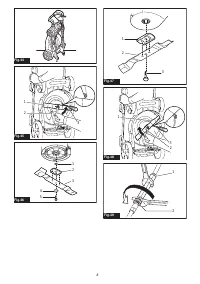
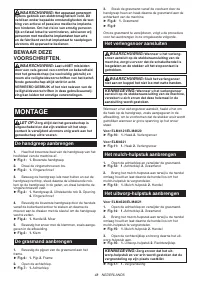
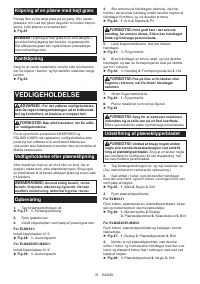
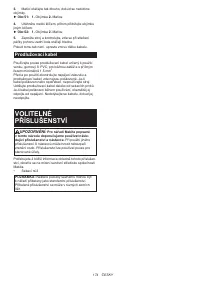
Attaching the mulching attachment
1.
Open the rear cover, and then remove the grass
basket.
►
Fig.12:
1.
Rear cover
2.
Grass basket
2.
Attach the mulching attachment while holding
down the lever, and then release the lever to lock the
mulching attachment.
►
Fig.13:
1.
Mulching attachment
2.
Lever
Attaching the discharge attachment
For ELM4620/ELM4621
1.
Open the rear cover, and then remove the grass
basket.
►
Fig.14:
1.
Rear cover
2.
Grass basket
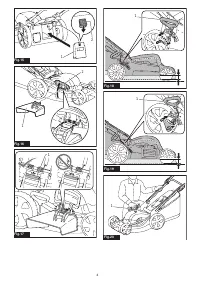
2.
Attach the mulching attachment while holding
down the lever, and then release the lever to lock the
mulching attachment.
►
Fig.15:
1.
Mulching attachment
2.
Lever
3.
Open the right side cover, and then attach the
discharge attachment.
►
Fig.16:
1.
Discharge attachment
2.
Right side cover
NOTICE:
Be sure to insert the discharge attach-
ment until the latch snaps into place.
►
Fig.17:
1.
Latch
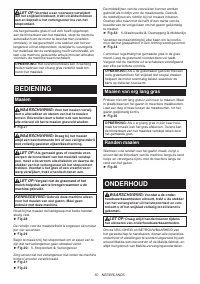
FUNCTIONAL
DESCRIPTION
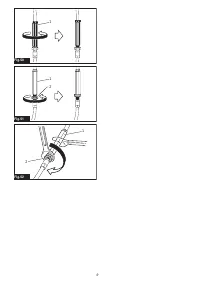
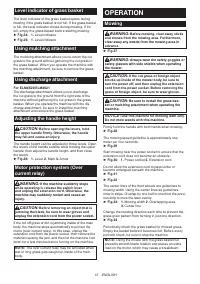
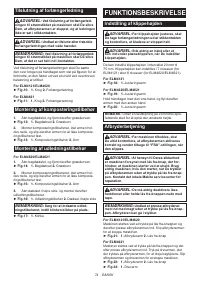
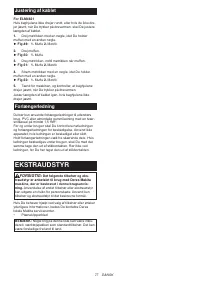
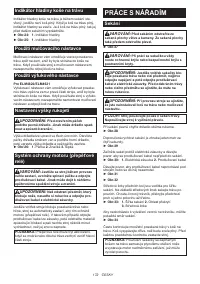
Adjusting the mowing height
WARNING:
Before adjusting the mowing
height, unplug the extension cord from the power
supply, and check that the blades have come to a
complete halt.
WARNING:
Never put your hand or leg under
the mower body when adjusting the mowing height.
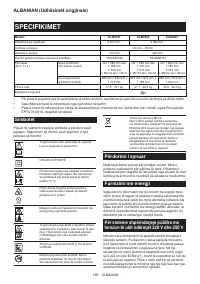
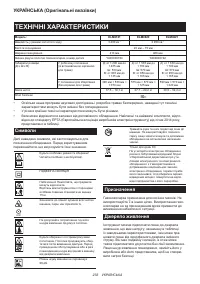
You can adjust the mowing height in the range of 20 mm
to 75 mm. The mowing height can be adjusted in 7 lev
-
els (for ELM4121) or 8 levels (for ELM4620/ELM4621).
For ELM4121
►
Fig.18:
1.
Adjusting lever
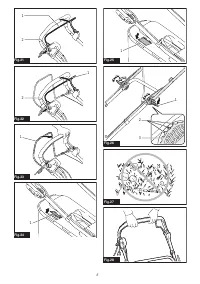
For ELM4620/ELM4621
►
Fig.19:
1.
Adjusting lever
Hold the handle with one hand, and then move the lever
with the other hand.
►
Fig.20:
1.
Adjusting lever
NOTE:
Try a test mowing of grass in a less conspicu
-
ous place to get your desired height.
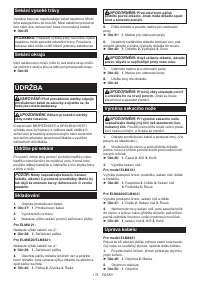
Switch action
WARNING:
Before plugging in the tool,
always check that the switch lever actuates
properly and returns to the “OFF” position when
released.
WARNING:
For your safety, this machine is
equipped with the lock-off button which prevents
the tool from unintended starting. Never use the
machine if it starts when you pull the switch lever
without pressing the lock-off button. Ask your
local Makita Service Center for repairs
.
WARNING:
Never disable the lock function or
tape down the lock-off button.
NOTICE:
Do not pull the switch lever forcibly
without pressing the lock-off button. The switch
may break.
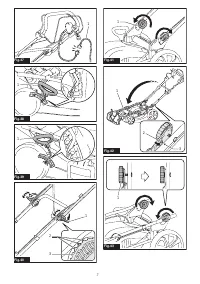
For ELM4121/ELM4620
To start the machine, press the lock-off button, and
then squeeze in the switch lever. To stop the machine,
release the switch lever.
►
Fig.21:
1.
Switch lever
2.
Lock-off button
For ELM4621
To start the machine, press the lock-off button, and then
squeeze in the switch lever. While squeezing the switch
lever, squeeze the drive lever to drive the rear wheels. To
stop the machine, release the switch lever and drive lever.
►
Fig.22:
1.
Switch lever
2.
Lock-off button
►
Fig.23:
1.
Drive lever


