
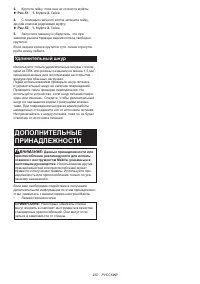
Газонокосилки Makita ELM4621 - инструкция пользователя по применению, эксплуатации и установке на русском языке. Мы надеемся, она поможет вам решить возникшие у вас вопросы при эксплуатации техники.
Если остались вопросы, задайте их в комментариях после инструкции.
"Загружаем инструкцию", означает, что нужно подождать пока файл загрузится и можно будет его читать онлайн. Некоторые инструкции очень большие и время их появления зависит от вашей скорости интернета.


13
ENGLISH
37.
Be careful during adjustment of the mower
to prevent entrapment of the fingers between
moving blades and fixed parts of the mower.
38.
Mow across the face of slopes, never up and
down. Exercise extreme caution when chang-
ing direction on slopes. Do not mow exces-
sively steep slopes.
39.
Do not wash with a hose; avoid getting water
in motor and electrical connections.
40.
Check the blade mounting bolt at frequent
intervals for proper tightness.
41.
Keep all nuts, bolts, and screws tight to
be sure the equipment is in safe working
condition.
42.
Take care as rotating one blade can cause
other blades to rotate.
43.
Always allow the mower to cool down before
storing.
44.
When servicing the blades be aware that, even
though the power source is switched off, the
blades can still be moved.
45.
Replace worn or damaged parts for safety.
Use only genuine replacement parts and
accessories.
46.
Have your power tool serviced by a qualified
repair person using only identical replacement
parts.
This will ensure that the safety of the power
tool is maintained.
47.
Follow instruction for lubricating and chang-
ing accessories.
48.
Keep handles dry, clean and free from oil and
grease.
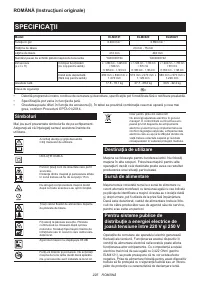
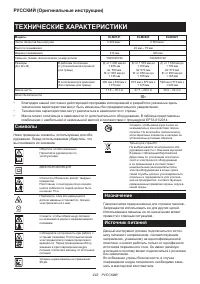
49.
Check to make sure that the voltage and fre
-
quency of the power supply correspond to the
specifications given on the identification plate.
We recommend the use of a residual-current-op-
erated circuit breaker (ground-fault circuit inter-
rupter) with a tripping current of 30 mA or less, or
an earth leakage current protector.
50.
This machine can be used by children aged
from 8 years and above and persons with
reduced physical, sensory or mental capabil
-
ities or lack of experience and knowledge if
they have been given supervision or instruc
-
tion concerning use of the machine in a safe
way and understand the hazards involved.
Cleaning and user maintenance shall not be
made by children without supervision.
Residual risks
Even if you are operating this product in accordance
with all the safety requirements, potential risks of injury
and damage remain. The following dangers can arise in
connection with the structure and design of this product.
1. Health defects resulting from vibration emission
if the product is being used over long periods of
time or not adequately managed and properly
maintained.
2. Injuries and damage to property due to broken
application tools or the sudden impact of hidden
objects during use.
3. Danger of injury and property damage caused by
flying objects.
WARNING:
This product produces an elec-
tromagnetic field during operation. This field may
under some circumstances interfere with active
or passive medical implants. To reduce the risk
of serious or fatal injury, we recommend persons
with medical implants to consult their doctor and
the medical implant manufacturer before operat-
ing this product.
SAVE THESE INSTRUCTIONS.
WARNING:
DO NOT let comfort or familiarity
with product (gained from repeated use) replace
strict adherence to safety rules for the subject
product.
MISUSE or failure to follow the safety rules stated
in this instruction manual may cause serious
personal injury.
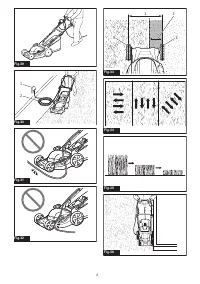
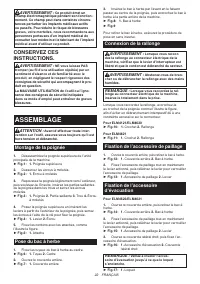
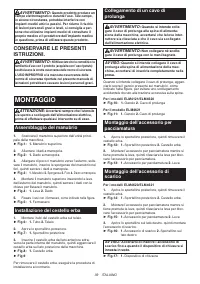
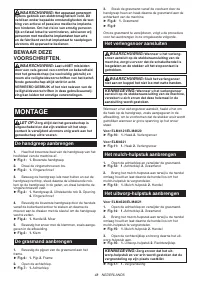
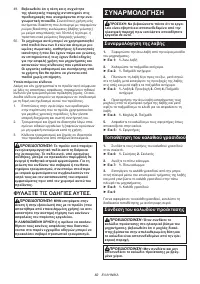
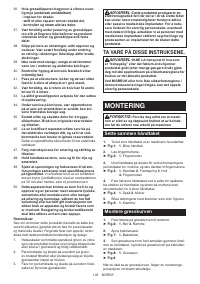
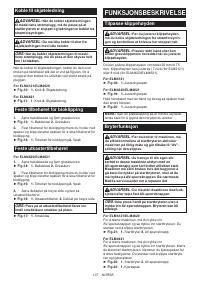
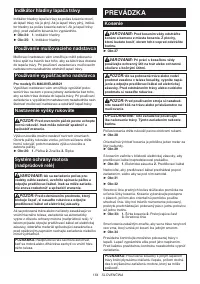
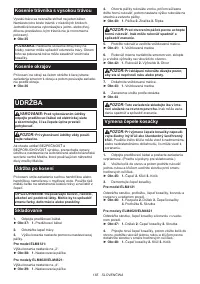
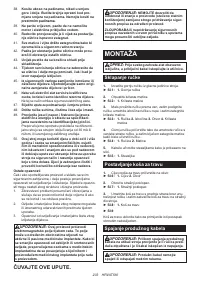
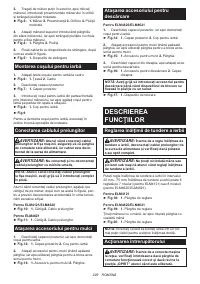
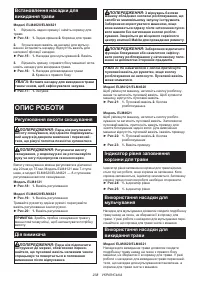
ASSEMBLY
CAUTION:
Always be sure that the tool is
switched off and unplugged before carrying out
any work on the tool.
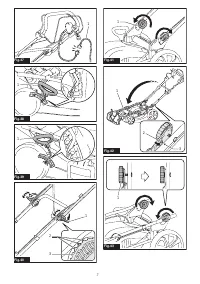
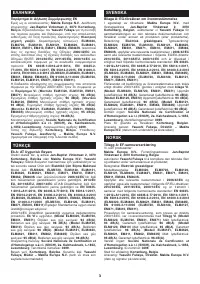
Assembling the handle
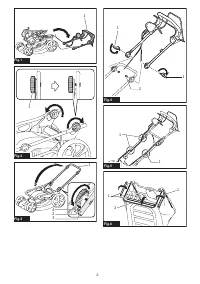
1.
Unload the upper handle from the main unit of the
machine.
►
Fig.1:
1.
Upper handle
2.
Loosen the thumb nuts.
►
Fig.2:
1.
Thumb nut
3.
Widen the handle outside a little, then raise the
handle, then insert the protrusions of the handle into the
holes, and then tighten the thumb nuts.
►
Fig.3:
1.
Handle
2.
Protrusion
3.
Hole
4.
Thumb nut
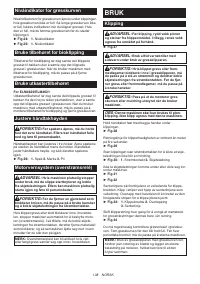
4.
Attach the upper handle by inserting the levers
from the outside of the handle, and then tighten the nuts
with the wrench to secure the handle.
►
Fig.4:
1.
Lever
2.
Nut
5.
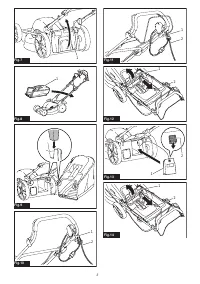
Secure the cords with the clamps as shown in the
figure.
►
Fig.5:
1.
Clamp
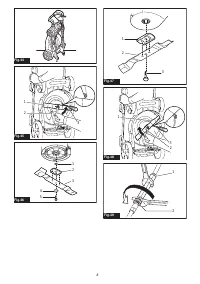
Installing the grass basket
1.
Attach the pipes of the grass basket to the frame.
►
Fig.6:
1.
Pipe
2.
Frame
2.
Open the rear cover.
►
Fig.7:
1.
Rear cover
3.
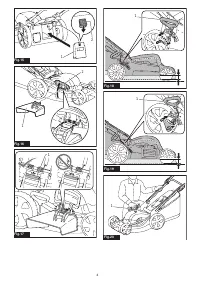
Insert the grass basket from the front side through
the inside of the handle, and then hook the grass basket
onto the rear side of the machine.
►
Fig.8:
1.
Grass basket
►
Fig.9
To remove the grass basket, perform the installation
procedure in reverse.


