
Электрорубанки Bosch 0.601.5A4.301 - инструкция пользователя по применению, эксплуатации и установке на русском языке. Мы надеемся, она поможет вам решить возникшие у вас вопросы при эксплуатации техники.
Если остались вопросы, задайте их в комментариях после инструкции.
"Загружаем инструкцию", означает, что нужно подождать пока файл загрузится и можно будет его читать онлайн. Некоторые инструкции очень большие и время их появления зависит от вашей скорости интернета.

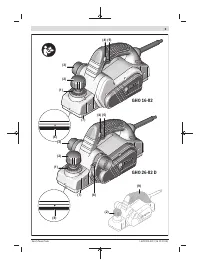


(GHO 26-82 D) with the aid of the cutting depth scale
(1)
(scale division = 0.1 mm).
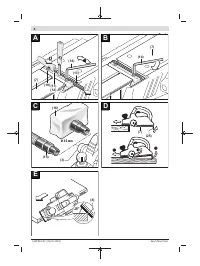
Parking rest (see figure D)
The parking rest
(25)
makes it possible to put down the
power tool directly after working, without any danger of
damaging the workpiece or planer blade. During the work
process, the parking rest
(25)
is highly pivoted and the rear
section of the planer base plate
(7)
is released.
Note
: The parking rest
(25)
must not be removed.
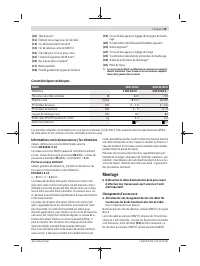
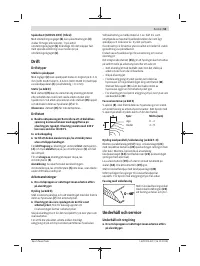
Start-up
u
Pay attention to the mains voltage. The voltage of the
power source must match the voltage specified on the
rating plate of the power tool. Power tools marked
with 230 V can also be operated with 220 V.
u
Products that are only sold in AUS and NZ:
Use a resid-
ual current device (RCD) with a nominal residual current
of 30 mA or less.
Switching on/off
u
Make sure that you are able to press the On/Off switch
without releasing the handle.
To
start
the power tool,
first
press the lock-off button
(4)
,
then
press and hold the on/off switch
(5)
.
To
switch off
the power tool, release the on/off switch
(5)
.
Note:
For safety reasons, the on/off switch
(5)
cannot be
locked; it must remain pressed during the entire operation.
Practical advice
u
Pull the plug out of the socket before carrying out any
work on the power tool.
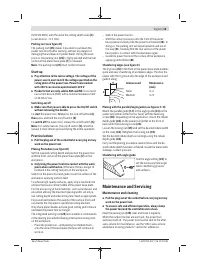
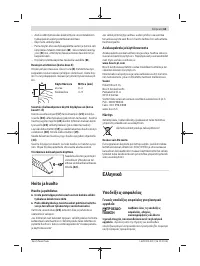
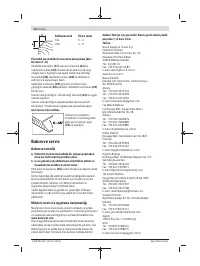
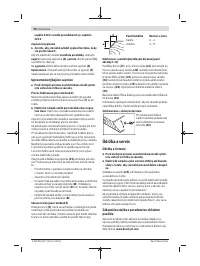
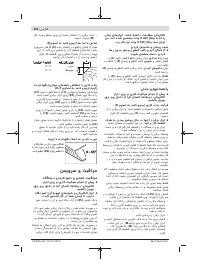
Planing Procedure (see figure D)
Set the required cutting depth and position the power tool
with the front section of the planer base plate
(7)
on the
workpiece.
u
Only bring the power tool into contact with the work-
piece when switched on.
Otherwise there is danger of
kickback if the cutting tool jams in the workpiece.
Switch on the power tool and guide it over the surface of the
workpiece, applying uniform feed.
To achieve high-quality surfaces, apply only a low feed rate
and exert pressure on the middle of the planer base plate.
For the processing of hard materials, such as hardwood, and
also when utilising the maximum planing width, set only a
low cutting depth and reduce the planer feed as appropriate.
Excessive feed reduces the quality of the surface finish and
can lead to the chip ejector quickly becoming blocked.
Only sharp planer blades achieve good cutting performance
and make the power tool last longer.
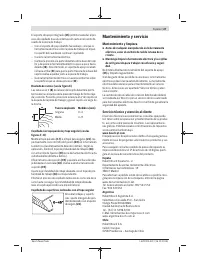
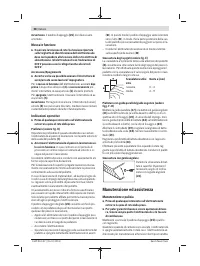
The integrated parking rest
(25)
also enables a continuation
of the planing procedure following interruption at any point
on the workpiece:
– Place the power tool – with parking rest folded down –
onto the area of the workpiece that you will continue to
work on.
– Switch the power tool on.
– Shift the contact pressure onto the front of the planer
base plate and slowly slide the power tool forward (
➊
). In
doing so, the parking rest will swivel upwards and out of
the way (
➋
), meaning that the rear section of the planer
base plate is in contact with the workpiece again.
– Guide the power tool over the surface of the workpiece,
applying uniform feed (
➌
).
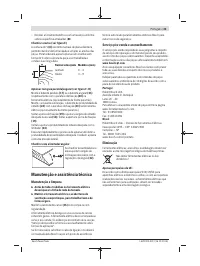
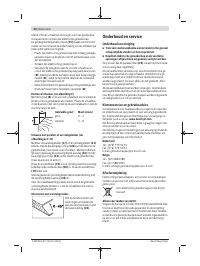
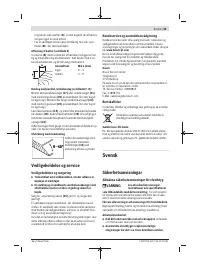
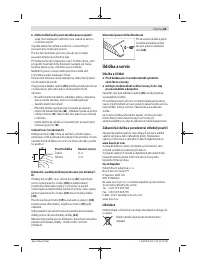
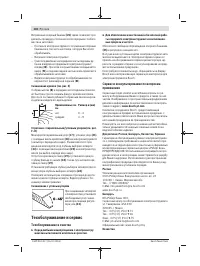
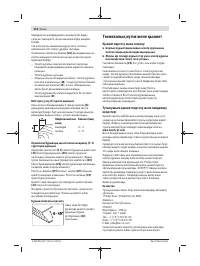
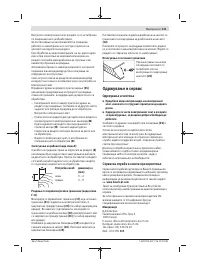
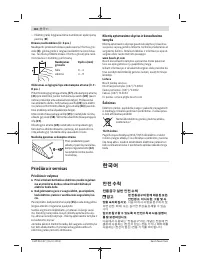
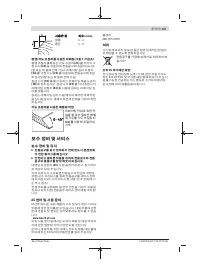
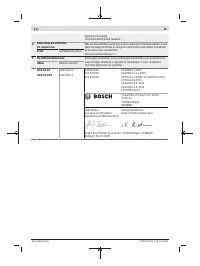
Chamfering edges (see figure E)
The V-groove
(8)
in the front of the planer base plate enables
quick and easy chamfering of workpiece edges. Position the
planer with the V-groove onto the edge of the workpiece and
guide it along.
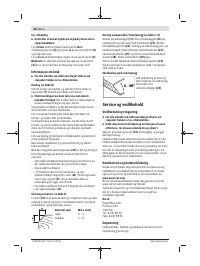
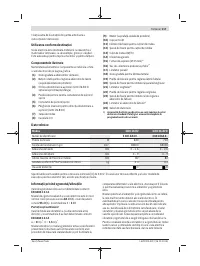
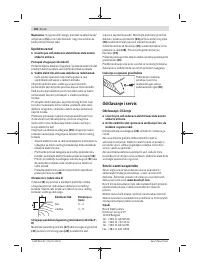
Groove used
Dimension a
(mm)
None
0–4
Medium
4–9
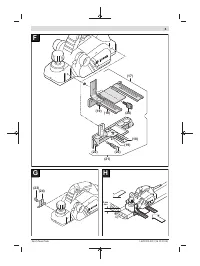
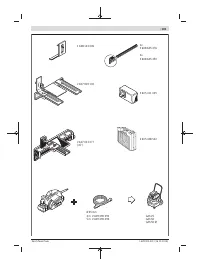
Planing with the parallel/angle guide (see figures F–H)
Mount the parallel guide
(17)
or the angle guide
(21)
on the
power tool (either at the front or back) with the fastening
screw
(20)
. Depending on the application, mount the rebate
depth guide
(24)
on the power tool (either at the front or
back) with the fastening screw
(23)
.
Loosen the locking nut
(19)
and set the desired rebate width
on the scale
(18)
. Retighten the locking nut
(19)
.
Set the desired rebate depth accordingly using the rebate
depth guide
(24)
.
Carry out the planing procedure several times until the de-
sired rebate depth has been achieved. Guide the planer with
sideways contact pressure.
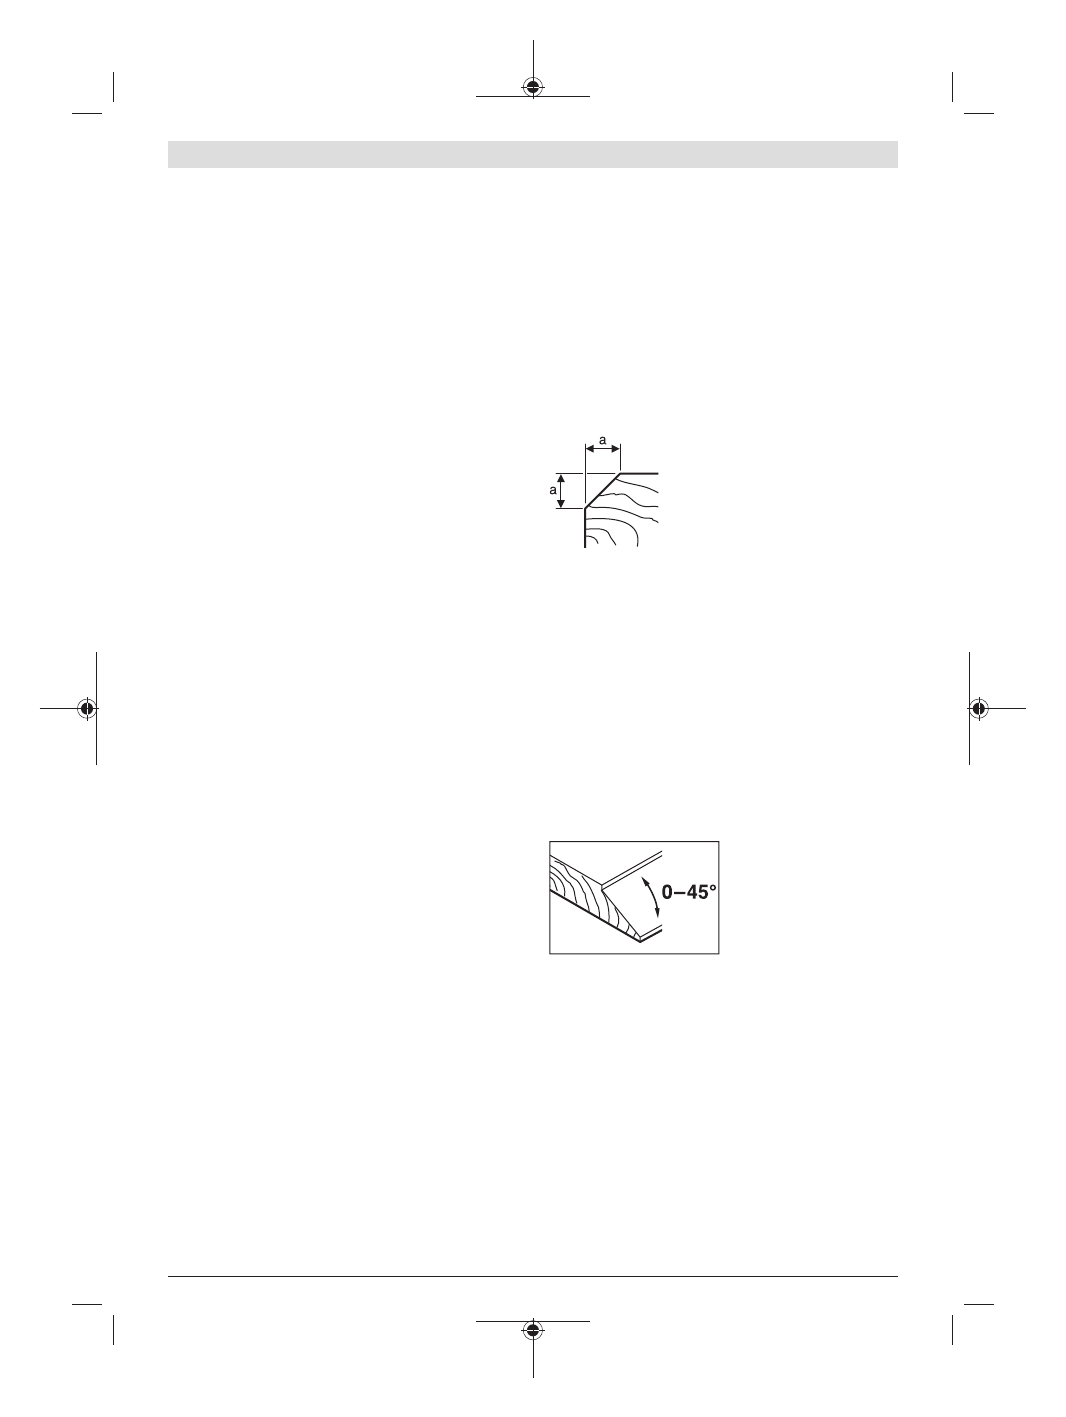
Chamfering with angle guide
Use the angle setting
(22)
to
set the necessary helix angle
when chamfering grooves
and surfaces.
Maintenance and Servicing
Maintenance and cleaning
u
Pull the plug out of the socket before carrying out any
work on the power tool.
u
To ensure safe and efficient operation, always keep
the power tool and the ventilation slots clean.
Keep the parking rest
(25)
clear and clean it regularly.
When the carbon brushes are worn out, the power tool
switches itself off. The power tool must be sent to the after-
sales service for maintenance; see the "After-sales service
and advice on using products" section for addresses.
English |
15
Bosch Power Tools
1 609 92A 4LF | (26.10.2018)
Содержание
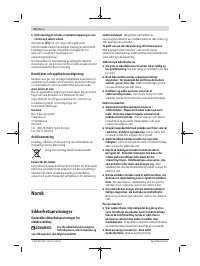
- 97 Указания по технике безопасности; ЖДЕНИЕ
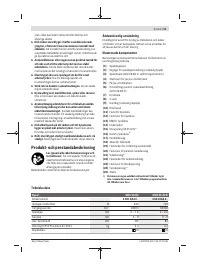
- 99 Описание продукта и услуг; Применение по назначению
- 100 Данные по шуму и вибрации; Сборка; Замена рабочего инструмента; Удаление пыли и стружки
- 101 Работа с инструментом; Режимы работы
- 102 Техобслуживание и сервис; Техобслуживание и очистка
- 103 Утилизация; Українська; Вказівки з техніки безпеки; ДЖЕННЯ
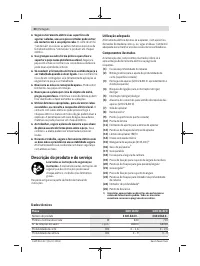
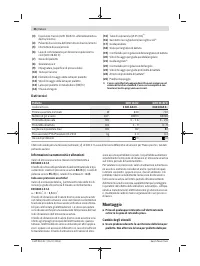
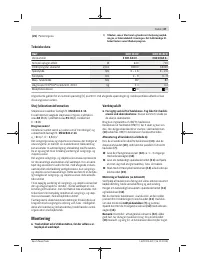
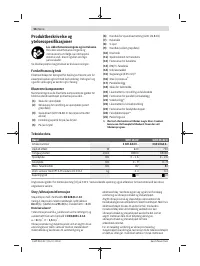
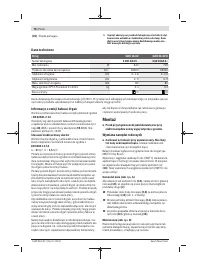
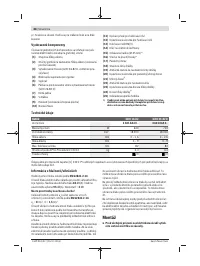
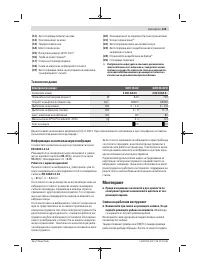
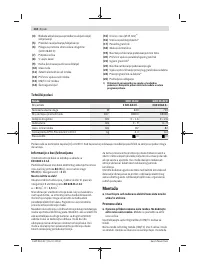
Характеристики

Остались вопросы?Не нашли свой ответ в руководстве или возникли другие проблемы? Задайте свой вопрос в форме ниже с подробным описанием вашей ситуации, чтобы другие люди и специалисты смогли дать на него ответ. Если вы знаете как решить проблему другого человека, пожалуйста, подскажите ему :)


