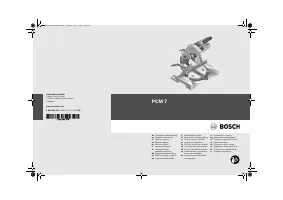
Электропилы Bosch PCM 7 - инструкция пользователя по применению, эксплуатации и установке на русском языке. Мы надеемся, она поможет вам решить возникшие у вас вопросы при эксплуатации техники.
Если остались вопросы, задайте их в комментариях после инструкции.
"Загружаем инструкцию", означает, что нужно подождать пока файл загрузится и можно будет его читать онлайн. Некоторые инструкции очень большие и время их появления зависит от вашей скорости интернета.


30
| English
1 609 929 U75 | (19.7.10)
Bosch Power Tools
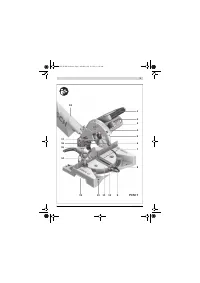
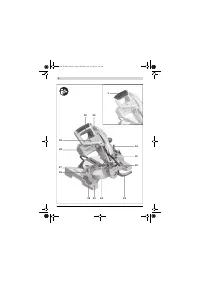
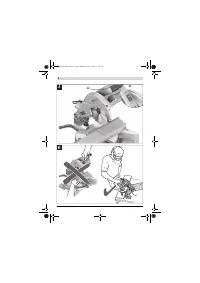
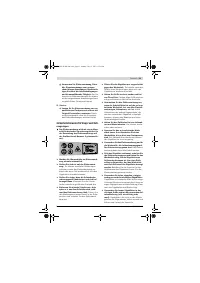
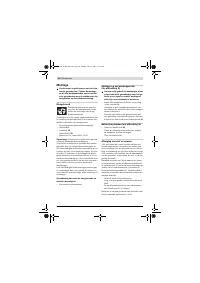
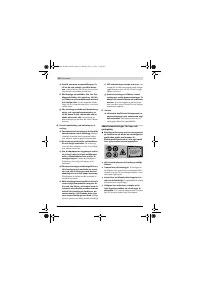
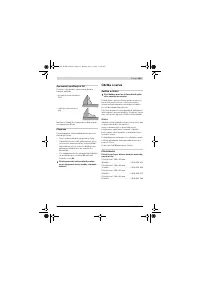
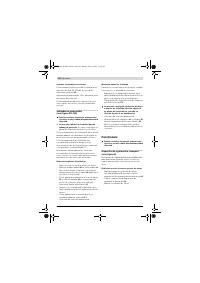
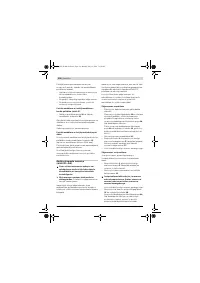
Clamping the Workpiece (see figure F)
To ensure optimum working safety, the work-
piece must always be firmly clamped.
Do not saw workpieces that are too small to
clamp.
– Press the workpiece firmly against the
fence
6
.
– Insert the material clamp
14
provided into
one of the holes
27
intended for it.
– Loosen the wing bolt
33
and adapt the mate-
rial clamp to the workpiece. Tighten the wing
bolt again.
– Firmly clamp the workpiece by turning the
threaded rod
34
in clockwise direction.
Loosening the Workpiece
– To release the material clamp, turn the
threaded rod
34
in anticlockwise direction.
Adjusting the Cutting Angle
f
When adjusting the cutting angle, never ac-
tuate the On/Off switch 19.
Danger of injury
if the machine should accidentally start.
f
Before sawing, always tighten the clamping
lever 25.
Otherwise the saw blade could be-
come jammed in the workpiece.
Adjusting Horizontal Mitre Angles
(see figure G)
The horizontal mitre angle can be set in the
range from 46 ° (left side) to 46 ° (right side).
– Release clamping lever
25
, if tightened.
This allows the saw table to move freely.
– Turn the saw table
11
left or right by handle
9
until the angle indicator
35
indicates the
desired mitre angle.
– Tighten clamping lever
25
again.
For quick and precise setting of often used mi-
tre angles,
the saw table
11
engages at the de-
tents of the following standard angles:
– 45 ° / – 30 ° / – 22.5 ° / – 15 ° /
0 ° / 15 ° / 22.5 ° / 30 ° / 45 °
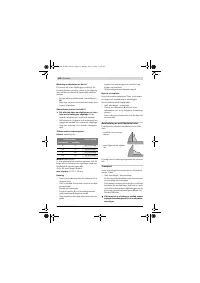
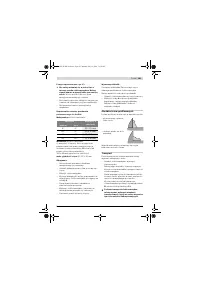
Adjusting Vertical Bevel Angles (see figure H)
The vertical bevel angle can be set in the range
from 0 ° to 45 ° .
– Loosen the clamping lever
23
.
– Tilt the tool arm by the handle
1
until the an-
gle indicator
36
indicates the desired bevel
angle.
– Hold the tool arm in this position and retight-
en the clamping lever
23
.
For quick and precise setting of the standard
angles 0 ° und 45 ° ,
end stops are provided on
the housing.
– Loosen the clamping lever
23
.
– For this, tilt the tool arm by the handle
1
to
the stop toward the right (0 ° ) or to the stop
toward the left (45 ° ).
– Retighten the clamping lever
23
again.
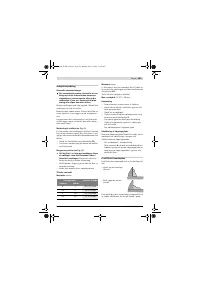
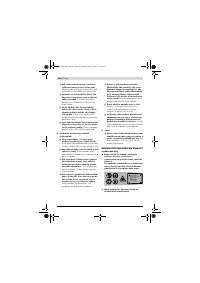
Starting Operation
f
Observe correct mains voltage! The voltage
of the power source must agree with the
voltage specified on the nameplate of the
machine. Power tools marked with 230 V
can also be operated with 220 V.
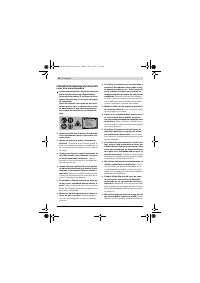
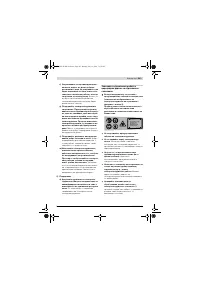
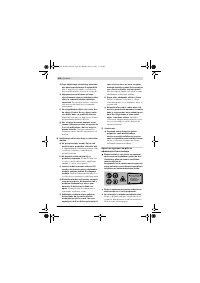
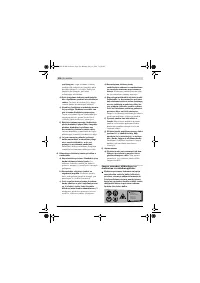
Switching On (see figure I)
– To
start
the machine, press the On/Off
switch
19
and keep it pressed.
Note:
For safety reasons, the On/Off switch
19
cannot be locked; it must remain pressed during
the entire operation.
The tool arm can only be guided downward
when pressing lever
3
.
– For
sawing
, you must additionally press lever
3
in addition to actuating the On/Off switch.
Switching Off
– To
switch off
the machine, release the
On/Off switch
19
.
OBJ_BUCH-880-004.book Page 30 Monday, July 19, 2010 11:56 AM
Содержание
- 223 а) Ремонт Вашего электроинструмента
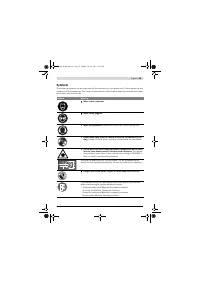
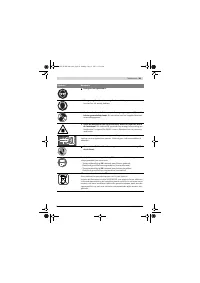
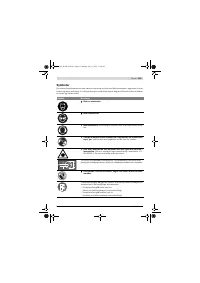
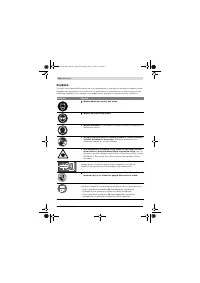
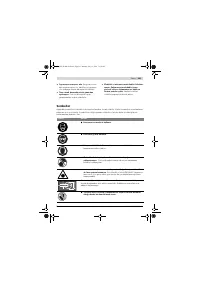
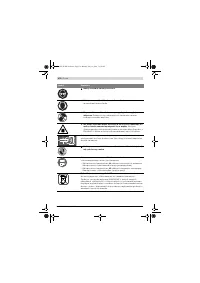
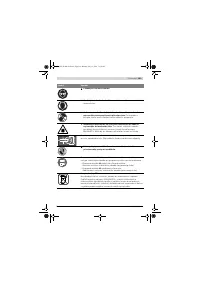
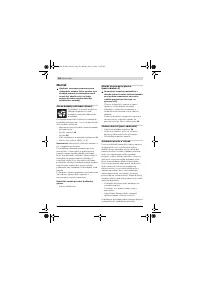
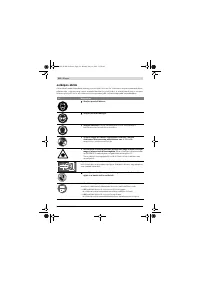
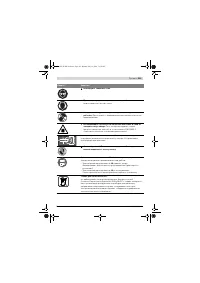
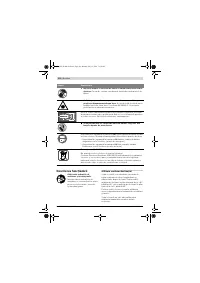
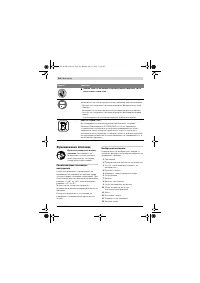
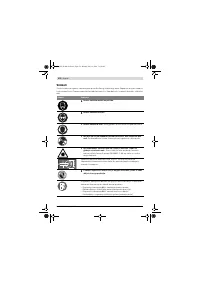
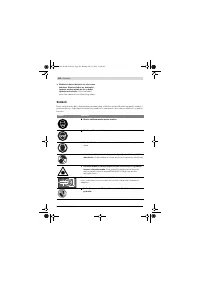
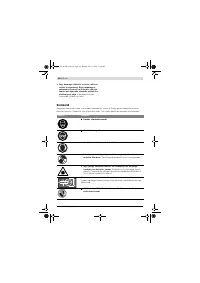
- 224 Закрепляйте заготовку.; Символы; Символ
- 225 Используйте защитные очки.
- 226 Описание функции; Применение по назначению
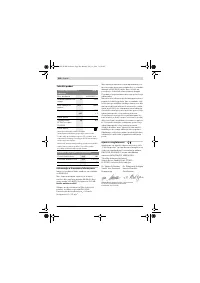
- 227 Технические данные; Применяйте средства защиты органов слуха!; Заявление о соответствии; Размеры пильных дисков
- 228 Сборка; Комплект поставки
- 229 Внешняя система пылеотсоса
- 230 Монтаж пильного диска; Работа с инструментом; Снятие крепления детали; Настройка угла распила
- 231 Включение электроинструмента
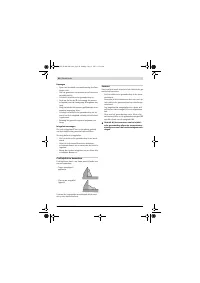
- 232 Допустимые размеры заготовки; Обработка профильных реек; Угол распила
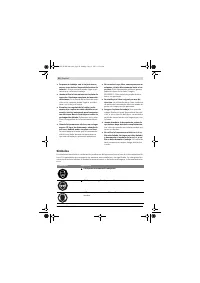
- 233 Транспортировка; Техобслуживание и сервис; Техобслуживание и очистка; Очистка; Принадлежности
- 234 Россия; Утилизация


