
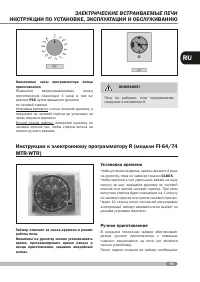
Духовые шкафы Zigmund & Shtain EN 116.622 W - инструкция пользователя по применению, эксплуатации и установке на русском языке. Мы надеемся, она поможет вам решить возникшие у вас вопросы при эксплуатации техники.
Если остались вопросы, задайте их в комментариях после инструкции.
"Загружаем инструкцию", означает, что нужно подождать пока файл загрузится и можно будет его читать онлайн. Некоторые инструкции очень большие и время их появления зависит от вашей скорости интернета.


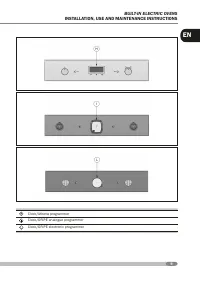


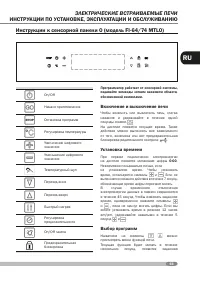

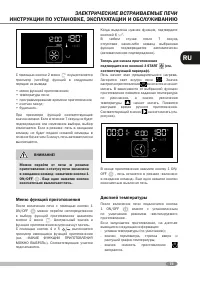

EN
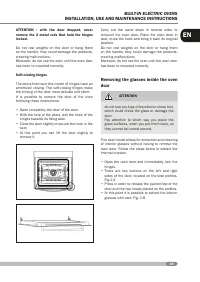
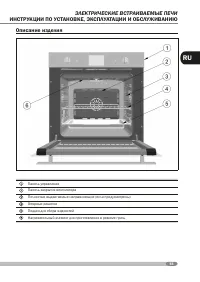
BUILT-IN ELECTRIC OVENS
INSTALLATION, USE AND MAINTENANCE INSTRUCTIONS
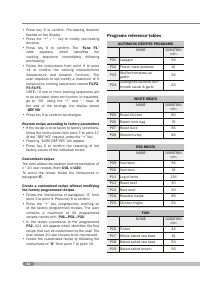
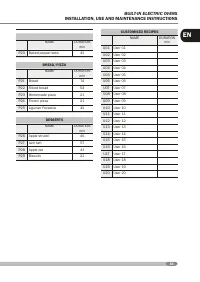
25
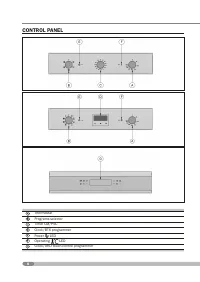
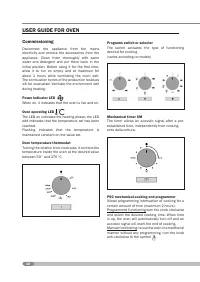
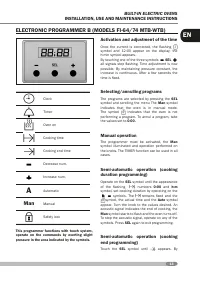
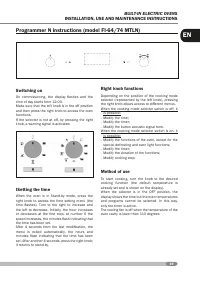
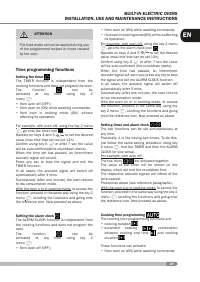
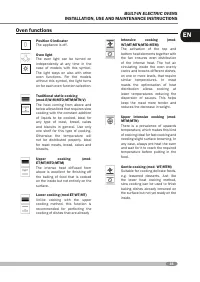
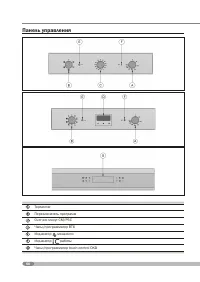
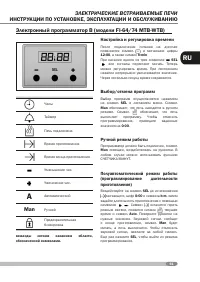
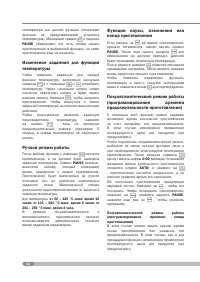
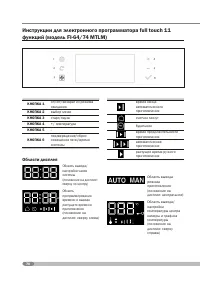
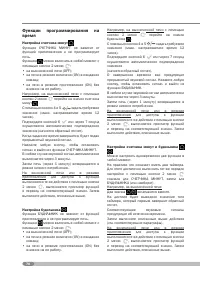
Using keys 4 and 5
it is possible to scroll
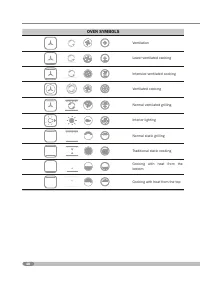
through all cooking functions available (see “
COOKING FUNCTIONS TO BE SELECTED”): the
relative segments activate.
Once the desired function is highlighted, confirm
with key
.
In each case, after 7 seconds of inactivity of the
commands, the function selected is confirmed
automatically (auto-confirm).
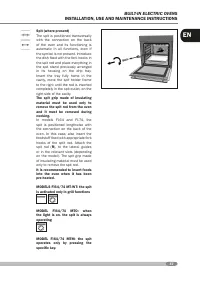
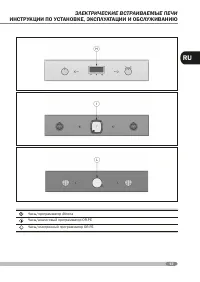
At this point, to start cooking, confirm
everything using key 3 START
(see reference
paragraph)
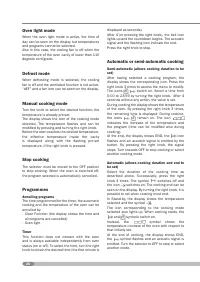
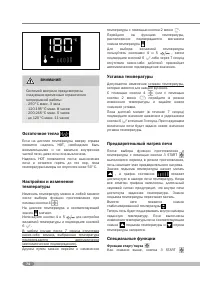
The oven starts the pre-heating phase. The light
inside the oven switches on
. The cooking pan
icon
sis activated and starts to flash. On the
basis of the cooking function selected, the default
temperature appears and the upward temperature
icon
starts to flash. The progressive cooking
time in manual mode is displayed. The respective
icon
starts to flash (see figure).
At cooking end, press key 1 ON/OFF
and the
oven remains in “on in stand-by for commands”
mode. Pressing the key again, switches the oven
off definitively.
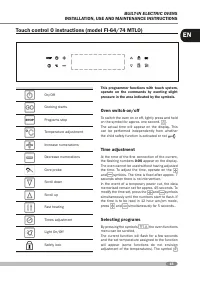
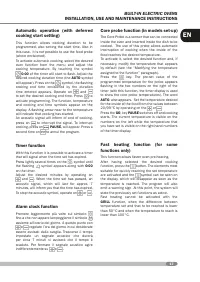
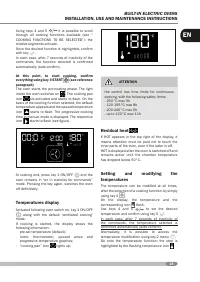
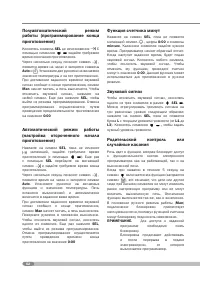
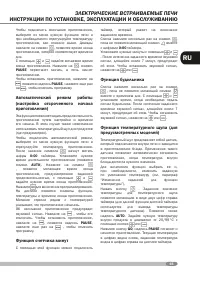
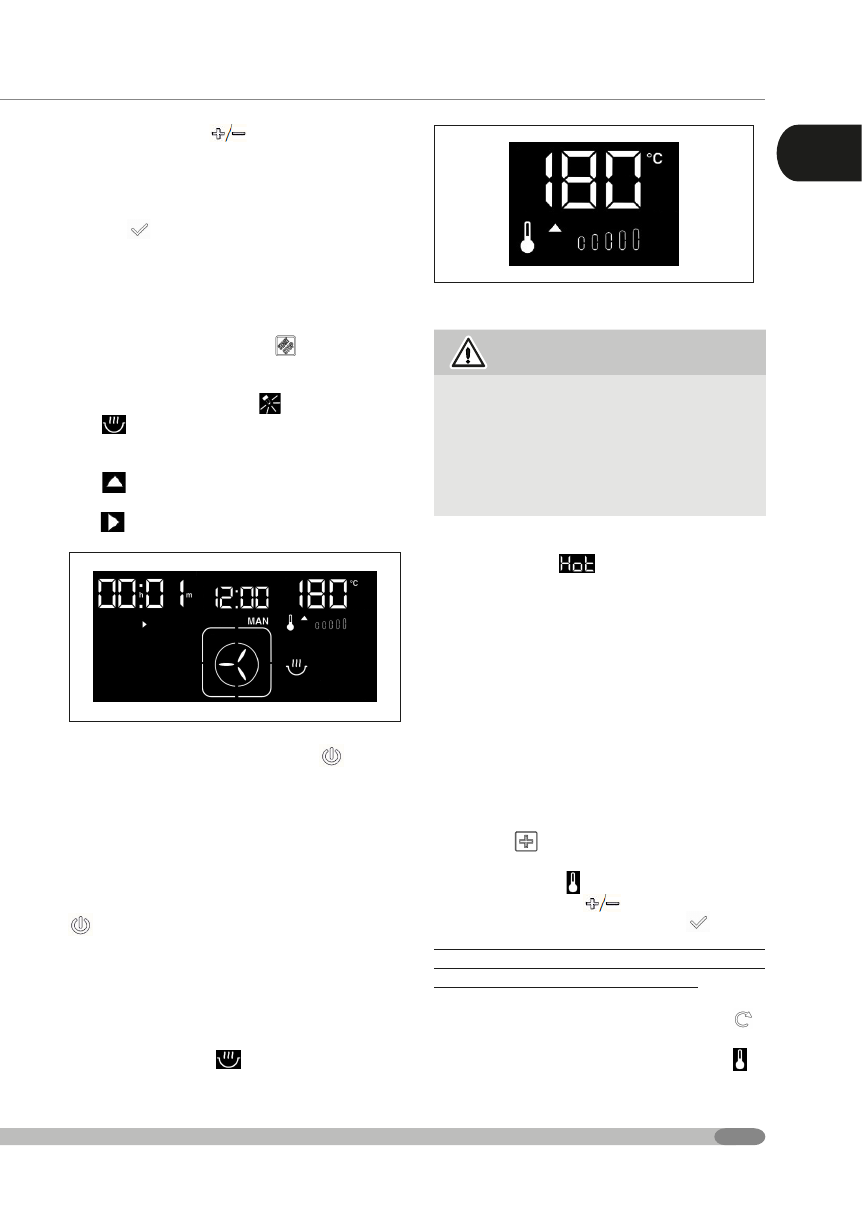
Temperatures display
Activated following oven switch on, key 1 ON/OFF
along with the default ‘ventilated cooking’
mode.
If cooking is started, the display shows the
following information:
- pre-set temperature (default);
- icons: thermometer, upward arrow and
progressive temperature graphics;
- “cooking pan” icon
lights up;
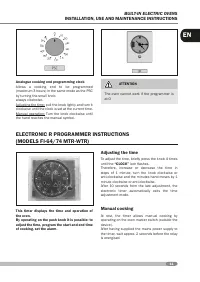
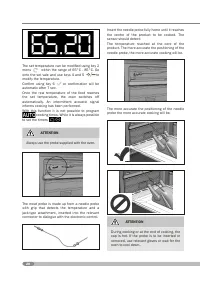
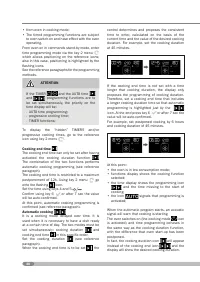
ATTENTION
the control has time limits for continuous
cooking, with the following safety limits:
- 250°C max 3h
- 120-195°C max 8h
- 200-245°C max 5h
- up to 120°C max 11h
Residual heat
If HOT appears in the top right of the display, it
means attention must be paid not to touch the
inner parts of the oven, even if the latter is off.
HOT is displayed after the oven is switched off and
remains active until the chamber temperature
has dropped below 50°C.
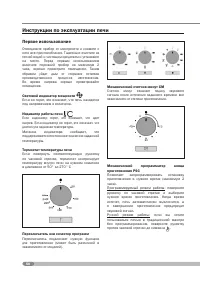
Setting and modifying the
temperatures
The temperature can be modified at all times,
after the selection of a cooking function, by simply
using key 4
.
On the display, the temperature and the
corresponding icon
flash.
Use keys 4 and 5
to set the desired
temperature and confirm using key 6
.
In each case, after 7 seconds of inactivity of
the commands, the temperature selected is
confirmed automatically (auto-confirm).
Alternatively, it is possible to access the
temperature modification using key 2 menu
.
Go onto the temperature function: the step is
highlighted by the flashing temperature icon
.


