Диктофоны Olympus DS-10 - инструкция пользователя по применению, эксплуатации и установке на русском языке. Мы надеемся, она поможет вам решить возникшие у вас вопросы при эксплуатации техники.
Если остались вопросы, задайте их в комментариях после инструкции.
"Загружаем инструкцию", означает, что нужно подождать пока файл загрузится и можно будет его читать онлайн. Некоторые инструкции очень большие и время их появления зависит от вашей скорости интернета.


9
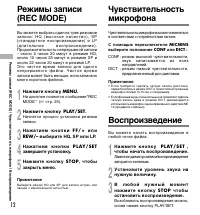
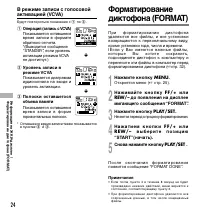
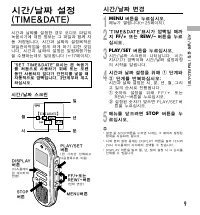
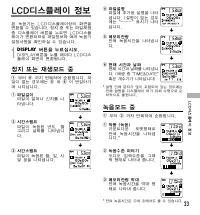
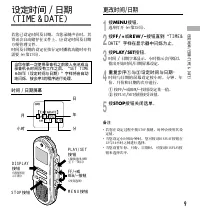
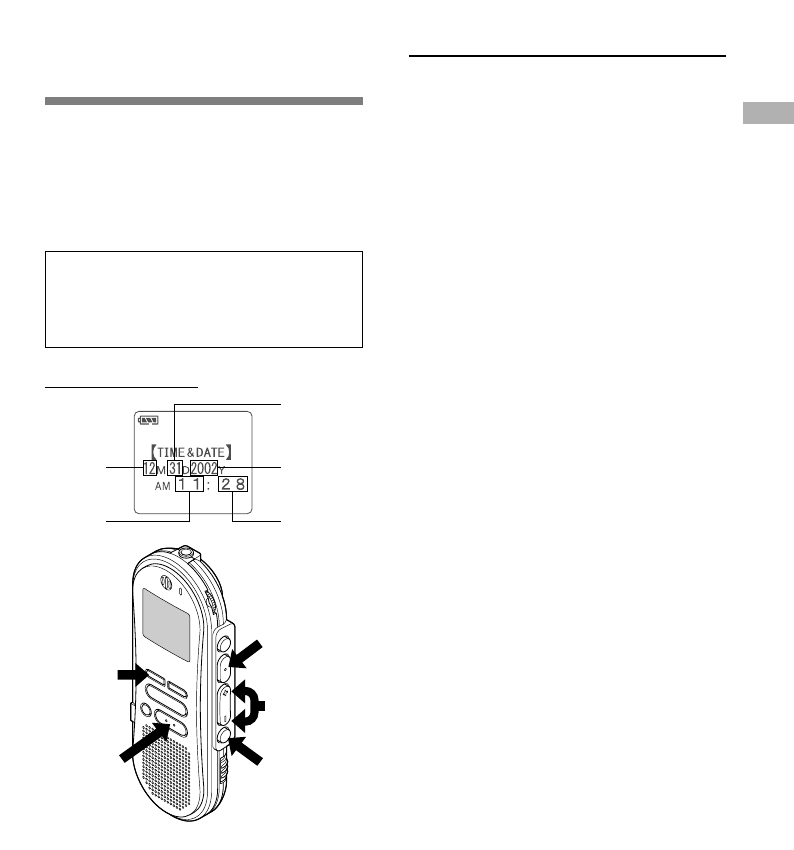
Setting Time/Date
(TIME&DATE)
If you have set the time and date, information
as to when an audio file is recorded is stored
automatically with that file. The time and date
should be set to ease file management tasks.
The time and date setting is also needed to
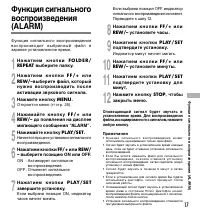
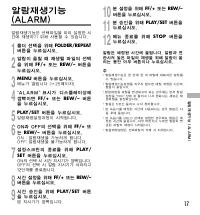
perform the alarm playback function (
☞
P.17).
“SET TIME&DATE” will flash automatically
when you load batteries before using the
recorder for the first time, or after the
recorder hasn't been used for a long time.
Proceed from step 3.
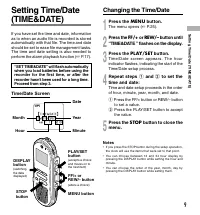
Time/Date Screen
1
Press the
MENU
button.
The menu opens (
☞
P.25).
2
Press the
FF/+
or
REW/–
button until
“TIME&DATE ” flashes on the display.
3
Press the
PLAY/SET
button.
Time/Date screen appears. The hour
indicator flashes, indicating the start of the
Time/Date setup process.
4
Repeat steps
1
and
2
to set the
time and date:
Time and date setup proceeds in the order
of hour, minute, year, month, and date.
1
Press the FF/+ button or REW/– button
to set a value.
2
Press the PLAY/SET button to accept
the value.
5
Press the
STOP
button to close the
menu.
Notes
• If you press the STOP button during the setup operation,
the clock will use the items that were set to that point.
• You can choose between 12 and 24 hour display by
pressing the DISPLAY button while setting the hour and
minute.
• You can choose the order of the year, month, day by
pressing the DISPLAY button while setting them.
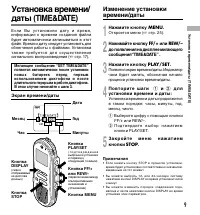
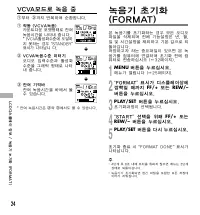
Changing the Time/Date
Month
Hour
Minute
Year
Date
Setting T
ime/Date (TIME&DA
TE)
STOP
button
DISPLAY
button
(switching
the data
displayed)
FF/+ or
REW/– button
(alters a choice)
PLAY/SET
button
(accepts a choice
and moves on to
the next item)
MENU button
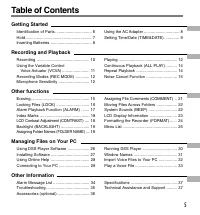
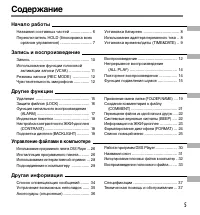
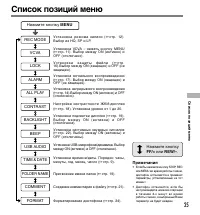
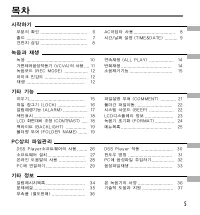
Содержание
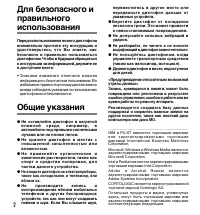
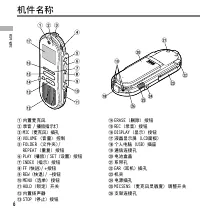
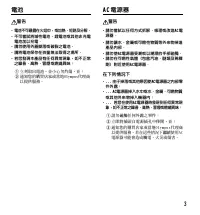
- 40 Общие указания; Б е р е г и т е д и к т о ф о н о т п о п а д а н и я
- 41 В случае
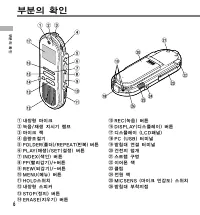
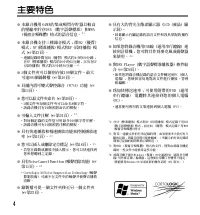
- 42 Основные функции
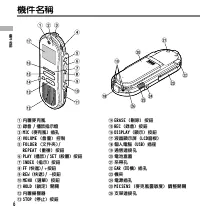
- 43 Содержание; Начало работы
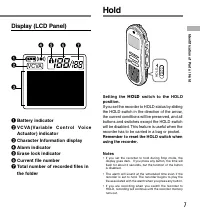
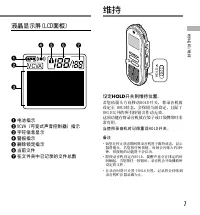
- 45 Индикатор батареек; Примечания
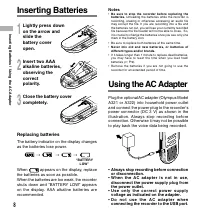
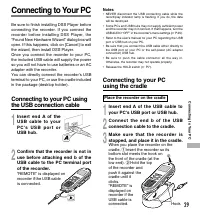
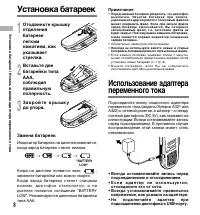
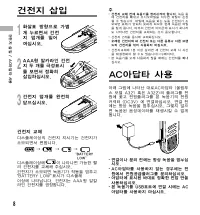
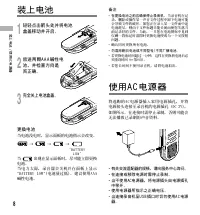
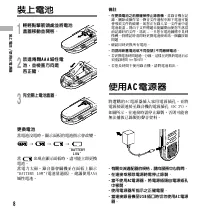
- 46 Установка батареек; Замена батареек; Использование адаптера
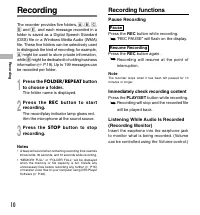
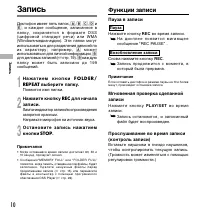
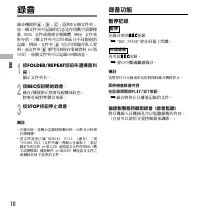
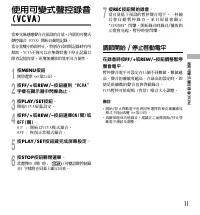
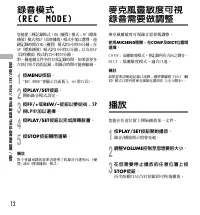
- 48 Н а ж а т и е м к н о п к и; Функции записи; Пауза в записи
- 50 Примечание; Воспроизведение; S T O P
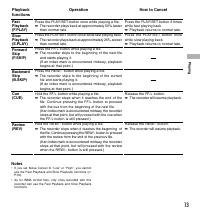
- 51 Операция
- 52 F O L D E R / R E P E AT
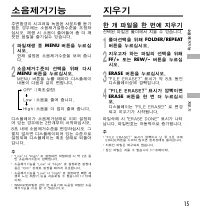
- 53 Удаление отдельных файлов
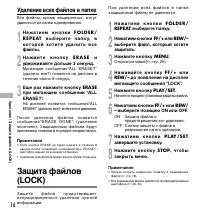
- 54 Удаление всех файлов в папке
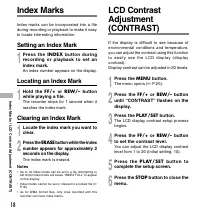
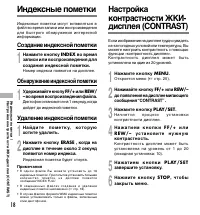
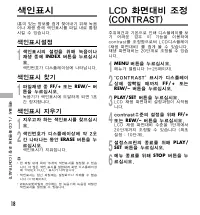
- 56 Индексные пометки; Создание индексной пометки; Обнаружение индексной пометки
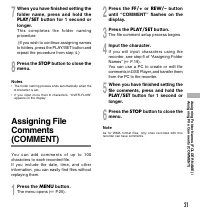
- 58 Символы для ввода
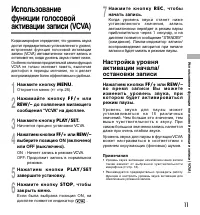
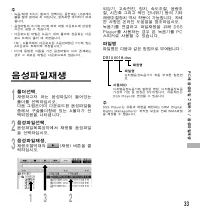
- 61 Нажмите кнопку; В режиме остановки и
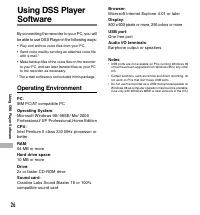
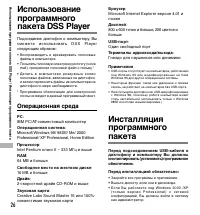
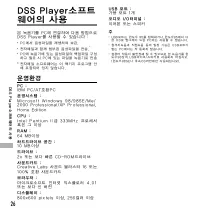
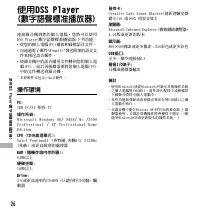
- 64 Операционная среда
- 65 Р азрешение на копирование
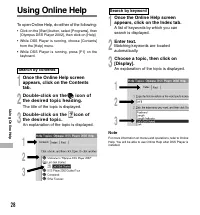
- 66 Поиск по содержанию; Поиск по ключевому слову
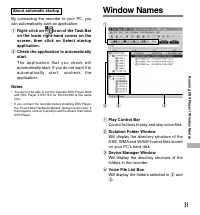
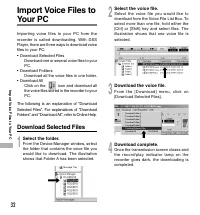
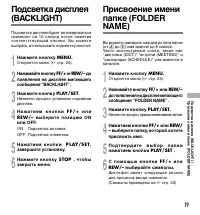
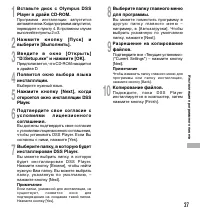
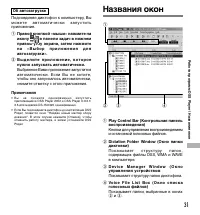
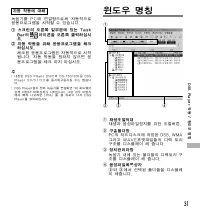
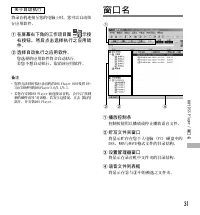
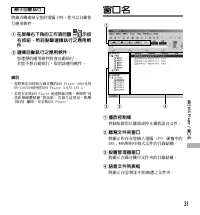
- 69 Об автозагрузке; Названия окон
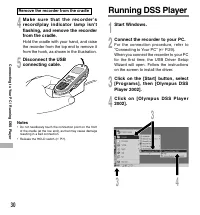
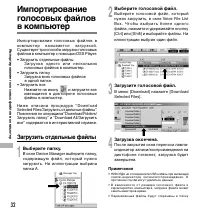
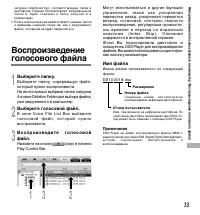
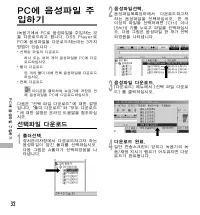
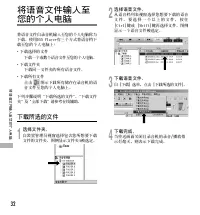
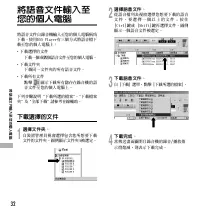
- 70 Загрузить отдельные файлы; Выберите голосовой файл.
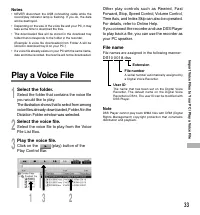
- 71 Выберите голосовой ф айл.; Имя ф айла
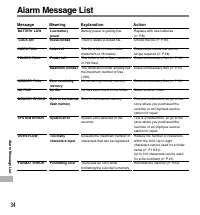
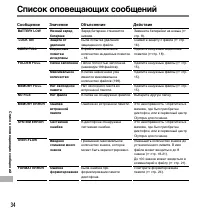
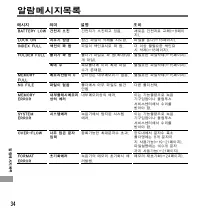
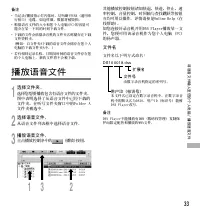
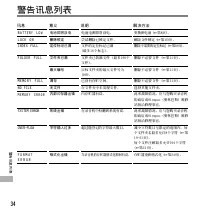
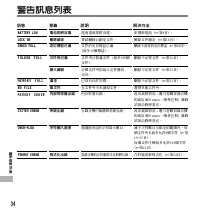
- 72 Значение; Объяснение; Сообщение
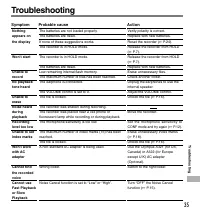
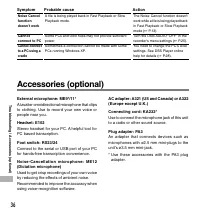
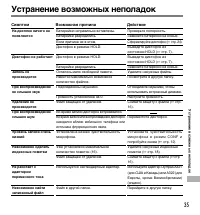
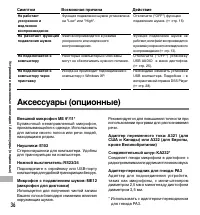
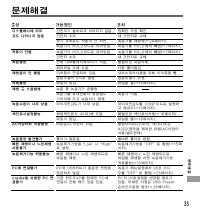
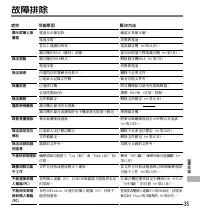
- 73 Устранение возможных неполадок; Возможная причина; Симптом; Действие
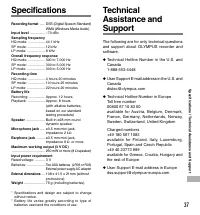
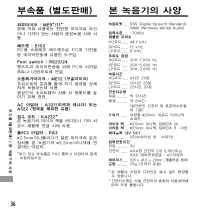
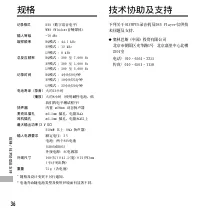
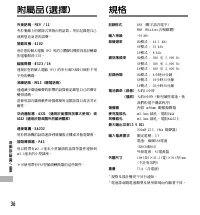
- 75 Спецификации

