
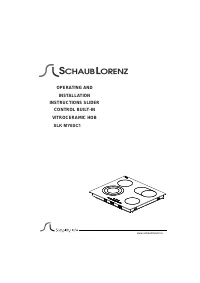
Варочная панель Schaub Lorenz SLK MY6SC1 - инструкция пользователя по применению, эксплуатации и установке на русском языке. Мы надеемся, она поможет вам решить возникшие у вас вопросы при эксплуатации техники.
Если остались вопросы, задайте их в комментариях после инструкции.
"Загружаем инструкцию", означает, что нужно подождать пока файл загрузится и можно будет его читать онлайн. Некоторые инструкции очень большие и время их появления зависит от вашей скорости интернета.


5
The electrical connection of this hob should be carried out by an
authorised service personal or a qualified electrician, according to the
instructions in this guide and in compliance with the current regulations.
·
Before connecting your appliance to the mains at home, make sure to
check the conformity of voltage settings, which are specified on the information
sticker attached to the appliance and/or packaking, with the usage conditions
available.
·
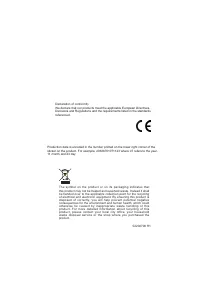
The laws, ordinances, directives and standards in force in the country of
use are to be followed (safety regulations, proper recycling in accordance
with the regulations, etc.)
Locating your built-in hob
After removing the packaging material from the appliance and its accessories,
ensure that the hob is not damaged. If you suspect any damage, do not use
the appliance and contact an authorised service personal or a qualified
electrician immediately.
·
This built-in hob is to be inserted into a cut out of a worktop.
INSTALLATION
·
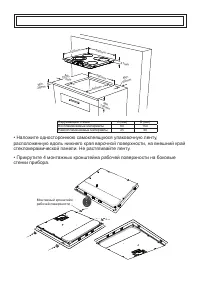
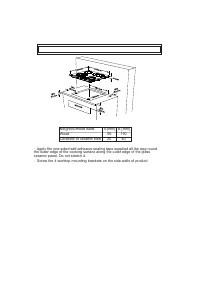
Create an opening with the dimensions shown in next picture. The distance
between the rear edge of the hob and any adjacent wall is depend on wall
surface. Please don’t use easily combustible material like curtain, paper at
nearby hob.
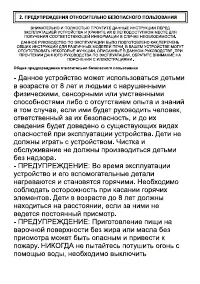
During usage
- Do not put flammable or combustible materials, in or near the appliance when it is operating.
- Do not leave the cooker while cooking with solid or liquid oils. They may catch fire on condition of
extreme heating. Never pour water on to flames that are caused by oil. Cover the saucepan or frypan
with its cover in order to choke the flame that has occured in this case and turn the cooker off.
- Always position pans over the centre of the cooking zone, and turn the handles to a safe position so
they cannot be knocked or grabbed.
- If you will not use the appliance for a long time, plug it off. Keep the main control switch off. Also when
you do not use the appliance, keep the gas valve off.
- Make sure the appliance control knobs are always in the "0" (stop) position when it is not used.
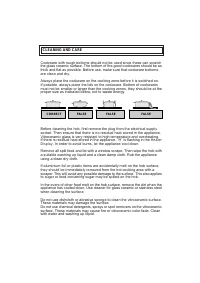
During cleaning and maintenance
- Always turn the appliance off before operations such as cleaning or maintenance. You can do it after
plugging the appliance off or turning the main switches off.
- Do not remove the control knobs to clean the control panel.
TO MAINTAIN THE EFFICIENCY AND SAFETY OF YOUR APPLIANCE, WE RECOMMEND YOU
ALWAYS USE ORIGINAL SPARE PARTS AND TO CALL ONLY OUR AUTHORIZED SERVICE AGENTS
IN CASE OF NEED.
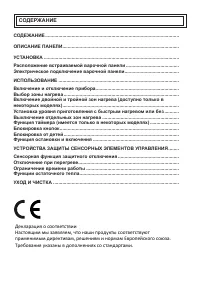
Содержание
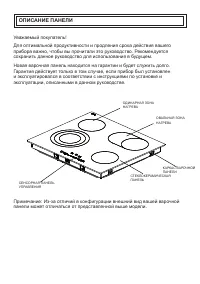
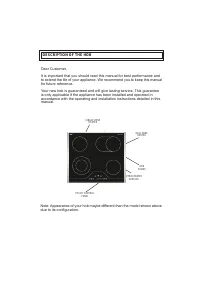
- 3 ОПИСАНИЕ ПАНЕЛИ; прибора важно, чтобы вы прочитали это руководство. Рекомендуется
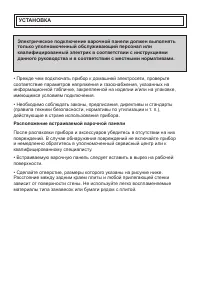
- 7 УСТАНОВКА; Электрическое подключение варочной панели должен выполнять; • Прежде чем подключать прибор к домашней электросети, проверьте; Расположение встраиваемой варочной панели; и немедленно обратитесь в уполномоченный сервисный центр или к
- 8 • Наложите одностороннюю самоклеящуюся упаковочную ленту,
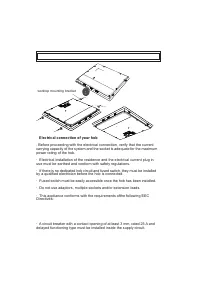
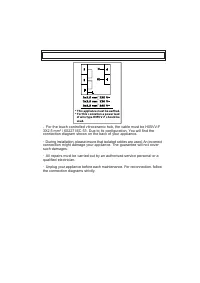
- 9 Электрическое подключение варочной панели; • Перед выполнением электрического подключения проверьте, чтобы
- 10 Неправильное подключение может привести к повреждению прибора.
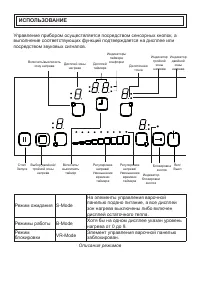
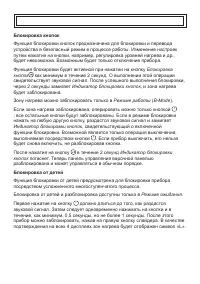
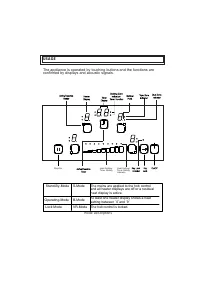
- 11 Описания режимов; ИСПОЛЬЗОВАНИЕ
- 13 зуммера. При этом соответствующий
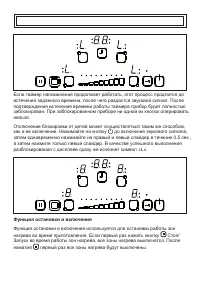
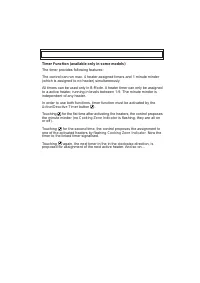
- 15 Функция таймера (имеется только в некоторых моделях); Включить/Выключить таймер
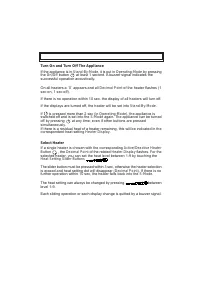
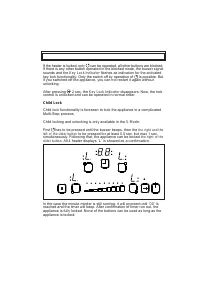
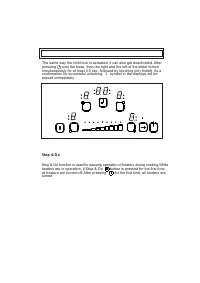
- 19 разблокирования с дисплеев сразу же исчезнет символ «L».; Функция остановки и включения
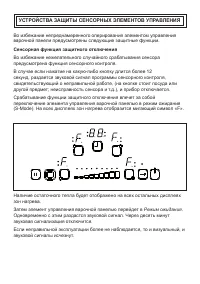
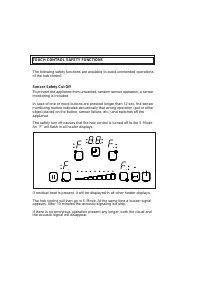
- 20 УСТРОЙСТВА ЗАЩИТЫ СЕНСОРНЫХ ЭЛЕМЕНТОВ УПРАВЛЕНИЯ; варочной панели предусмотрены следующие защитные функции.; Сенсорная функция защитного отключения; Во избежание нежелательного случайного срабатывания сенсора
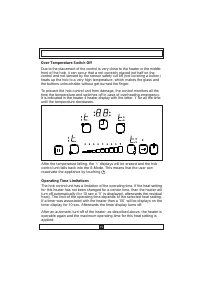
- 21 Отключение при перегреве; течение всего времени до снижения температуры.; Ограничение времени работы; (в течение 10 секунд будет отображен символ «0», а затем символ,
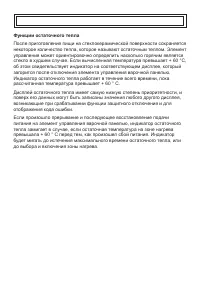
- 22 Функции остаточного тепла; превышала + 60 ° C перед тем, как произошел сбой питания. Индикатор
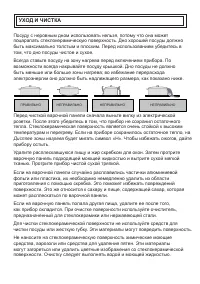
- 23 Дисплее зоны нагрева; УХОД И ЧИСТКА
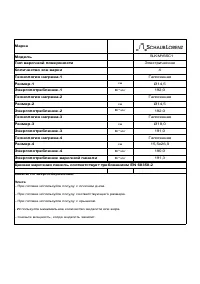
Характеристики

Остались вопросы?Не нашли свой ответ в руководстве или возникли другие проблемы? Задайте свой вопрос в форме ниже с подробным описанием вашей ситуации, чтобы другие люди и специалисты смогли дать на него ответ. Если вы знаете как решить проблему другого человека, пожалуйста, подскажите ему :)


