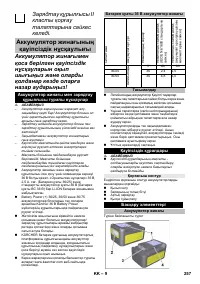
Строительные пылесосы Karcher 9.611-730.0 - инструкция пользователя по применению, эксплуатации и установке на русском языке. Мы надеемся, она поможет вам решить возникшие у вас вопросы при эксплуатации техники.
Если остались вопросы, задайте их в комментариях после инструкции.
"Загружаем инструкцию", означает, что нужно подождать пока файл загрузится и можно будет его читать онлайн. Некоторые инструкции очень большие и время их появления зависит от вашей скорости интернета.


– 11
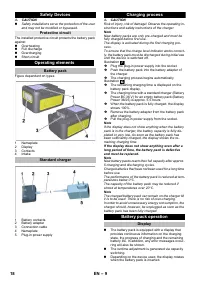
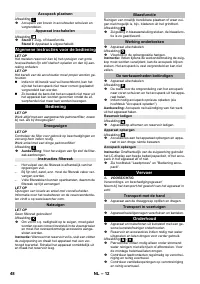
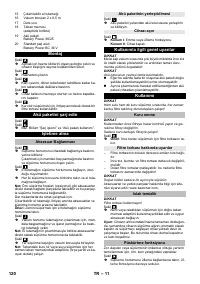
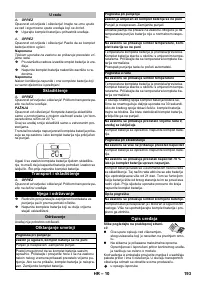
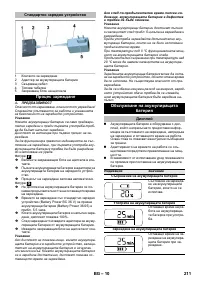
Illustrations on fold-out page!
These operating instructions de-
scribe the multi-purpose vacuum
cleaners listed on the front cover.
The illustrations show the maximum equipment;
depending on the model, there are differences in
equipment and supplied accessories.
When unpacking the product, make sure that no acces-
sories are missing and that none of the package con-
tents have been damaged. If you detect any transport
damages please contact your dealer.
included in the scope of delivery
possible accessories
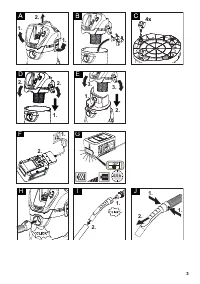
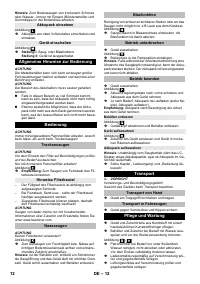
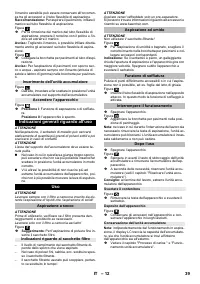
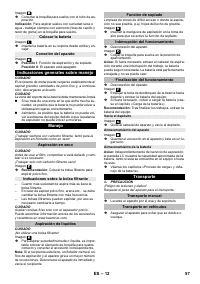
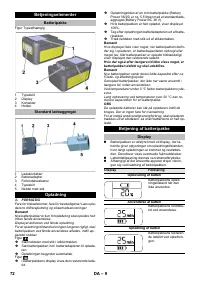
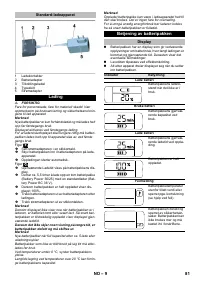
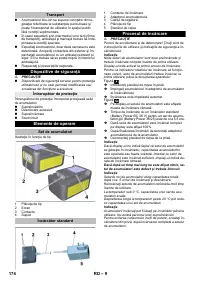
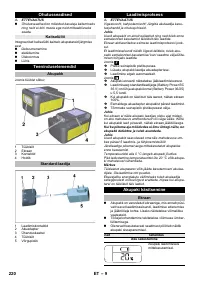
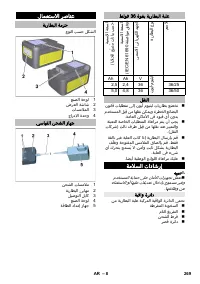
Illustration
To open, pull the container closures upwards and
remove the device head on the carrying handle.
Illustration
Remove the contents from the container.
Illustration
Turn the container, press in the steering roller in the
openings at the base of the container till the end-
point.
Illustration
Put the appliance head onto the container and lock
the container locks.
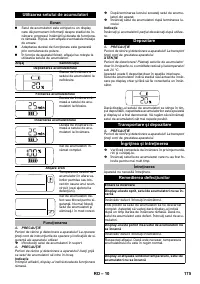
Illustration
For vacuuming dry dirt an additional filter bag can
be inserted if necessary.
Illustration
Illustration
See chapters "Charging process" and "Battery
pack operation".
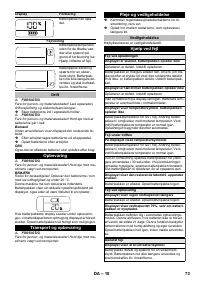
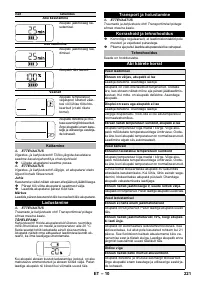
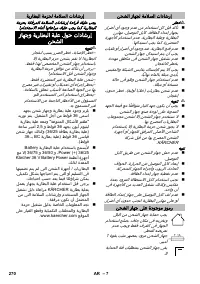
Illustration
Push the suction hose into the connection on the
appliance, it snaps in place.
In order to disconnect it, push down with your
thumb and pull the suction hose out.
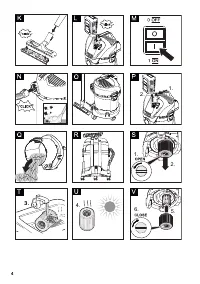
Illustration
Connect the handle with the suction hose until it
snaps in place.
Put both suction tubes together and connect them
with the handle.
Note:
Accessories, such as suction brushes (optional)
can be directly attached to the connecting piece and
thus connected to the suction hose.
For convenient working even in tight spaces.
The removable handle can be attached between the ac-
cessories and the suction hose if necessary.
Recommendation:
In order to vacuum the floor, attach
the handle to the suction hose.
Illustration
To remove the handle from the suction hose, press
the button with your thumb and index and remove
handle
Note:
Due to removing the handle, accessories can be
directly attached to the suction hose.
Illustration
Connect the floor nozzle with the suction pipe.
Note:
For vacuuming dry dirt or water off the floor - al-
ways work with the insert (brush strip and rubber lip) in
the floor nozzle.
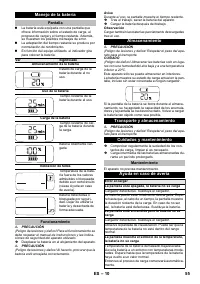
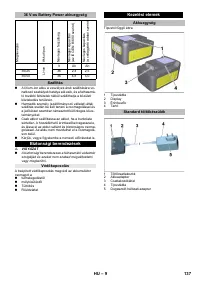
Illustration
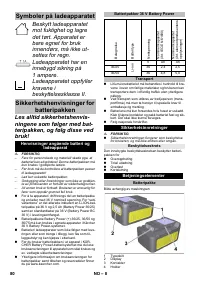
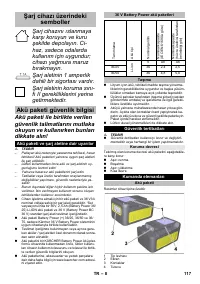
Push the battery pack from the top into the battery
holder and lock it.
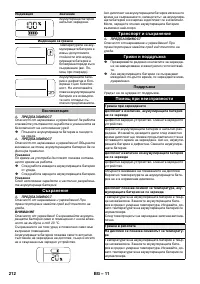
In case of a short circuit, the battery pack is disabled
for 30 seconds for further use. If the short-circuit oc-
curs more frequently, the battery pack is permanently
disabled. Connect the battery pack to the charger to
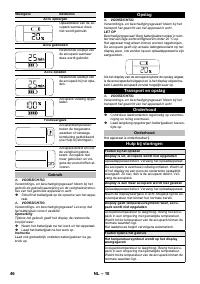
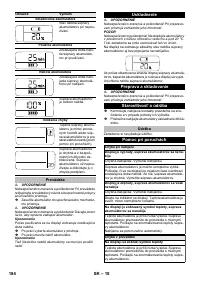
unlock it.
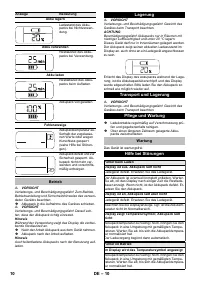
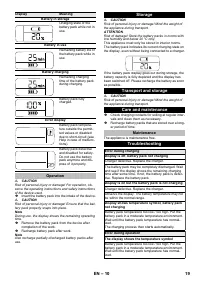
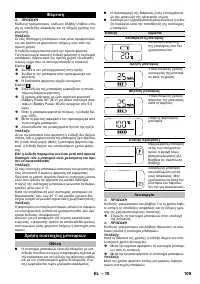
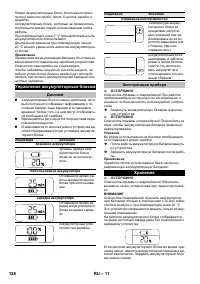
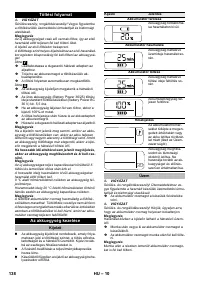
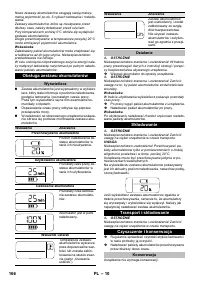
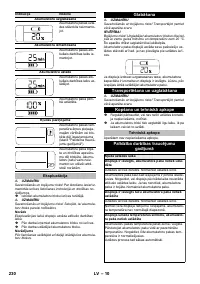
Display shows remaining run time 0, device
switches off.
The battery pack is discharged. Please recharge the
battery pack.
Storage error
Display shows no remaining capacity
The battery pack is discharged. Please recharge the
battery pack.
Display shows remaining capacity 70% even
though the battery pack has been freshly charged.
The battery pack is in automatic storage mode. This is
activated if the battery has not been used for more
than 21 days. This function protects the battery cells
against rapid aging and increases their service life.
Fully recharge the battery pack before next use.
General fault
Display screen shows broken battery symbol.
Battery pack defective and disabled for safety. Do not
use the battery pack anymore and dispose of it prop-
erly.
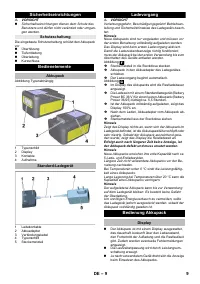
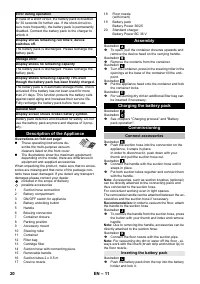
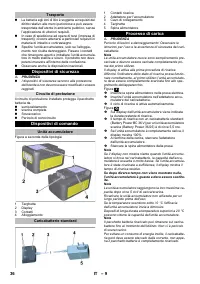
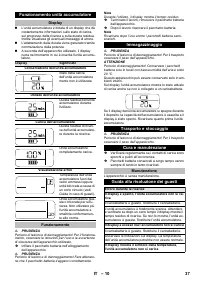
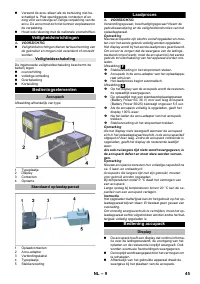
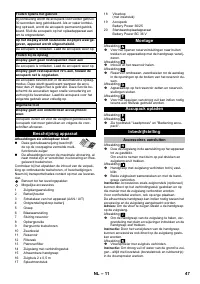
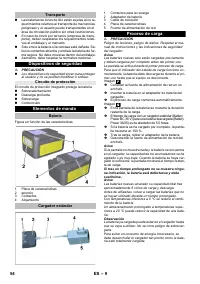
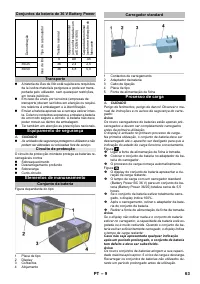
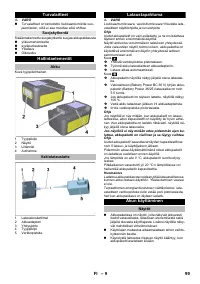
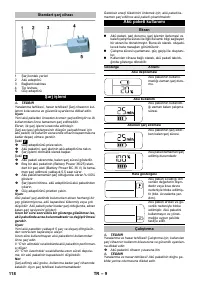
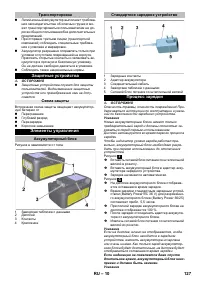
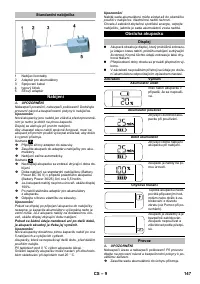
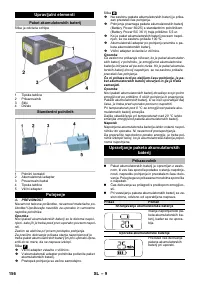
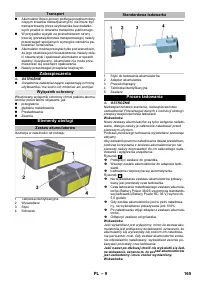
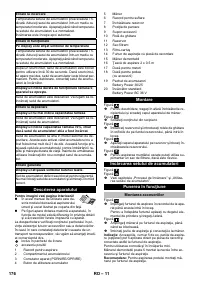
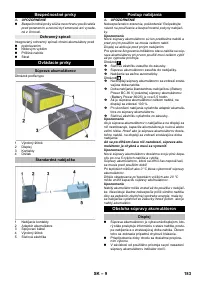
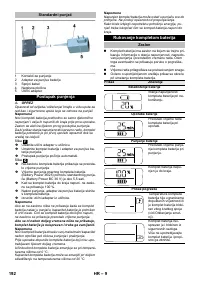
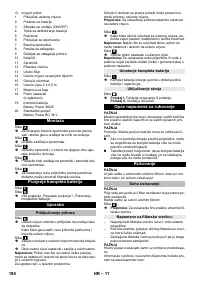
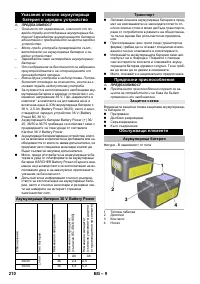
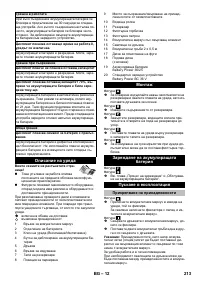
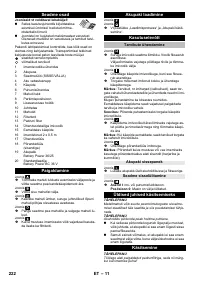
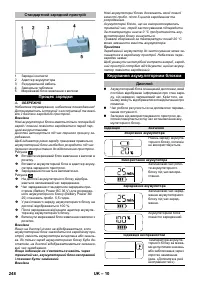
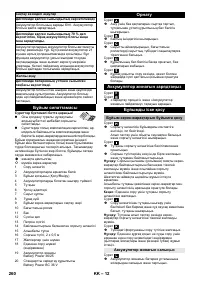
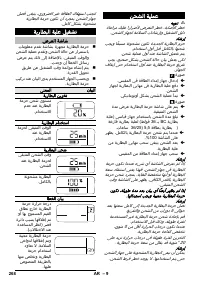
Description of the Appliance
1
Suction hose connection
2
Battery compartment
3
ON/OFF switch for appliance
4
Battery unlocking button
5
Handle
6
Blowing connection
7
Container closure
8
Parking position
9
Accessory mount
10
Steering roller
11
Container
12
Filter bag
13
Cartridge filter
14
Suction hose with connecting piece
15
Removable handle
16
Suction tubes 2 x 0.5 m
17
Crevice nozzle
Error during operation
18
Floor nozzle
(with insert)
19
Battery pack
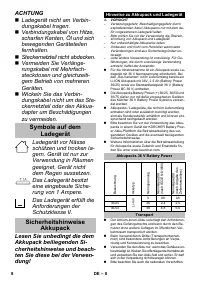
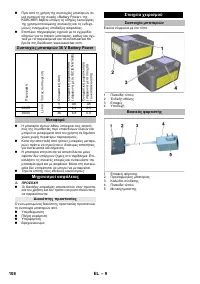
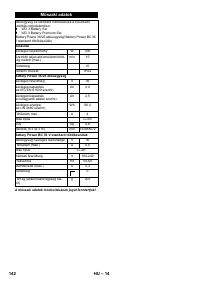
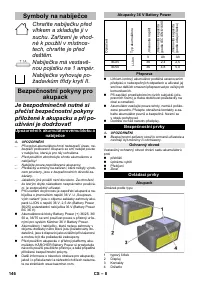
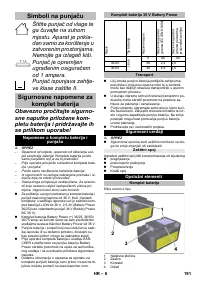
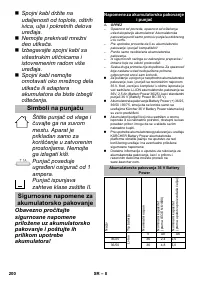
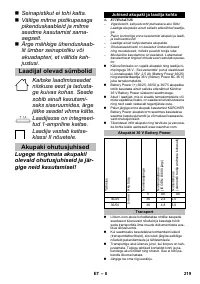
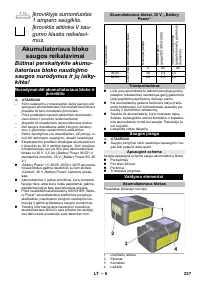
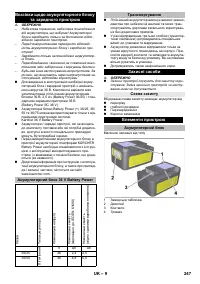
Battery Power 36/25
20
Standard charger
Battery Power BC 36 V
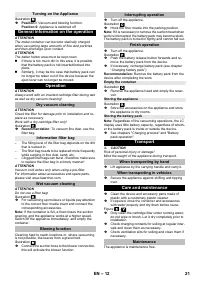
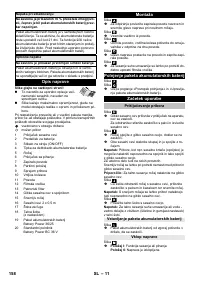
Assembly
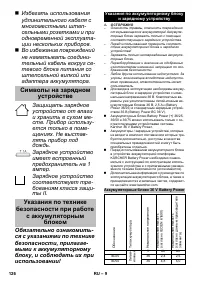
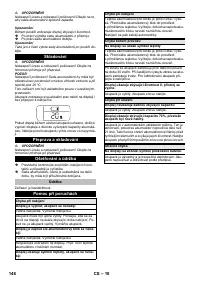
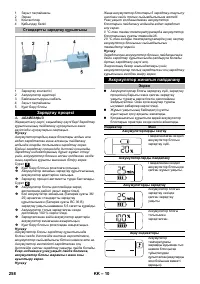
Charging the battery pack
Commissioning
Connect accessories
Inserting the battery pack
20
EN
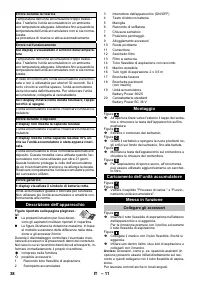
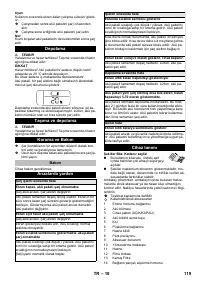
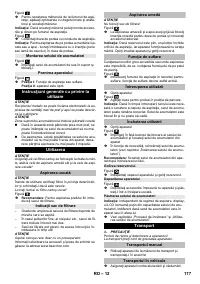
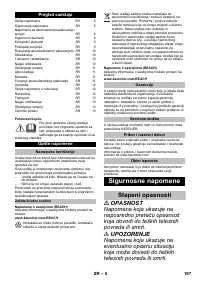
Содержание
- 123 Комплект поставки; Указания по технике
- 124 Прочие опасности
- 125 Коэффициент
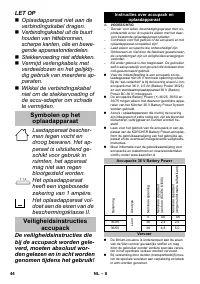
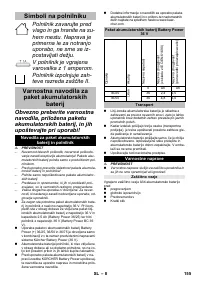
- 126 Указания по аккумуляторному блоку; Аккумуляторные блоки 36 V Battery Power
- 127 Транспортировка; Защитные устройства; Схема защиты; Элементы управления; Аккумуляторный блок; Процесс зарядки
- 128 Управление аккумуляторным блоком; Дисплей; Хранение
- 129 Транспортировка и хранение; Техническое обслуживание; Помощь в случае неполадок
- 130 Монтаж
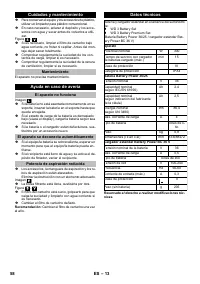
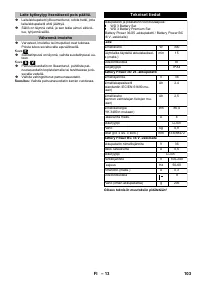
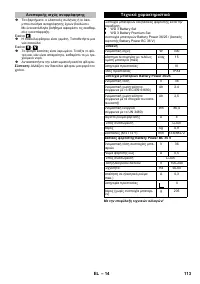
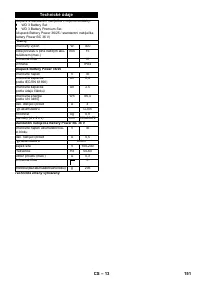
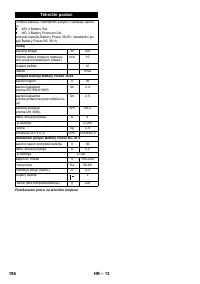
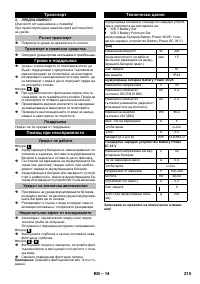
- 132 Технические данные
Характеристики

Остались вопросы?Не нашли свой ответ в руководстве или возникли другие проблемы? Задайте свой вопрос в форме ниже с подробным описанием вашей ситуации, чтобы другие люди и специалисты смогли дать на него ответ. Если вы знаете как решить проблему другого человека, пожалуйста, подскажите ему :)


