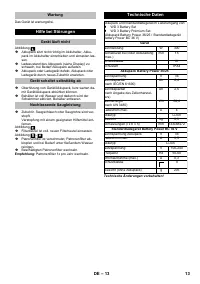
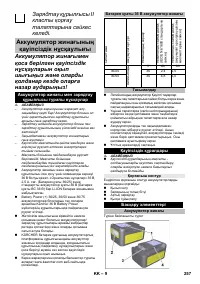
Строительные пылесосы Karcher 9.611-730.0 - инструкция пользователя по применению, эксплуатации и установке на русском языке. Мы надеемся, она поможет вам решить возникшие у вас вопросы при эксплуатации техники.
Если остались вопросы, задайте их в комментариях после инструкции.
"Загружаем инструкцию", означает, что нужно подождать пока файл загрузится и можно будет его читать онлайн. Некоторые инструкции очень большие и время их появления зависит от вашей скорости интернета.


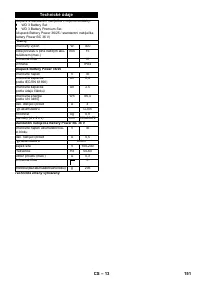
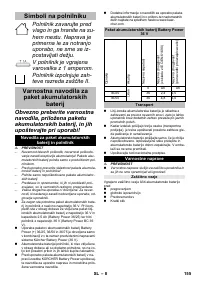


– 9
몇
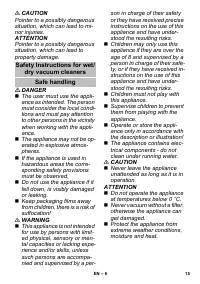
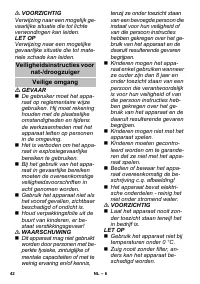
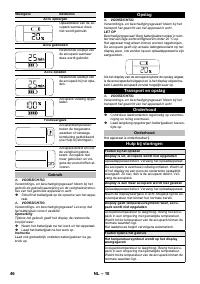
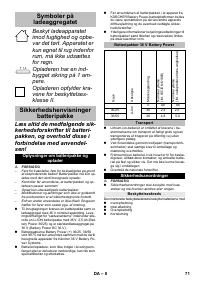
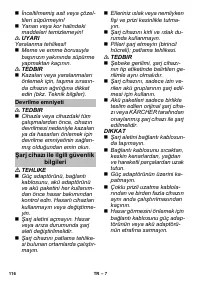
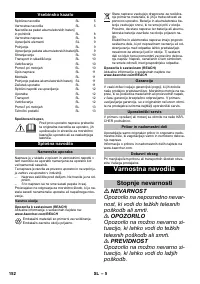
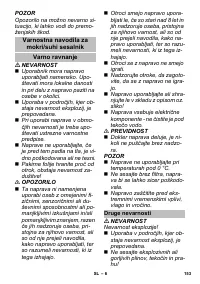
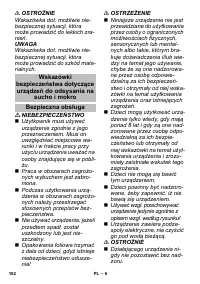
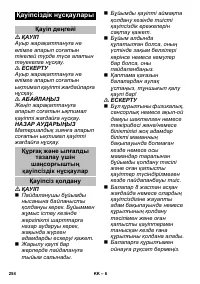
CAUTION
Safety installations serve the protection of the user
and may not be modified or bypassed.
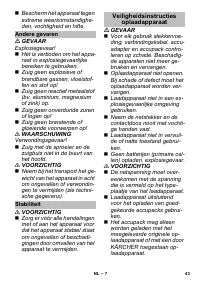
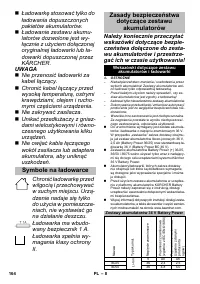
The installed protective circuit protects the battery pack
against
Overheating
Full discharge
Overcharging
Short-circuit
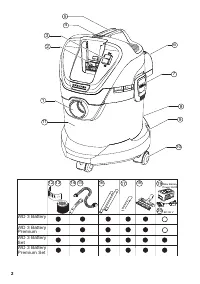
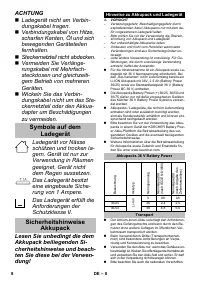
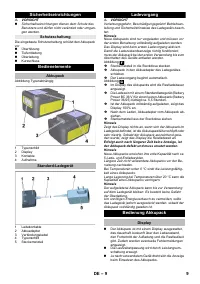
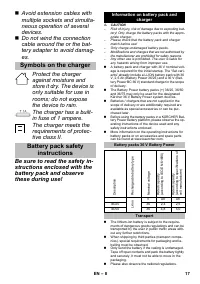
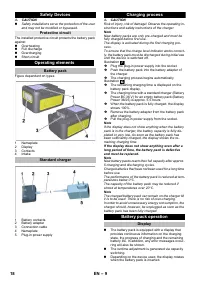
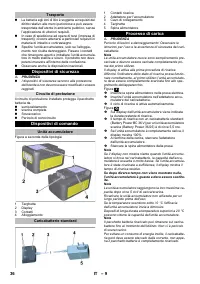
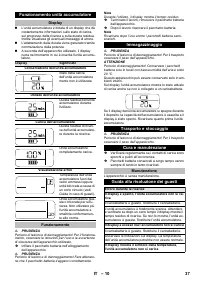
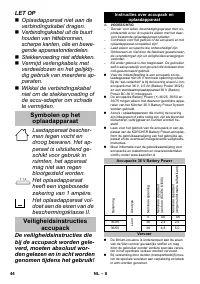
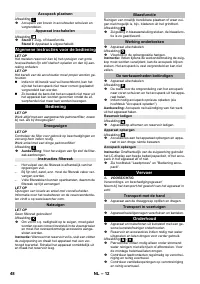
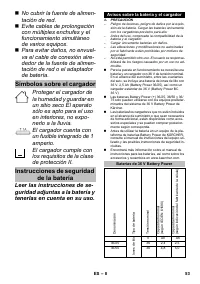
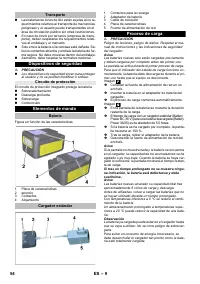
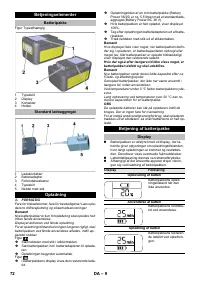
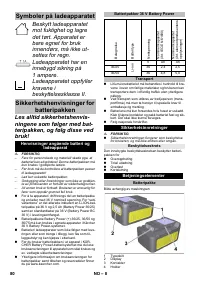
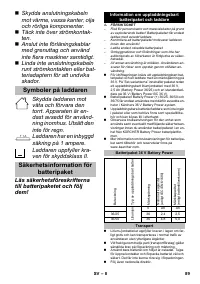
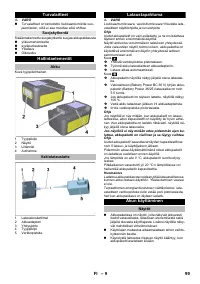
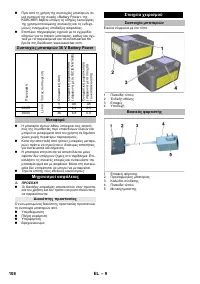
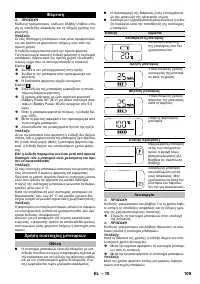
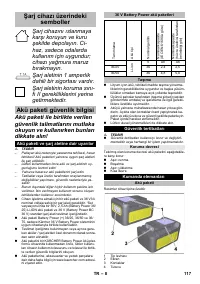
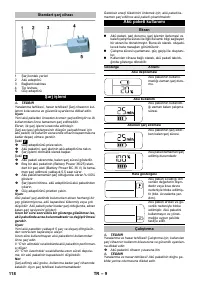
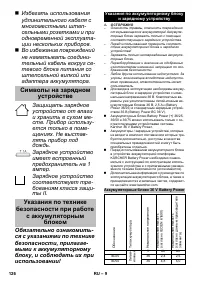
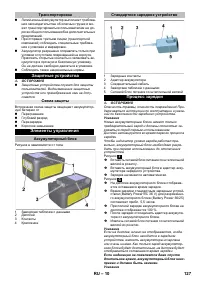
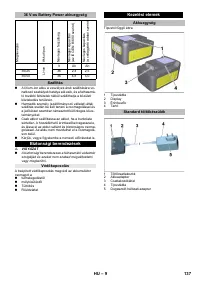
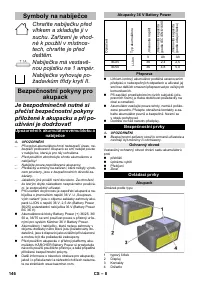
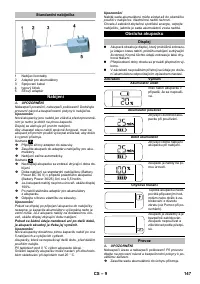
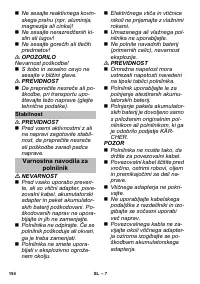
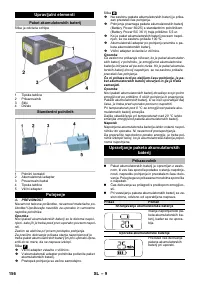
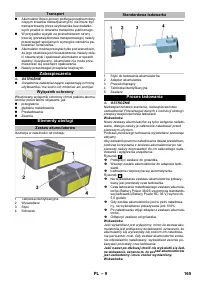
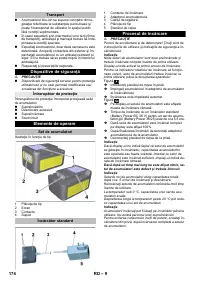
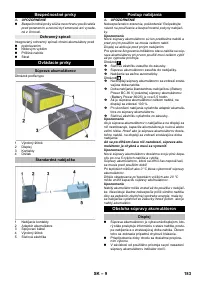
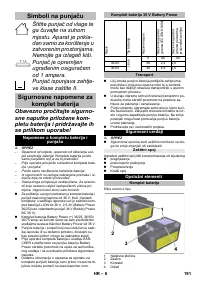
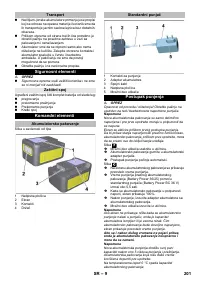
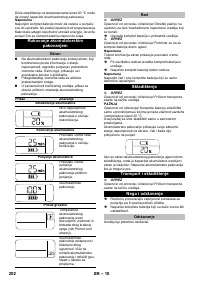
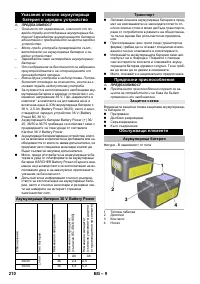
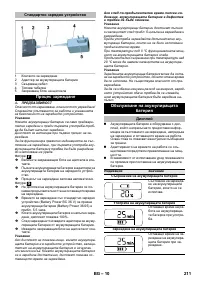
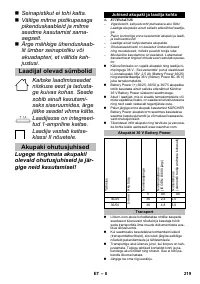
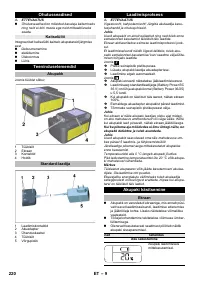
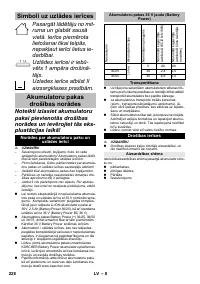
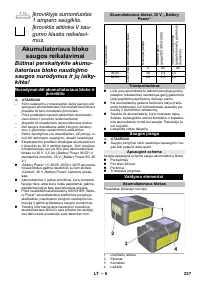
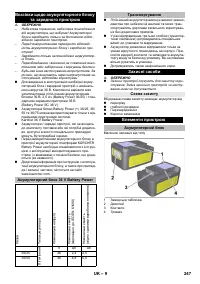
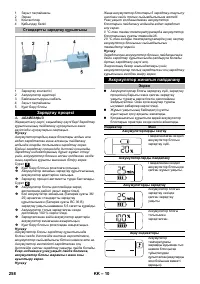
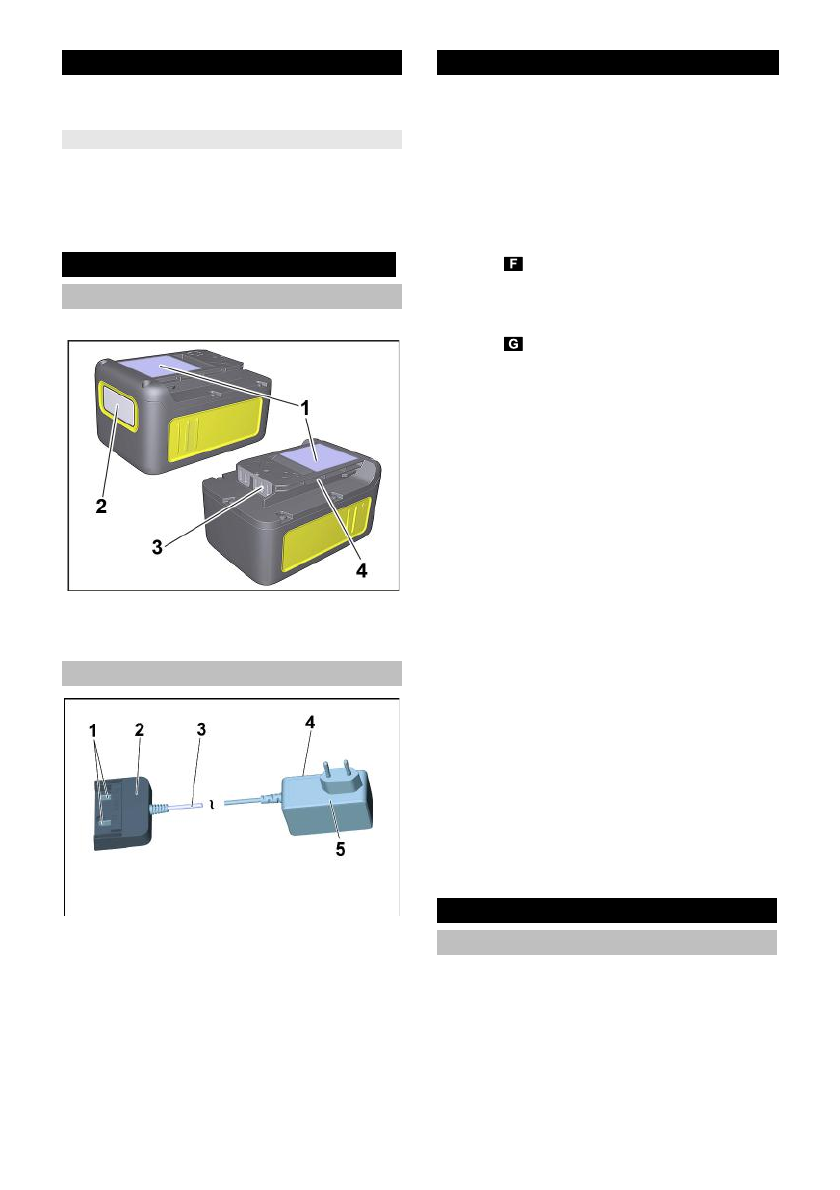
Figure dependent on types
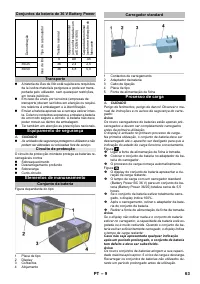
1
Nameplate
2
Display
3
Contacts
4
Intake
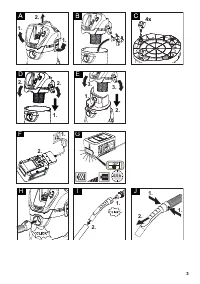
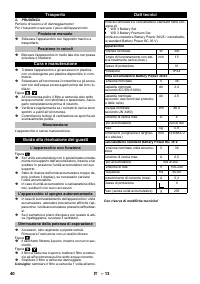
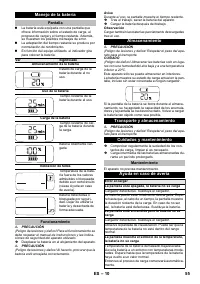
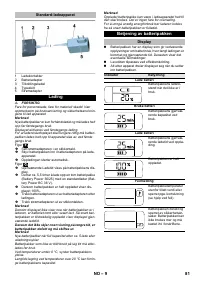
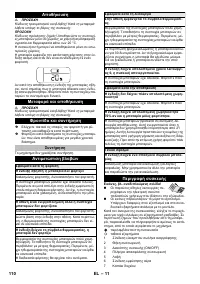
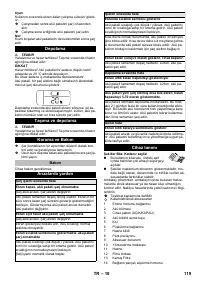
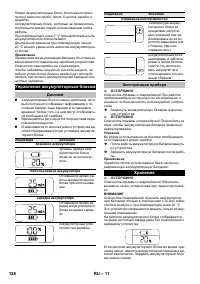
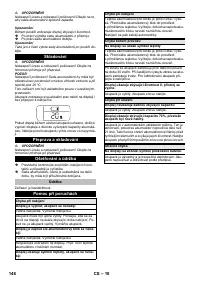
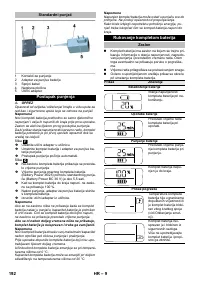
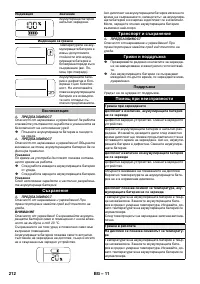
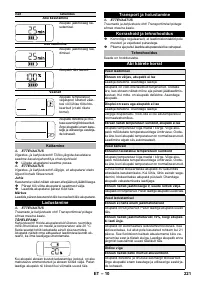
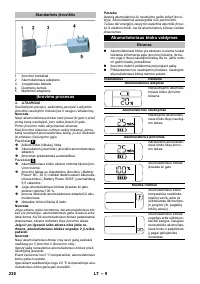
1
Battery contacts
2
Battery adapter
3
Connection cable
4
Nameplate
5
Plug-in power supply
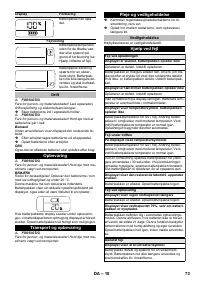
몇
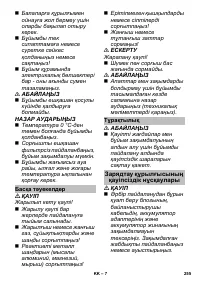
CAUTION
Risk of injury, risk of damage! Observe the operating in-
structions and safety instructions of the charger.
Note
New battery packs are only pre-charged and must be
fully charged before first use.
The display is activated during the first charging pro-
cess.
To ensure that the charge level indicator works correct-
ly, the battery pack must be discharged during initial use
until the device is switched off.
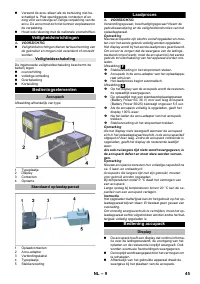
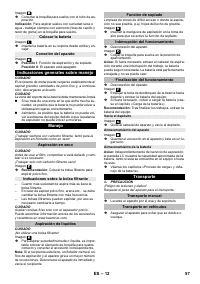
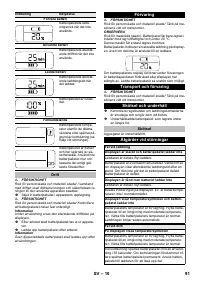
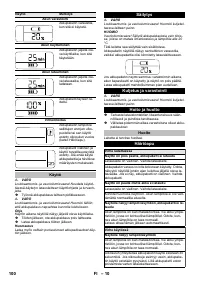
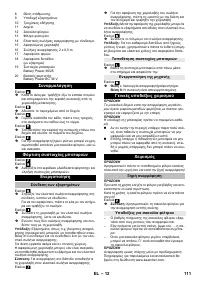
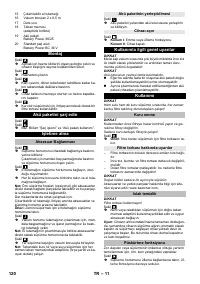
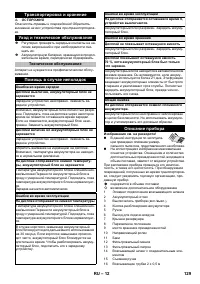
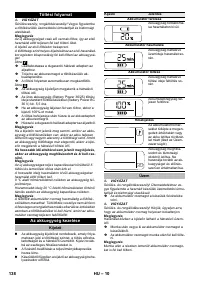
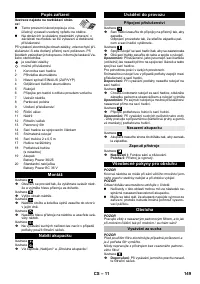
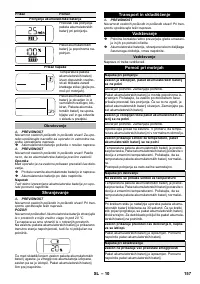
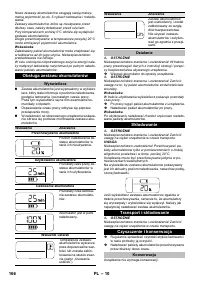
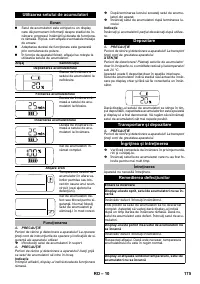
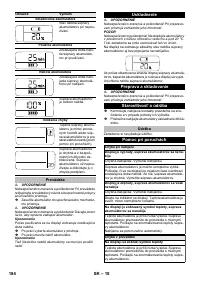
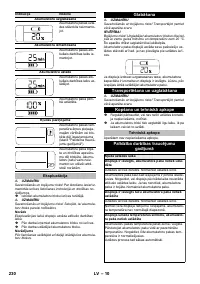
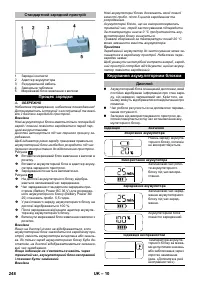
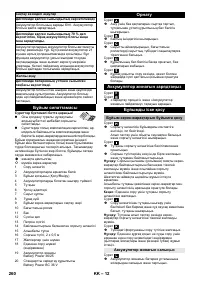
Illustration
Plug the plug-in power supply into the socket.
Push the battery pack into the battery adapter of
the charger.
The charging process begins automatically.
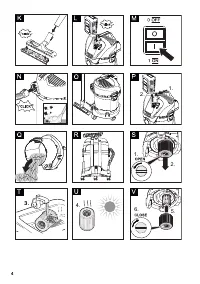
Illustration
The remaining charging time is displayed on the
battery pack display.
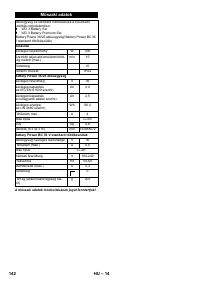
The charging time with a standard charger (Battery
Power BC 36 V) for an empty battery pack (Battery
Power 36/25) is approx. 5,5 hours.
When the battery pack is fully charged, the display
shows 100%.
Remove the battery adapter from the battery pack
after charging.
Pull the plug-in power supply from the socket.
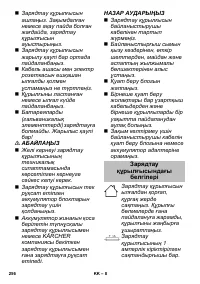
Note
If the display does not show anything when the battery
pack is in the charger, the battery capacity is fully de-
pleted or very low. As soon as the battery pack has
been sufficiently charged, the display shows the re-
maining charging time.
If the display does not show anything even after a
long period of time, the battery pack is defective
and must be replaced.
Note
New battery packs reach their full capacity after approx.
5 charging and discharging cycles.
Charge batteries that have not been used for a long time
before use.
The performance of the battery pack is reduced at tem-
peratures below 0°C.
The capacity of the battery pack may be reduced if
stored at temperatures over 20°C.
Note
The charged battery pack can remain on the charger till
it is to be used. There is no risk of over-charging.
In order to avoid unnecessary energy consumption, the
charger should, however, be unplugged as soon as the
battery pack has been fully charged.
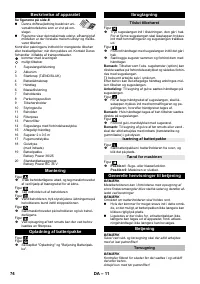
The battery pack is equipped with a display that
provides continuous information on the charging
state, the progress of charging and the remaining
battery life. In addition, any error messages occur-
ring will also be shown.
The runtime adjustment is generated via capacity
switching.
Depending on the device used, the display rotates
when the battery pack is inserted.
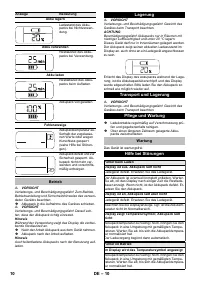
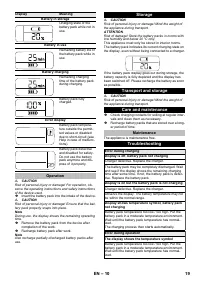
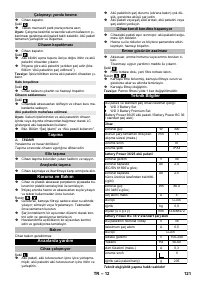
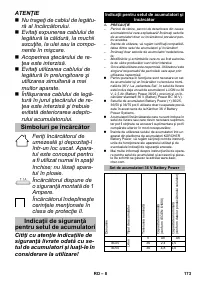
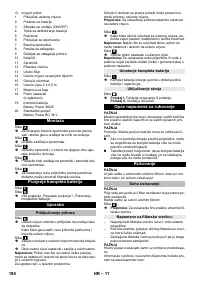
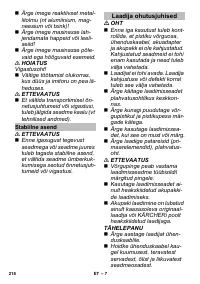
Safety Devices
Protective circuit
Operating elements
Battery pack
Standard charger
Charging process
Battery pack operation
Display
18
EN
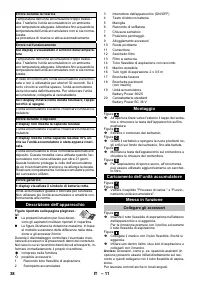
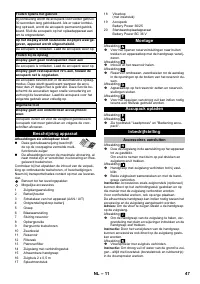
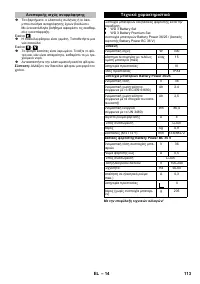
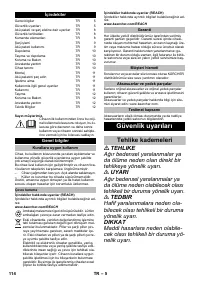
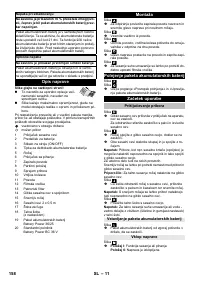
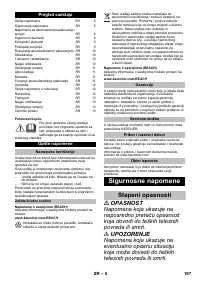
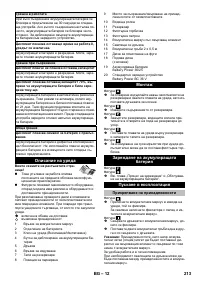
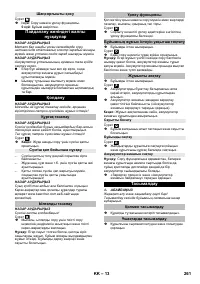
Содержание
- 123 Комплект поставки; Указания по технике
- 124 Прочие опасности
- 125 Коэффициент
- 126 Указания по аккумуляторному блоку; Аккумуляторные блоки 36 V Battery Power
- 127 Транспортировка; Защитные устройства; Схема защиты; Элементы управления; Аккумуляторный блок; Процесс зарядки
- 128 Управление аккумуляторным блоком; Дисплей; Хранение
- 129 Транспортировка и хранение; Техническое обслуживание; Помощь в случае неполадок
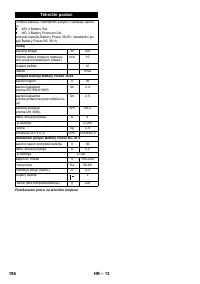
- 130 Монтаж
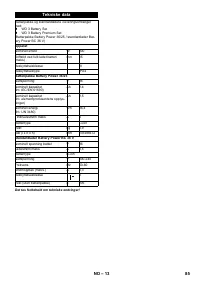
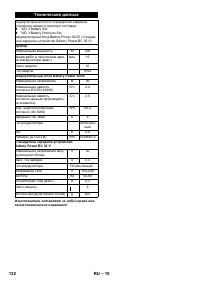
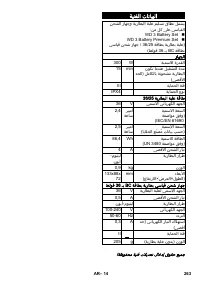
- 132 Технические данные
Характеристики

Остались вопросы?Не нашли свой ответ в руководстве или возникли другие проблемы? Задайте свой вопрос в форме ниже с подробным описанием вашей ситуации, чтобы другие люди и специалисты смогли дать на него ответ. Если вы знаете как решить проблему другого человека, пожалуйста, подскажите ему :)


