
Строительные пылесосы Bosch AdvancedVac 20 - инструкция пользователя по применению, эксплуатации и установке на русском языке. Мы надеемся, она поможет вам решить возникшие у вас вопросы при эксплуатации техники.
Если остались вопросы, задайте их в комментариях после инструкции.
"Загружаем инструкцию", означает, что нужно подождать пока файл загрузится и можно будет его читать онлайн. Некоторые инструкции очень большие и время их появления зависит от вашей скорости интернета.


16
| English
1 609 92A 43W | (6.9.17)
Bosch Power Tools
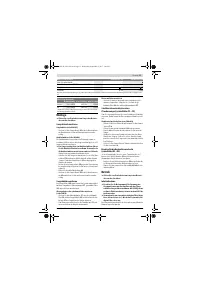
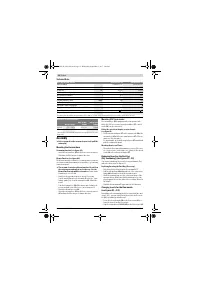
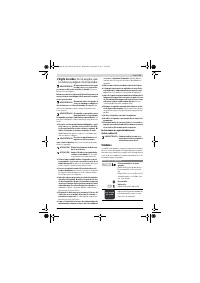
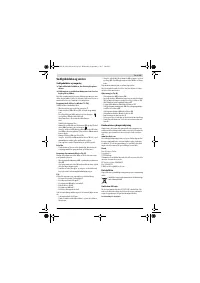
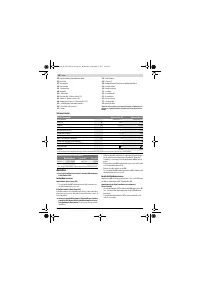
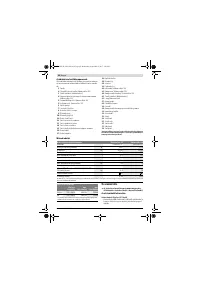
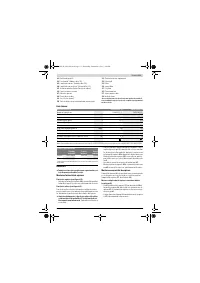
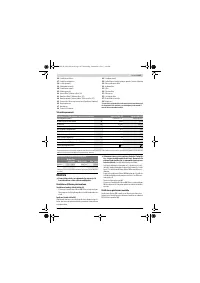
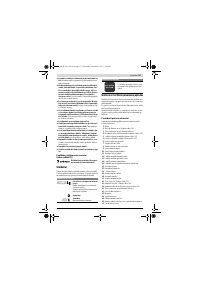
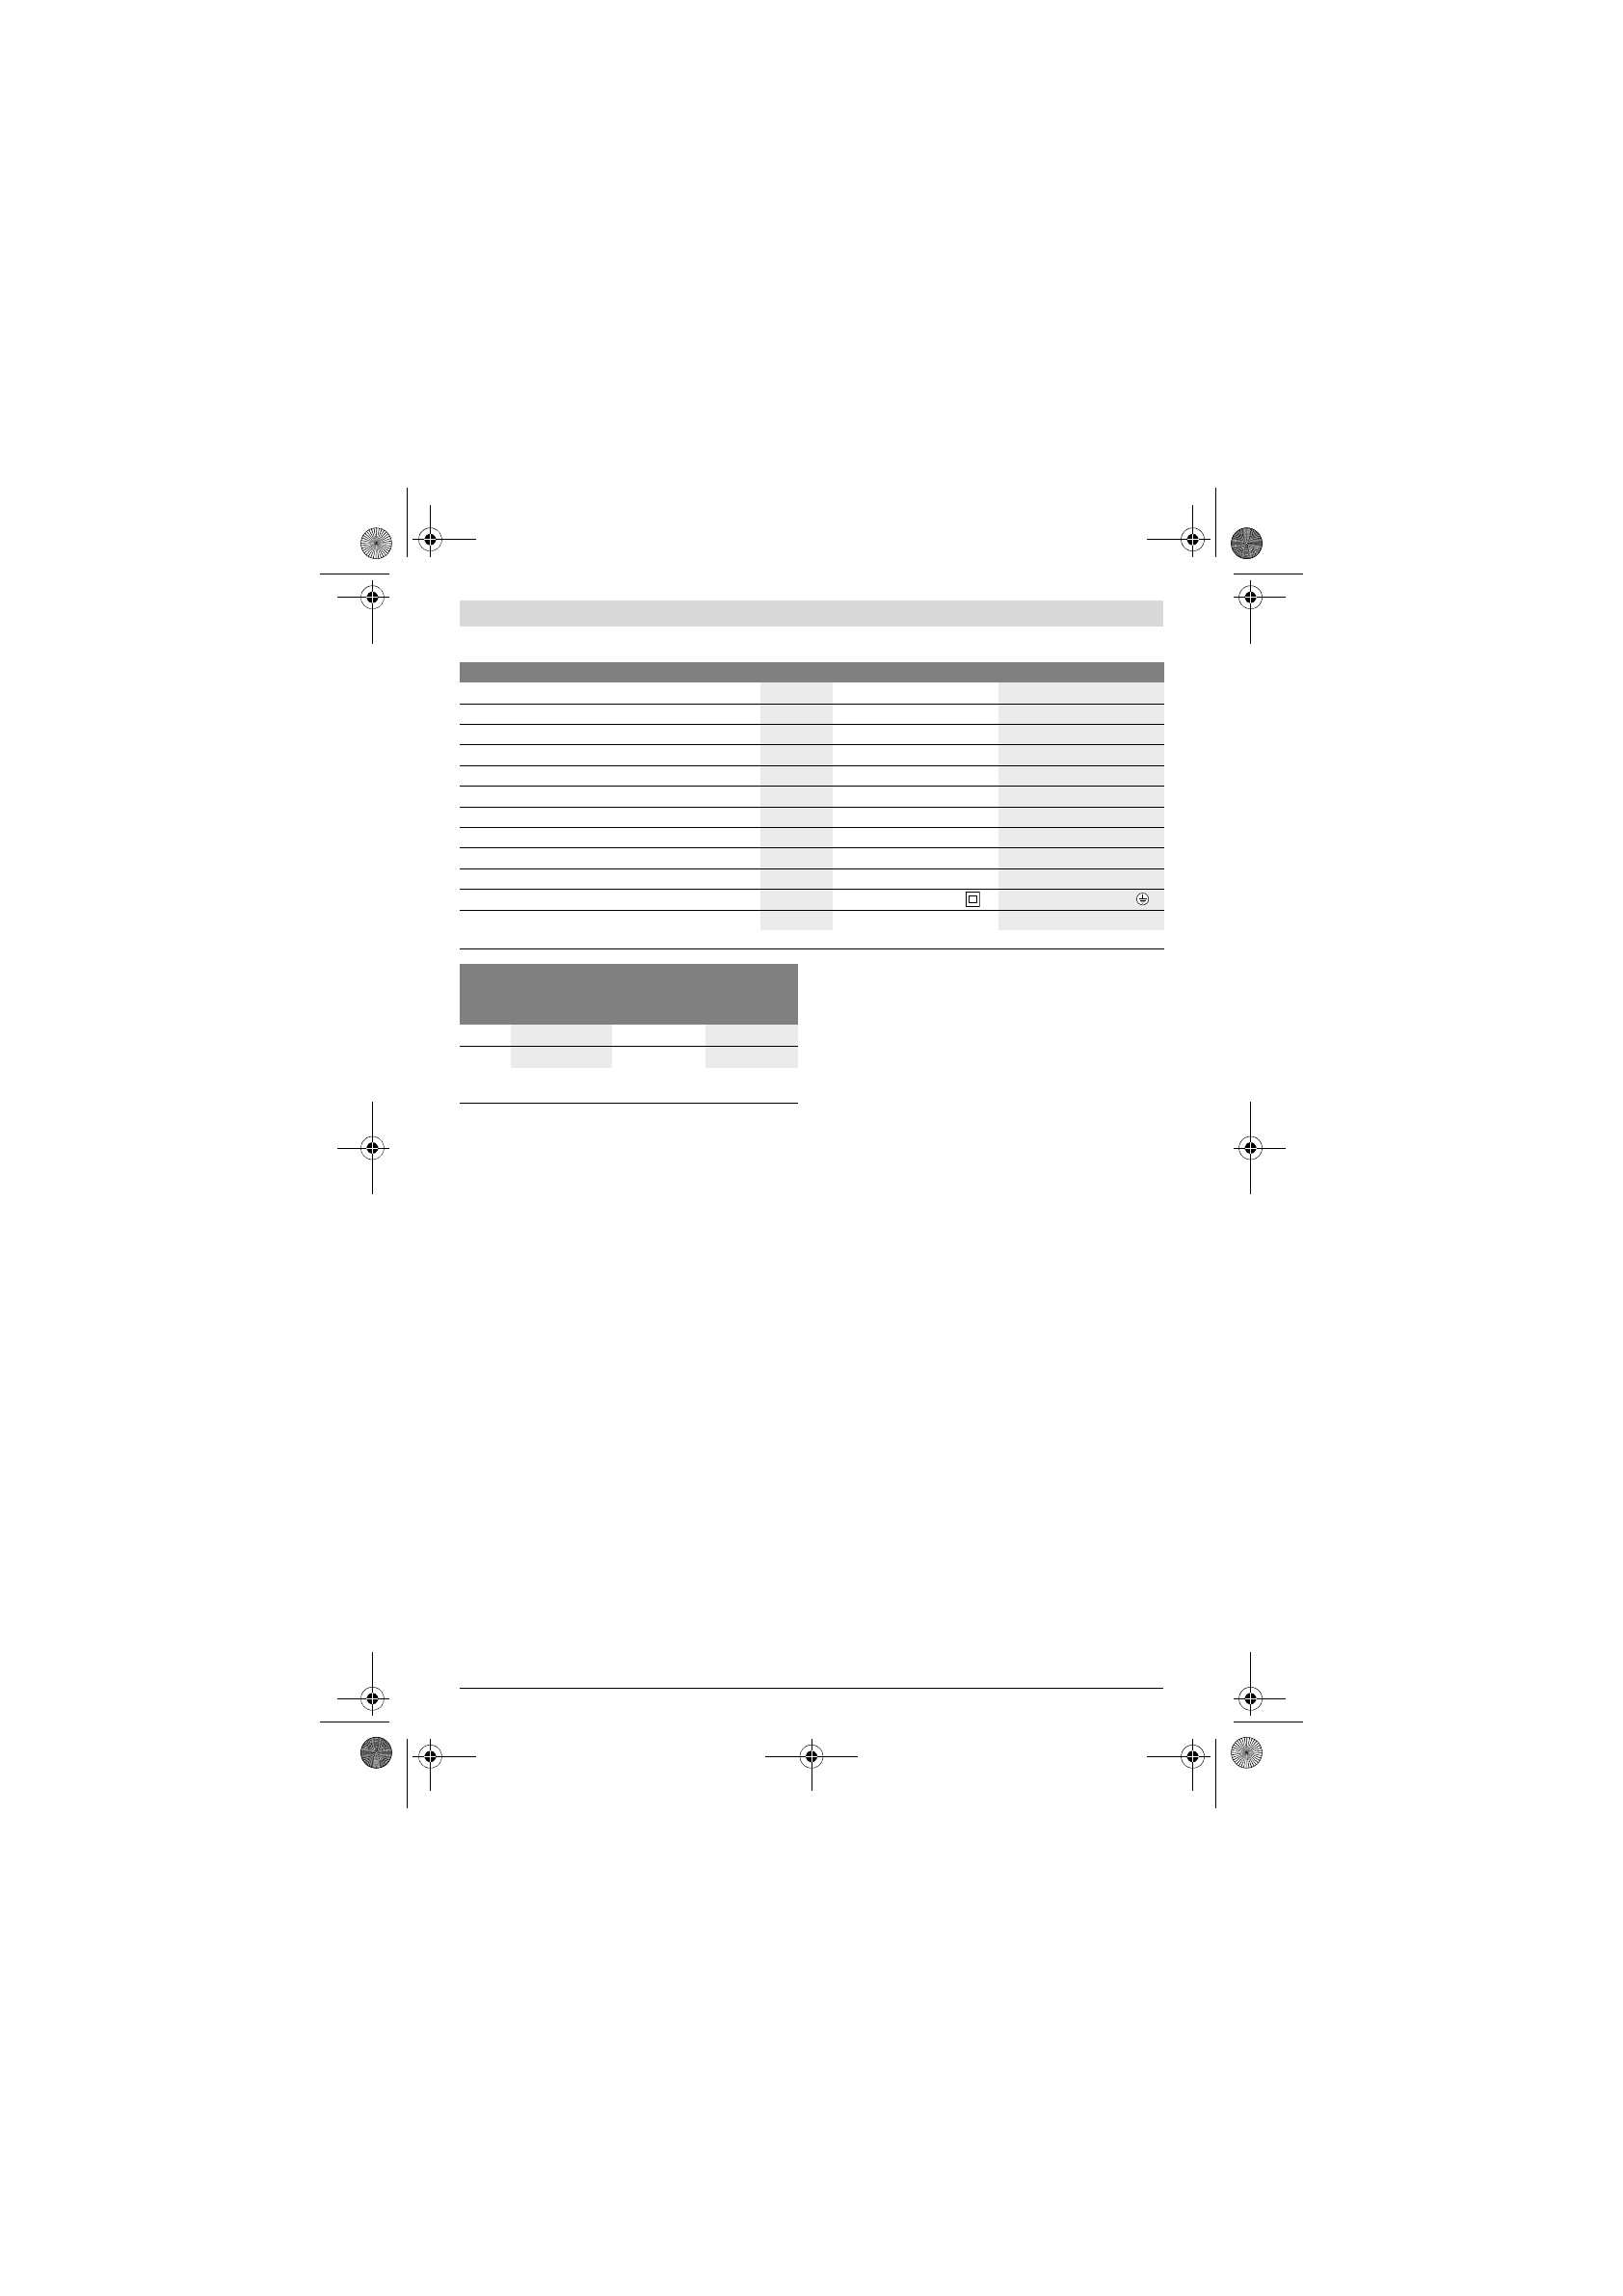
Technical Data
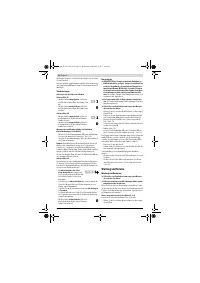
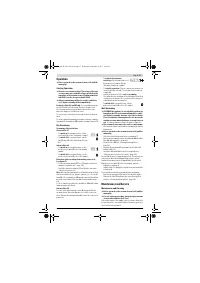
Assembly
Before any work on the vacuum cleaner itself, pull the
mains plug.
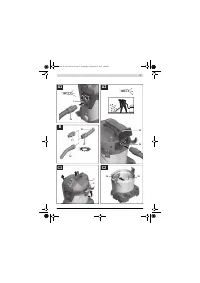
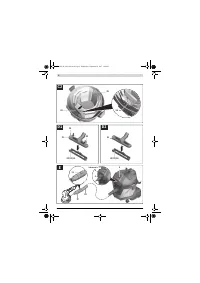
Mounting the Vacuum Hose
Vacuuming function (see figure A1)
– Insert the vacuum hose
16
into the hose connection piece
3
and turn it all the way in clockwise direction.
Blower Function (see figure A2)
The blower function is suitable for cleaning hard-to-reach are-
as or areas in which vacuuming is not possible, e.g. removing
leaves from gravel.
The vacuum cleaner has a blower function. Do not blow
the outgoing air randomly in enclosed areas. Use the
blower function only with the a clean hose.
Dusts can be
hazardous to one’s health.
– Switch on the vacuum cleaner for at least 5 seconds
(on/off switch
5
/mode selector switch
5
set to the “Vacu-
uming” symbol) to clean the vacuum hose
16
of dust de-
posits.
– Turn the vacuum hose
16
all the way in anti-clockwise di-
rection and pull it out of the hose connection piece
3
.
– Open the exhaust air cover
26
.
– Insert the vacuum hose
16
into the hose connection piece
25
and turn it all the way in clockwise direction.
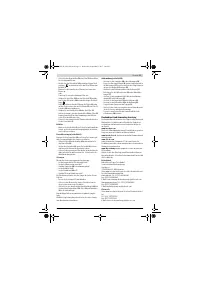
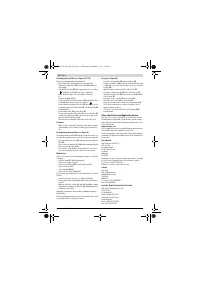
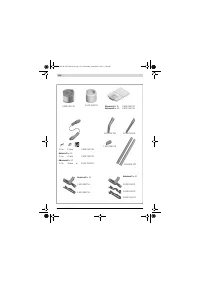
Mounting VAC Accessories
The vacuum hose
16
is equipped with a clip system, with
which the VAC accessories (extraction adapter
17
, curved
nozzle
18
) can be connected.
Fitting the extraction adapter or curved nozzle
(see figure B)
– Fit the extraction adapter
17
or the curved nozzle
18
to the
vacuum hose
16
until the two snap fasteners
27
of the vac-
uum hose click into place.
– To disassemble, press both snap-fasteners
27
inward and
pull the components apart.
Mounting Nozzles and Tubes
– Then attach the required vacuuming accessory (floor noz-
zle, crevice nozzle, suction tube, etc.) firmly to the curved
nozzle
18
or the extraction adapter
17
.
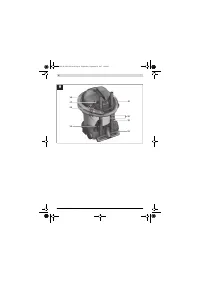
Replacing/Inserting the Dust Bag
(Dry Vacuuming) (see figures C1 – C2)
You can use a dust bag (accessory) for dry vacuuming. This
makes the dust easier to dispose of.
Replacing/Inserting the Dust Bag (Accessory)
– Unlock the latches
8
and remove the vacuum lid
7
.
– Pull the full dust bag
29
backwards out of the connection
flange
28
and remove it from the vacuum cleaner.
– Work the new dust bag over the connection flange of the
vacuum cleaner. Make sure that the dust bag faces com-
pletely against the interior sides of the container
1
over its
full length.
– Reattach the vacuum lid
7
again and lock the latches
8
.
Changing inserts for the floor nozzle
(see figures D1 – D2)
Depending on the vacuuming work to be carried out (dry, wet,
carpet, etc.), you can clip different inserts into the floor noz-
zle
21
(e.g. rubber lip, brush insert).
– Press the release buttons
30
on the floor nozzle
21
to re-
lease the insert from the floor nozzle.
– Clip the required insert
22
/
23
/
24
into the floor nozzle
21
.
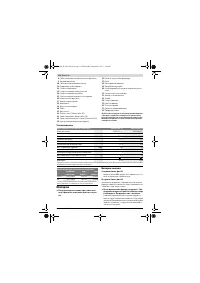
Wet/dry vacuum cleaner
UniversalVac 15
AdvancedVac 20
Article number
0 603 3D1 1..
0 603 3D1 2..
Rated power input
W
1000
1200
Frequency
Hz
50 / 60
50 / 60
Container volume (gross)
l
15.0
20.0
Net volume (for fluids)
l
8.5
13.5
Dust bag contents
l
11.8
16.8
Vacuum (turbine), max.
mbar
240
260
Airflow (turbine), max.
l/s
65
70
Automatic Start/Stop feature
–
Weight according to EPTA-Procedure 01:2014
kg
6.9
7.6
Protection class
/
II
/
I
Degree of protection
IP X4
IP X4
The values given are valid for nominal voltages [U] of 230 V. For lower voltage and models for specific countries, these values can vary.
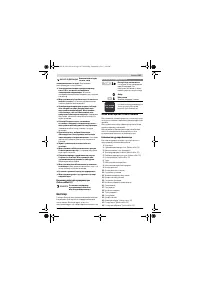
Automatic Start/Stop feature*
Rated voltage
max. power
output
min. power
output
EU/AUS
220 – 240 V
2000 W
100 W
UK
220 – 240 V
1800 W
100 W
* Specification of the allowable load of the connected power tool (coun-
try-specific)
OBJ_BUCH-3012-003.book Page 16 Wednesday, September 6, 2017 3:04 PM
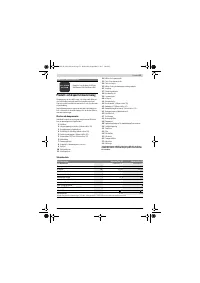
Содержание
- 95 Символы; Изображенные составные части
- 96 Технические данные; Сборка; Подключение шланга всасывания
- 97 Монтаж принадлежностей для всасывания; Работа с инструментом; Включение электроинструмента
- 98 Всасывание жидкостей; Техобслуживание и сервис; Техобслуживание и очистка
- 100 Утилизация; Українська; Вказівки з техніки безпеки; Цей пилосмок не розрахований; Інакше можливе
Характеристики

Остались вопросы?Не нашли свой ответ в руководстве или возникли другие проблемы? Задайте свой вопрос в форме ниже с подробным описанием вашей ситуации, чтобы другие люди и специалисты смогли дать на него ответ. Если вы знаете как решить проблему другого человека, пожалуйста, подскажите ему :)


