
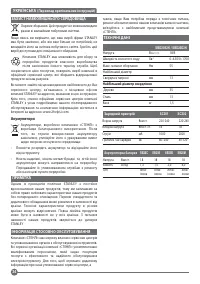
Шуруповерты Stanley SBD201M2K-RU - инструкция пользователя по применению, эксплуатации и установке на русском языке. Мы надеемся, она поможет вам решить возникшие у вас вопросы при эксплуатации техники.
Если остались вопросы, задайте их в комментариях после инструкции.
"Загружаем инструкцию", означает, что нужно подождать пока файл загрузится и можно будет его читать онлайн. Некоторые инструкции очень большие и время их появления зависит от вашей скорости интернета.


ENGLISH
(Original instructions)
8
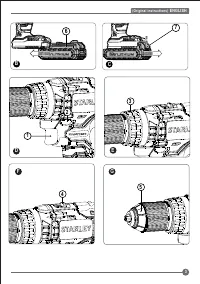
WARNING!
Do not attempt to tighten or loosen drill bits (or
any other accessory) by gripping the front part of the chuck
and turning the tool on. Damage to the chuck and personal
injury may occur when changing accessories.
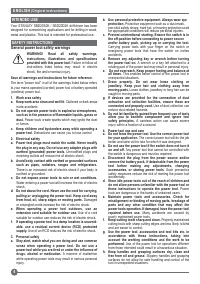
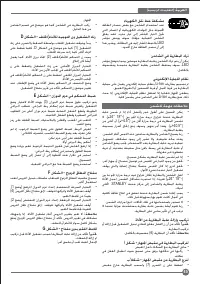
Screw driving
• For driving fasteners, the forward/reverse button should be
pushed to the left.
• Use reverse (button pushed to the right) for removing
fasteners.
NOTE:
When moving from forward to reverse, or vice versa,
always release the trigger switch first.
Drilling
• Use sharp drill bits only.
• Support and secure work properly, as instructed in the
Safety Instructions.
• Use appropriate and required safety equipment, as
instructed in the Safety Instructions.
• Secure and maintain work area, as instructed in the Safety
Instructions.
• Run the drill very slowly, using light pressure, until the hole
is started enough to keep the drill bit from slipping out of it.
• Apply pressure in a straight line with the bit. Use enough
pressure to keep the bit biting but not so much as to stall
the motor or deflect the bit.
• Hold the drill firmly with two hands, one hand on the handle,
and the other gripping the bottom around the battery area
or the auxiliary handle if provided.
• DO NOT CLICK THE TRIGGER OF A STALLED DRILL
OFF AND ON IN AN ATTEMPT TO START IT. DAMAGE
TO THE DRILL CAN RESULT.
• Minimize stalling on breakthrough by reducing pressure
and slowly drilling through the last part of the hole.
• Keep the motor running while pulling the bit out of a drilled
hole. This will help reduce jamming.
• Make sure switch turns drill on and off.
Drilling in wood
Holes in wood can be made with the same twist drill bits used
for metal or with spade bits.
These bits should be sharp and should be pulled out frequently
when drilling to clear chips from the flutes.
Drilling in metal
Use a cutting lubricant when drilling metals. The exceptions are
cast iron and brass which should be drilled dry. The cutting
lubricants that work best are sulphurized cutting oil.
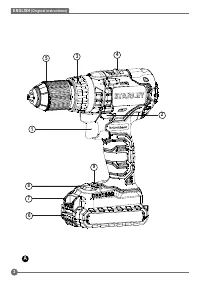
LED work light
When drill is activated by pulling the trigger switch (1), the
integrated LED work light (8)will automatically illuminate the
work area.
NOTE:
The work light is for lighting the immediate work surface
and is not intended to be used as a flashlight.
Bit tip holder
A bit storage slot (9) is built into the base of the tool.
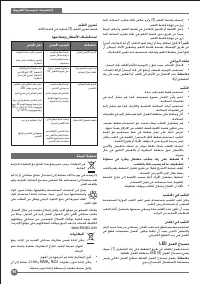
Troubleshooting
MAINTENANCE
Your STANLEY tool has been designed to operate over a long
period of time with a minimum of maintenance. Continuous
satisfactory operation depends upon proper tool care and
regular cleaning.
Your charger does not require any maintenance apart from
regular cleaning.
WARNING!
Before performing any maintenance on the tool,
remove the battery from the tool. Unplug the charger before
cleaning it.
• Regularly clean the ventilation slots in your tool and
charger using a soft brush or dry cloth.
• Regularly clean the motor housing using a damp cloth. Do
not use any abrasive or solvent-based cleaner.
• Regularly open the chuck and tap it to remove any dust
from the interior.
PROTECTING THE ENVIRONMENT
Separate collection. This product must not be disposed
of with normal household waste.
Should you find one day that your STANLEY product needs
replacement, or if it is of no further use to you, do not dispose
of it with household waste. Make this product available for
separate collection.
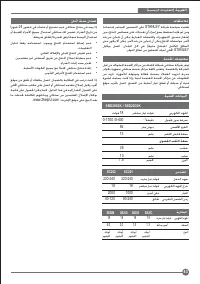
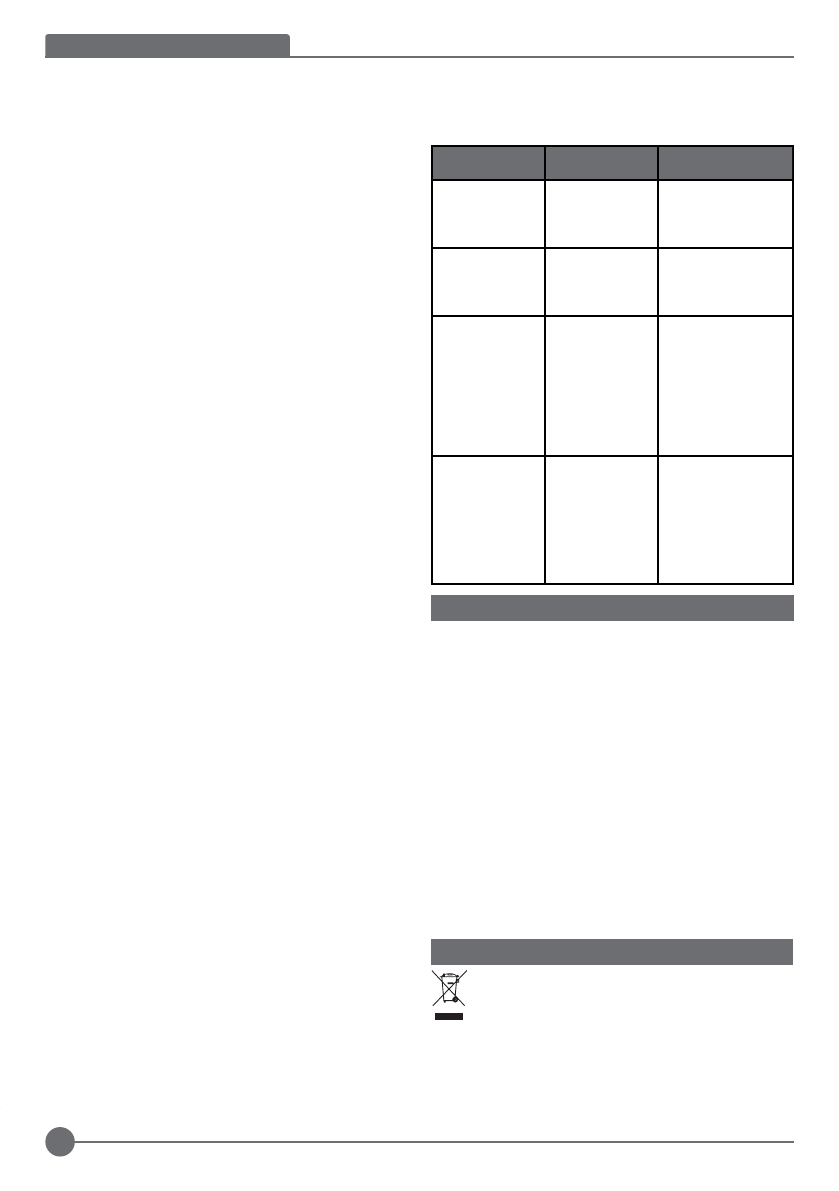
Unit will not start.
Battery pack not
installed properly.
Battery pack not
charged.
Check battery pack
installation.
Check battery pack charg-
ing requirements
Unit starts immedi-
ately upon inserting
battery
The switch has
been left in the “on”
position.
The switch must be
moved to “off” to prevent
the tool from immediately
starting when battery is
inserted.
Battery pack will not
charge.
Battery pack not
inserted into charger.
Charger not plugged
in.
Surrounding air
temperature too hot or
too cold.
Insert battery pack into
charger until LED lights.
Plug charger into a work-
ing outlet.
Move charger and battery
pack to a surrounding air
temperature of above 40
degrees F (45ºC) or below
105 degrees F (+40.5ºC)
Unit shuts off
abruptly.
Battery pack has
reached its maximum
thermal limit.
Out of charge. (To
maximize the life of
the battery pack it is
designed to shutoff
abruptly when the
charge is depleted
Allow battery pack to cool
down.
Place on charger
and allow to charge.
Problem
Possible cause
Possible solution
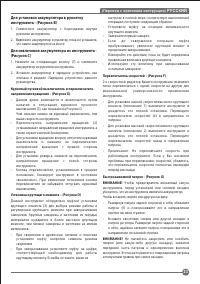
Содержание
- 21 Зарядное устройство; ЭКСПЛУАТАЦИЯ
- 23 Курковый пусковой выключатель и переключатель; РУССКИЙ
- 24 Заворачивание; Примечание: При перек лючении направления; Сверление; ПРИМЕЧАНИЕ: Подсветка служит для освещения; ТЕХНИЧЕСКОЕ ОБСЛУЖИВАНИЕ
- 25 ВНИМАНИЕ! Перед любыми видами работ по; ЗАЩИТА ОКРУЖАЮЩЕЙ СРЕДЫ; Зарядное устройство
- 26 Приложение к руководству по эксплуатации электроинструмента


