Шлифмашины Metabo (601731660) - инструкция пользователя по применению, эксплуатации и установке на русском языке. Мы надеемся, она поможет вам решить возникшие у вас вопросы при эксплуатации техники.
Если остались вопросы, задайте их в комментариях после инструкции.
"Загружаем инструкцию", означает, что нужно подождать пока файл загрузится и можно будет его читать онлайн. Некоторые инструкции очень большие и время их появления зависит от вашей скорости интернета.


ENGLISH
en
19
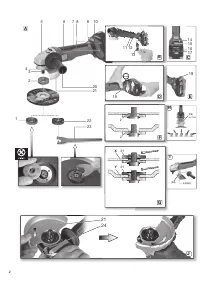
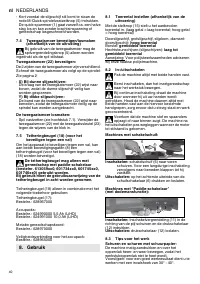
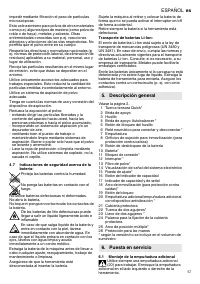
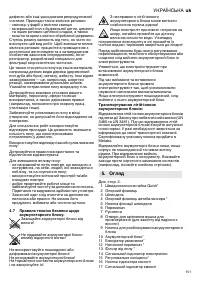
16 Capacity indicator button
17 Capacity and signal indicator
18 Tethering bracket (for fall protection)*
19 Locking button
20 Side handle/Additional handle with vibration
damping *
21 Safety cover
22 2-hole nut *
23 2-hole spanner *
24 Lever for safety guard attachment
25 Multi-position bracket*
26 Hand protection
* depending on equipment/not in scope of delivery
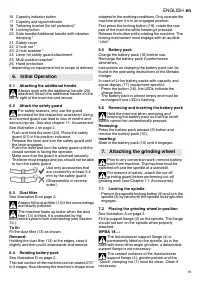
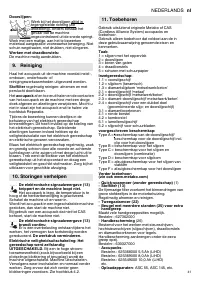
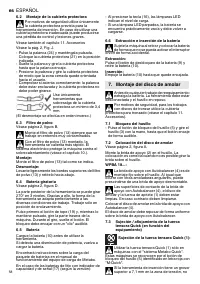
6.1 Attaching the additional handle
Always work with the additional handle (20)
attached! Attach the additional handle on the
left or right of the machine and secure.
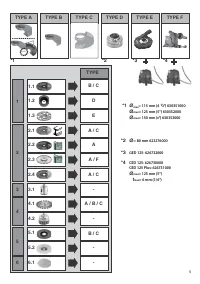
6.2 Attach the safety guard
For safety reasons, only use the guard
provided for the respective accessory! Using
an incorrect guard can lead to loss of control and
serious injuries. See also chapter 11. Accessories!
See illustration J on page 2.
- Push and hold the lever (24). Place the safety
guard (21) in the position indicated.
- Release the lever and turn the safety guard until
the lever engages.
- Push the lever and turn the safety guard until the
closed section is facing the operator.
- Make sure that the guard is attached securely:
The lever must engage and you should not be able
to turn the safety guard.
Use only accessories that
are covered by at least 3.4
mm by the safety guard.
(Disassemble in reverse
order.)
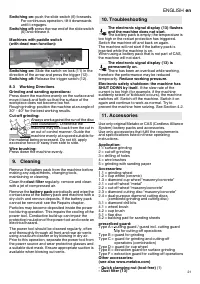
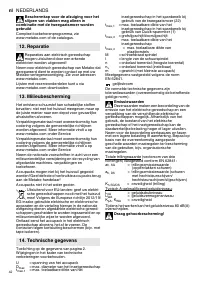
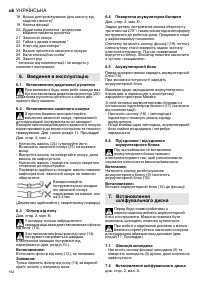
6.3 Dust filter
See illustration B on page 2.
Always fit the dust filter (13) if the surroundings
are heavily polluted.
The machine heats up faster when the dust
filter (13) is fitted. It is protected by the
electronics system from overheating (see Section
10.).
To fit:
Fit the dust filter (13) as shown.
Removal:
Holding the dust filter (13) at the edges, raise it
slightly and then pull it downwards and remove.
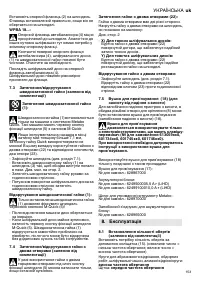
6.4 Rotating battery pack
See illustration D on page 2.
The rear section of the machine can be rotated 270°
in 3 stages, thus allowing the machine's shape to be
adapted to the working conditions. Only operate the
machine when it is in an engaged position.
First press the locking button (19), rotate the rear
part of the machine while keeping it pressed.
Release the button while rotating the machine. The
locking mechanism must engage with an audible
“click”.
6.5 Battery pack
Charge the battery pack (10) before use.
Recharge the battery pack if performance
diminishes.
Instructions on charging the battery pack can be
found in the operating instructions of the Metabo
charger.
In case of Li-Ion battery packs with capacity and
signal display (17) (equipment-specific):
- Press the button (16), the LEDs indicate the
charge level.
- The battery pack is almost empty and must be
recharged if one LED is flashing.
6.6 Removing and inserting the battery pack
Hold the machine when removing and
inserting the battery pack so that the on/off
switch cannot be unintentionally pressed.
Removing:
Press the battery pack release (9) button and
remove the battery pack (10).
Inserting:
Slide in the battery pack (10) until it engages.
Prior to any conversion work: remove battery
pack from machine. The machine must be
switched off and the spindle at a standstill.
For reasons of safety, attach the cut-off
grinding guard before performing cut-off
grinding work (see Chapter 11. Accessories).
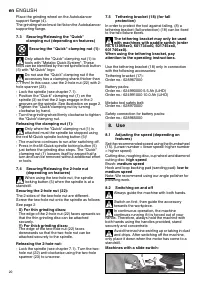
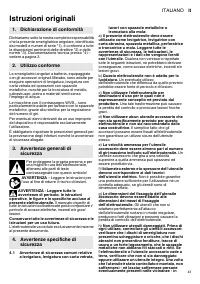
7.1 Locking the spindle
- Press in the spindle locking button (5) and turn the
spindle (3) by hand until the spindle locking button
engages.
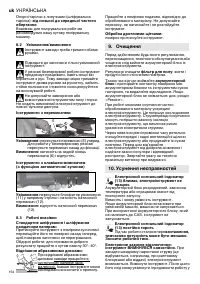
7.2 Placing the grinding wheel in position
See illustration A on page 2.
Fit the support flange (2) on the spindle. The flange
should not turn on the spindle when properly
attached.
WPBA 18...:
The Autobalancer support flange (4) is
permanently fitted on the spindle. As is the
case with most other angle grinders, a detachable
support flange is not necessary.
The contact surfaces of the Autobalancer
support flange (4), grinding wheel and the
"Quick" clamping nut (1) must be clean. Clean if
necessary.
6. Initial Operation
7. Attaching the grinding wheel
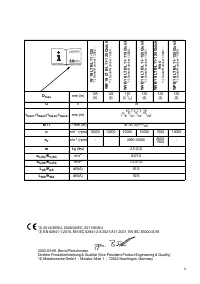
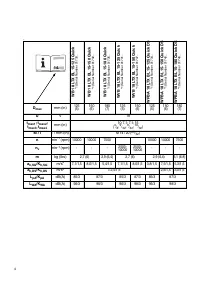
Характеристики

Остались вопросы?Не нашли свой ответ в руководстве или возникли другие проблемы? Задайте свой вопрос в форме ниже с подробным описанием вашей ситуации, чтобы другие люди и специалисты смогли дать на него ответ. Если вы знаете как решить проблему другого человека, пожалуйста, подскажите ему :)

