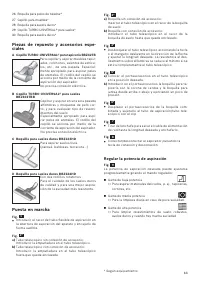
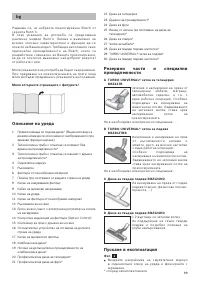
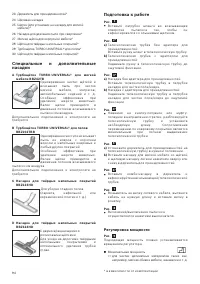
Пылесос Bosch BGS 4U2234 - инструкция пользователя по применению, эксплуатации и установке на русском языке. Мы надеемся, она поможет вам решить возникшие у вас вопросы при эксплуатации техники.
Если остались вопросы, задайте их в комментариях после инструкции.
"Загружаем инструкцию", означает, что нужно подождать пока файл загрузится и можно будет его читать онлайн. Некоторые инструкции очень большие и время их появления зависит от вашей скорости интернета.


39
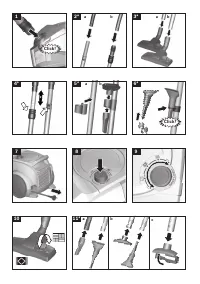
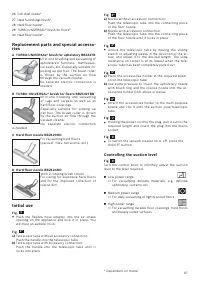
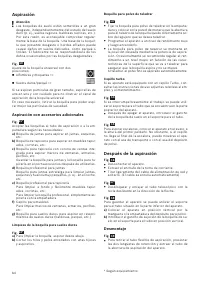
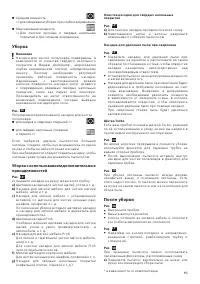
Fig.
20*
a)
Telescopic tube without accessor y connection:
To release the connection, turn the handle slightly
and pull it out of the telescopic tool.
b)
Telescopic tube with accessor y connection:
To release the connection, press the locking collar
on the telescopic tube and and pull out the handle.
Fig.
21*
a)
Nozzle without accessor y connection:
To release the connection, turn the telescopic tube
slightly and pull it out of the floor nozzle.
b)
Nozzle with accessor y connection:
To release the connection, press the locking collar
and pull the telescopic tube out of the floor nozzle.
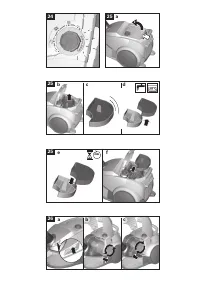
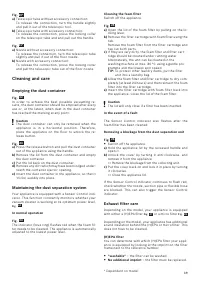
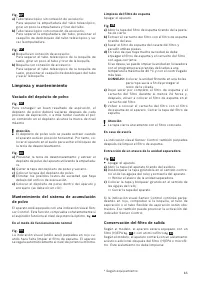
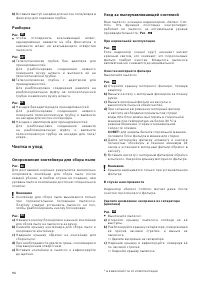
Cleaning and care
Emptying the dust container
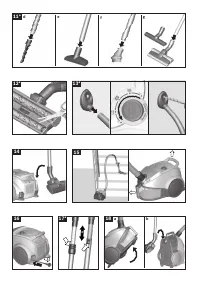
Fig.
22
In order to achieve the best possible vacuuming re -
sults, the dust container should be emptied after ever y
use or, at the latest, when dust in the dust container
has reached the marking at any point.
!
Caution
The dust container can only be removed when the
appliance is in a horizontal position. Therefore,
place the appliance on the floor to unlock the re -
lease button.
Fig.
23
a)
Press the release button and pull the dust container
out of the appliance using the handle.
b)
Remove the lid from the dust container and empty
the dust container.
c)
Put the lid back on the dust container.
d)
Remove any dir t which may have been lodged under-
neath the container ejector opening.
e)
Inser t the dust container in the appliance, so that it
'clicks' audibly into place.
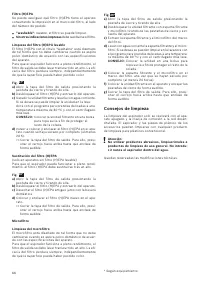
Maintaining the dust separation system
Your appliance is equipped with a Sensor Control indi-
cator. This function constantly monitors whether your
vacuum cleaner is working at its optimum power level.
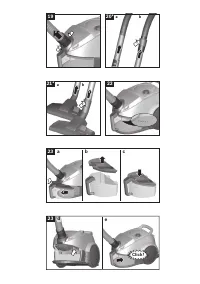
Fig.
24
In normal operation
Fig.
24
The indicator (blue ring) flashes red when the foam fil-
ter needs to be cleaned. The appliance is automatically
adjusted to the lowest power level.
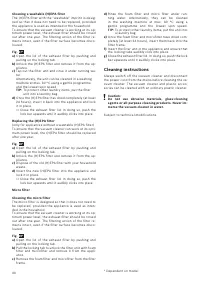
Cleaning the foam filter
Switch off the appliance.
Fig.
25
a)
Open the lid of the foam filter by pulling on the lo -
cking lever.
b)
Remove the filter car tridge with foam filter using the
tab.
Remove the foam filter from the filter car tridge and
tap out both par ts.
c)
If they are ver y dir ty, the foam filter and filter car t-
ridge should be cleaned under running water.
Alternatively, the unit can be cleaned in the
washing machine at ma x. 3 0 °C using a gentle pro -
gramme and the lowest spin speed.
TIP:
To protect other laundr y items, put the filter
unit into a laundr y bag.
d)
Allow the foam filter and filter car tridge to dr y com-
pletely (at least 24 hours) and then reinser t the foam
filter into the filter car tridge.
e)
Inser t the filter car tridge with foam filter back into
the appliance. Close the lid of the foam filter.
!
Caution
The lid will only close if a filter has been inser ted.
In the event of a fault
The Sensor Control indicator also flashes after the
foam filter has been cleaned:
Removing a blockage from the dust separation unit
Fig.
26
Switch off the appliance.
a)
Hold the appliance lid by the recessed handle and
open it.
b)
Unlock the cover by turning it anti-clockwise, and
remove it from the appliance.
>
= Remove the blockage from the collecting unit.
c)
Put the cover back on and lock it in place by turning
it clockwise.
>
= Close the appliance lid.
If the Sensor Control indicator continues to flash red,
check whether the nozzle, suction pipe or flexible hose
are blocked. This can also trigger the Sensor Control
indicator.
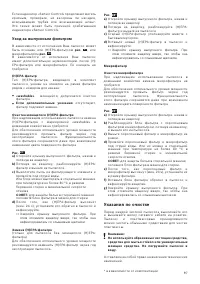
Exhaust filter care
Depending on the model, your appliance is equipped
with either a (H)EPA filter
Fig.
27
or a micro filter
Fig.
29
.
Depending on the model, your appliance has additional
sound insulation behind the (H)EPA or micro filter. This
does not have to be cleaned.
(H)EPA filter
You can determine with which (H)EPA filter your appli-
ance is equipped by looking at the imprint on the filter
frame next to the reference number:
"washable"
– the filter can be washed.
No additional imprint
– the filter must be replaced.
* Dependent on model


