
Обогреватели HELIOSA 55FMOB 2000Вт черный - инструкция пользователя по применению, эксплуатации и установке на русском языке. Мы надеемся, она поможет вам решить возникшие у вас вопросы при эксплуатации техники.
Если остались вопросы, задайте их в комментариях после инструкции.
"Загружаем инструкцию", означает, что нужно подождать пока файл загрузится и можно будет его читать онлайн. Некоторые инструкции очень большие и время их появления зависит от вашей скорости интернета.


15
3.
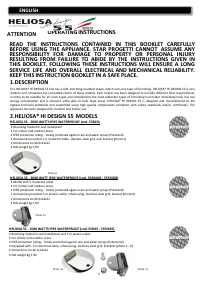
USES
•
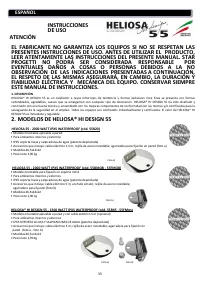
HELIOSA 55 models are particularly suitable for uses for inside areas or outside areas.
4.
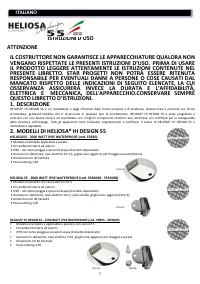
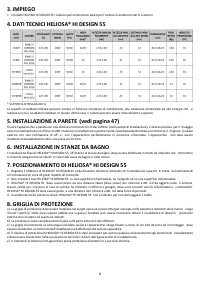
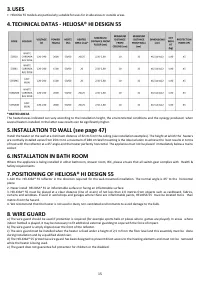
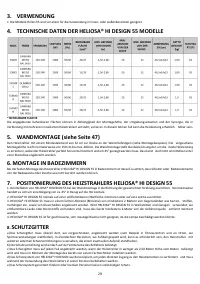
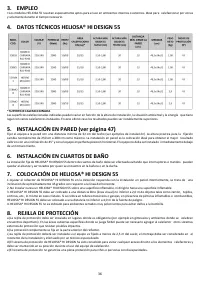
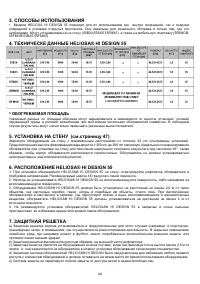
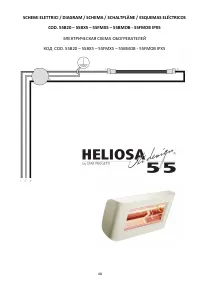
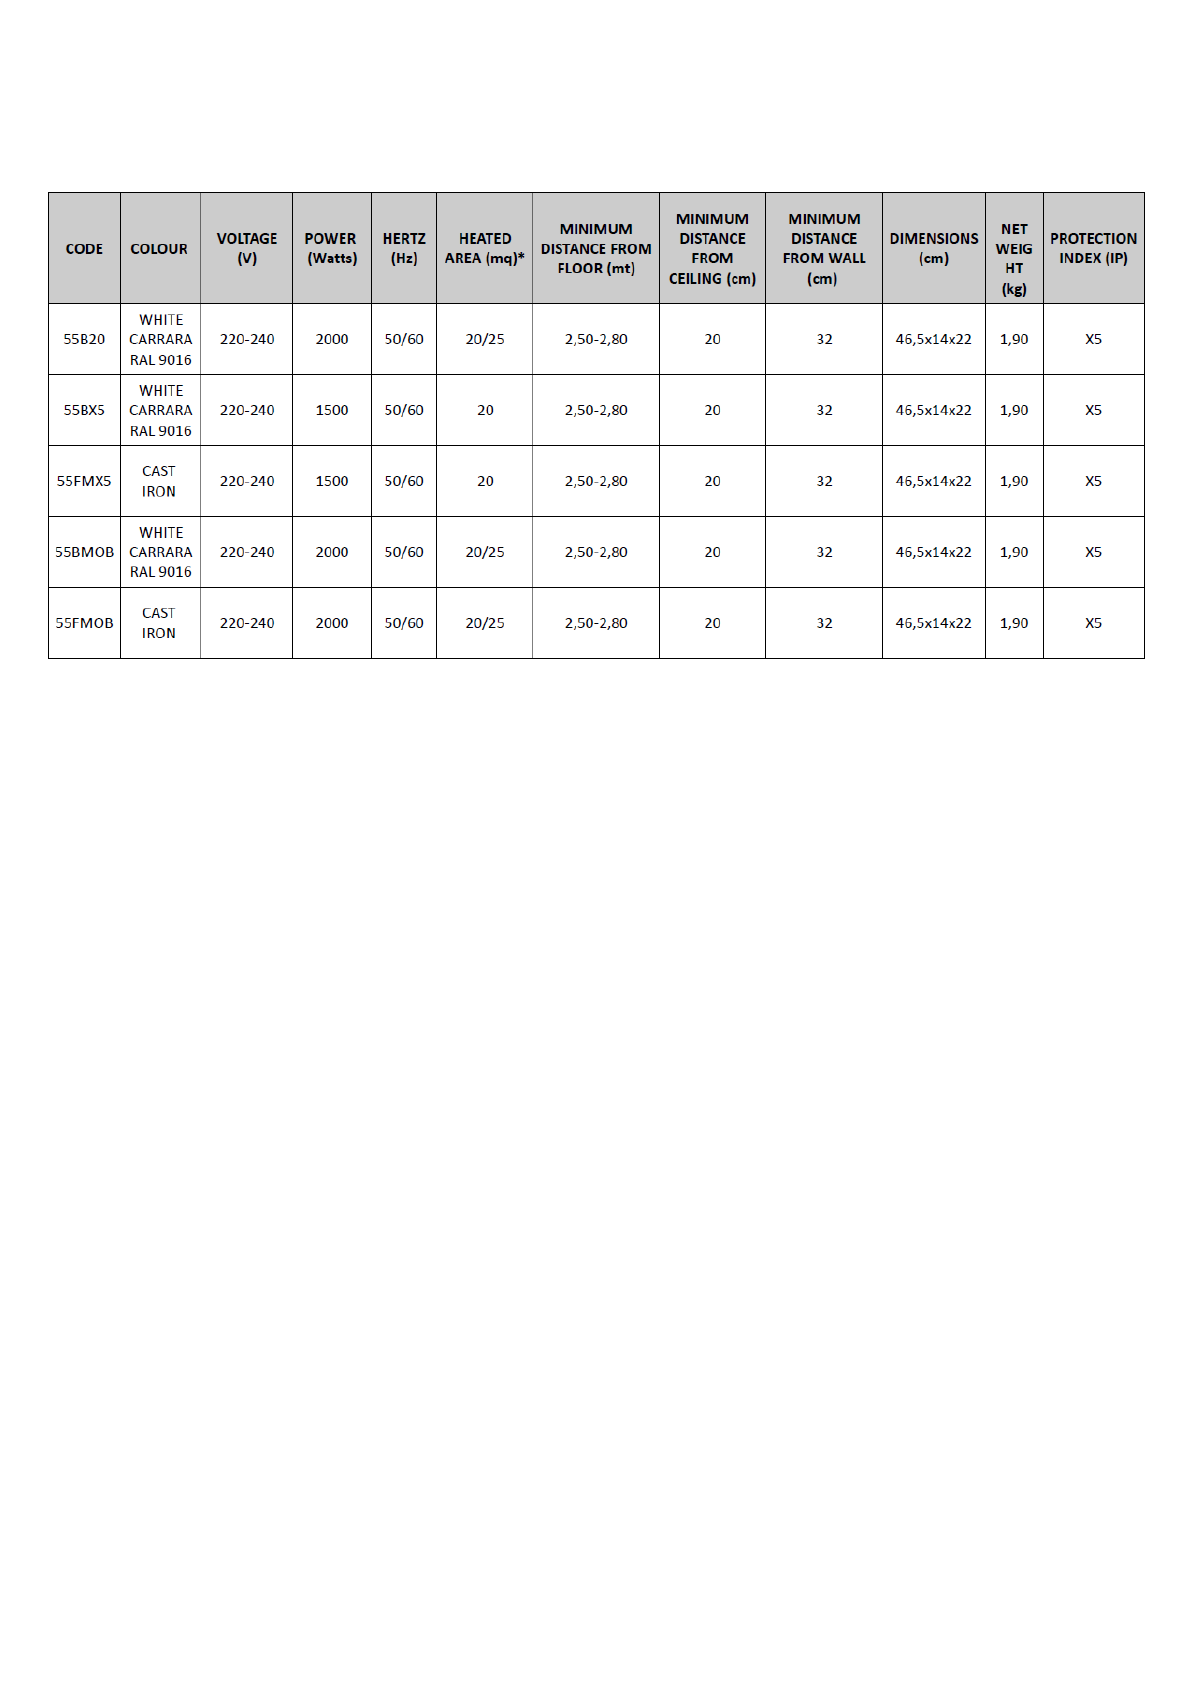
TECHNICAL DATAS - HELIOSA® HI DESIGN 55
*HEATED AREAS
The heated areas indicated can vary according to the installation height, the environmental conditions and the synergy produced
when
several heaters installed. In the latter case results can be significantly higher.
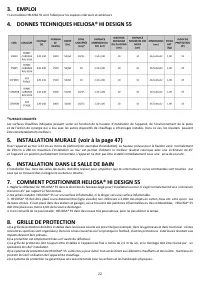
5.
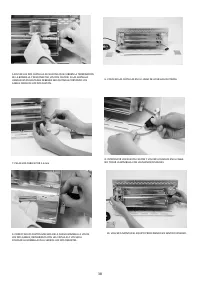
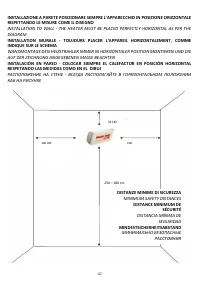
INSTALLATION TO WALL (see page 47)
Install the heater on the wall at a minimum distance of 32 cm from the ceiling (see installation examples). The height at which the
heaters
are normally installed varies from 250 cm to a maximum of 280 cm.Wall mounting is the ideal solution to achieve the
best results in terms
of heat with the reflector at a 45° angle and the heater perfectly horizontal. The appliance must not be placed
immediately below a mains
socket.
6.
INSTALLATION IN BATH ROOM
Where the appliance is being installed in either bathroom, shower room, WC, please ensure that all switch-gear complies with
Health &
Safety requirements.
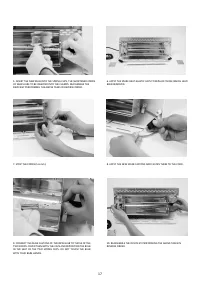
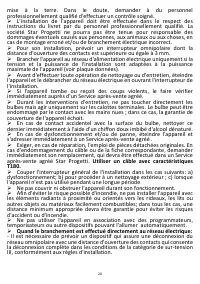
7.
POSITIONING OF HELIOSA® HI DESIGN 55
1.
Aim the HELIOSA® 55 reflector in the direction required for the wall-mounted installation. The normal angle is 45° to the
horizontal
plane.
2.
Never install HELIOSA® 55 an inflammable surface or facing an inflammable surface.
3.
HELIOSA® 55 must be placed at a clear distance (line of vision) of not less than 2.0 metres from objects such as cardboard, fabrics,
curtains and windows. If used in workshops and garages where there are inflammable paints, HELIOSA 55 must be located more
than
metres from the hazard.
4.
We recommend that the heater is not used in dusty non-ventilated environments to avoid damage to the bulb.
8
.
WIRE GUARD
a)
The wire guard should be used if protection is required (for example sports halls or places where games are played). In areas
where
indoor football is played, it may be necessary to fit additional external guarding to cope with the force of impact.
b)
The wire guard is simply clipped over the front of the reflector.
c)
The wire guard must be installed when the heater is fixed under a height of 2,5 m from the floor level and this assembly must be
done
during installation and by a qualified electrician.
d)
The HELIOSA® 55 protective wire guard has been designed to prevent direct access to the heating elements and must not be
removed
while the heater is being used.
e)
The guard does not guarantee full protection for children or the disabled.
Содержание
- 39 ИНСТРУКЦИЯ ПО УСТАНОВКЕ И ЭКСПЛУАТАЦИИ; ВНИМАНИЕ
- 42 III
- 43 ВОДОНЕПРОНИЦАЕМЫЙ
- 44 СПОСОБЫ ИСПОЛЬЗОВАНИЯ; ОБОГРЕВАЕМАЯ ПЛОЩАДЬ; ЗАЩИТНАЯ РЕШЕТКА
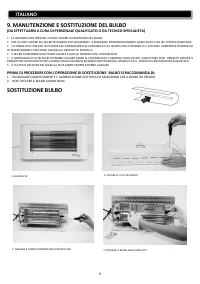
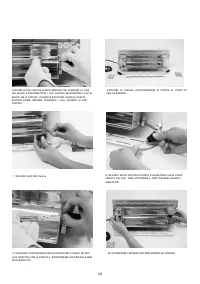
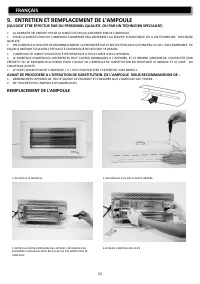
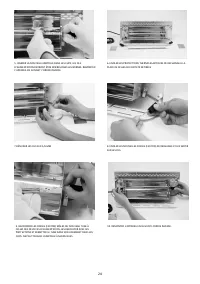
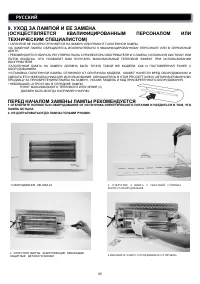
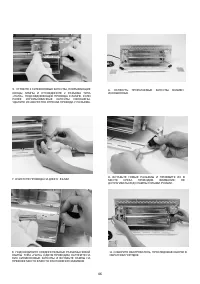
- 45 РУССКИЙ; УХОД ЗА ЛАМПОЙ И ЕЕ ЗАМЕНА; КВАЛИФИЦИРОВАННЫМ
- 47 DISTANZE MINIME DI SICUREZZA; MINIMUM SAFETY DISTANCES; DISTANCE MINIMUM DE; DISTANCIA MÍNIMA DE; MINDESTSICHERHEITSABSTAND
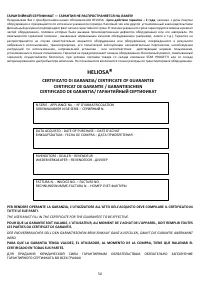
- 50 HELIOSA; CERTIFICATO DI GARANZIA/ CERTIFICATE OF GUARANTEE


