Метеостанции VITEK VT-6404 - инструкция пользователя по применению, эксплуатации и установке на русском языке. Мы надеемся, она поможет вам решить возникшие у вас вопросы при эксплуатации техники.
Если остались вопросы, задайте их в комментариях после инструкции.
"Загружаем инструкцию", означает, что нужно подождать пока файл загрузится и можно будет его читать онлайн. Некоторые инструкции очень большие и время их появления зависит от вашей скорости интернета.


English
7
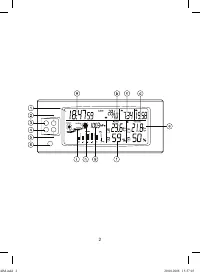
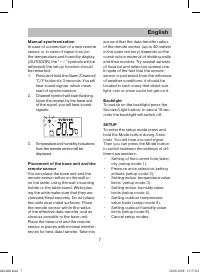
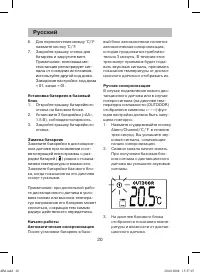
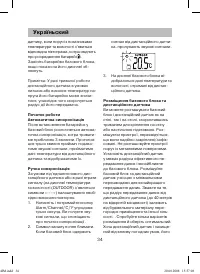
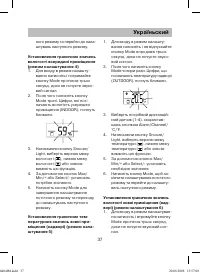
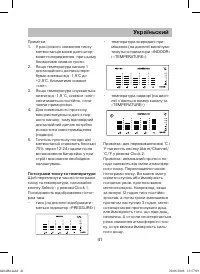
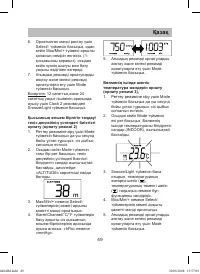
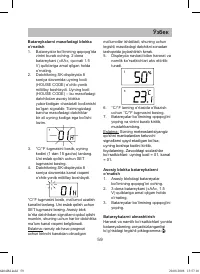
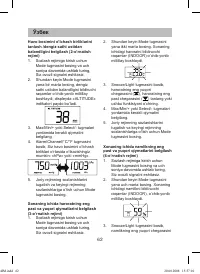
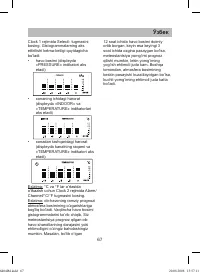
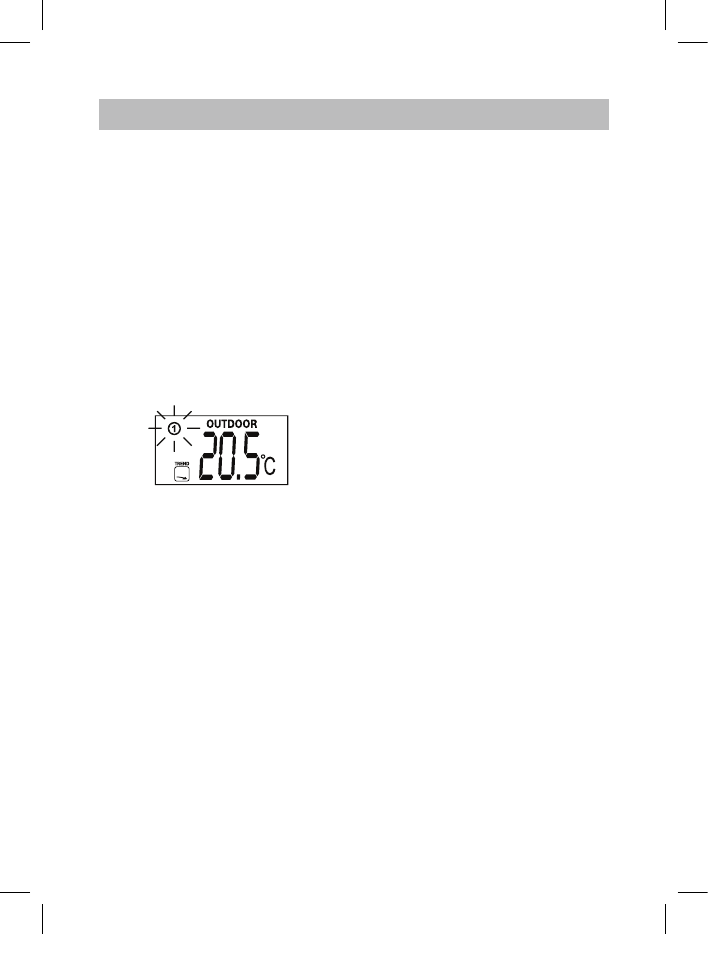
Manual synchronization
In case of connection of a new remote
sensor or in case of signal loss (on
the temperature and humidity display
(OUTDOOR) the “----“symbols will be
reflected) the set up function should
be restarted.
1. Press and hold the Alarm/Channel
/
°C/°F button for seconds. You will
hear sound signals, which mean
start of synchronization.
. Channel symbol will start flashing.
Upon the receipt by the base unit
of the signal, you will hear sound
signals.
. Temperature and humidity indications
from the remote sensor will be
displayed.
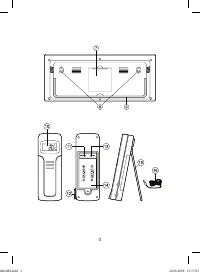
Placement of the base unit and the
remote sensor
You can place the base unit and the
remote sensor either on the wall or
on the table, using the wall-mounting
holder or the table stand. While plac-
ing the units make sure that they are
clamped/fixed securely. Do not place
the units near metal surfaces. Place
the remote sensor within the radius
of the effective data transfer, and as
close as possible to the base unit.
Place the base unit and the remote
sensor in places with minimal interfer-
ences for best data transfer.
Take into
account that the data transfer radius
of the remote sensor (up to 0 meters
in the open territory) depends on the
construction material of dividing walls
and their number. Try several variants
of location and select an optimal one.
In spite of the fact that the remote
sensor is protected from the influence
of weather conditions, it should be
located in such a way that direct sun-
light, rain or snow could not get on it.
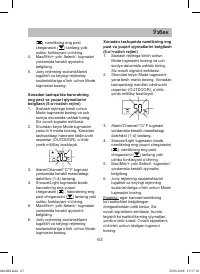
Backlight
To switch on the backlight press the
Snooze/Light button. In about 10 sec-
onds the backlight will switch off.
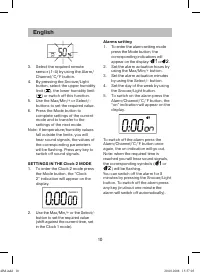
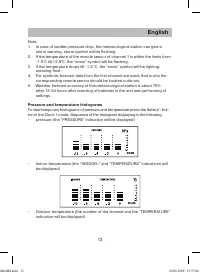
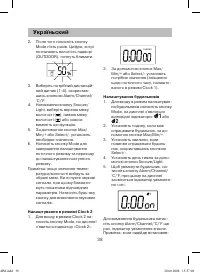
SETUP
To enter the setup mode press and
hold the Mode
button during sec-
onds. You will hear a sound signal.
Then you can press the Mode button
to switch between the settings of dif-
ferent parameters:
•
Setting of the current time/date/
city (setup mode 1),
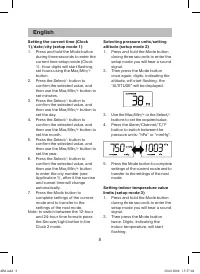
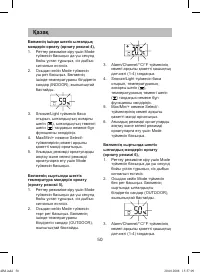
•
Pressure units selection/setting
altitude
(
setup mode
),
•
Setting indoor temperature value
limits (
setup mode
),
•
Setting indoor humidity value
limits (
setup mode
),
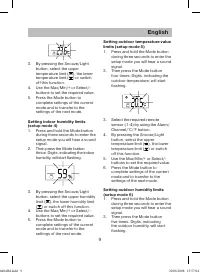
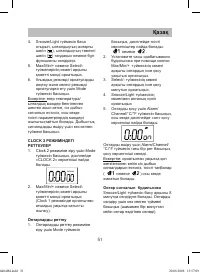
•
Setting outdoor temperature
value limits (
setup mode 5
),
•
Setting outdoor humidity value
limits (
setup mode 6),
•
Cancel setup modes.
6404IM.indd 7
20.08.2008 15:57:04
Содержание
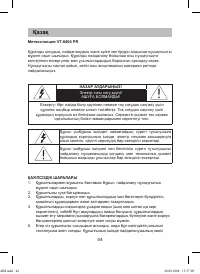
- 17 Русский; восклицательного; МЕРЫ ПРЕДОСТОРОЖНОСТИ; инструкцию по эксплуатации.
- 18 При длительной работе
- 19 канала и домашнего кода.; ПЕРЕД НАЧАЛОМ РАБОТЫ; нажатием кнопки
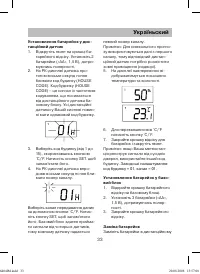
- 20 Замена батареек; После установки батареек в базо-; Ручная синхронизация; . На дисплее базового блока
- 21 Примите; Подсветка; выход из режимов установок.
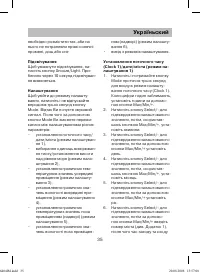
- 22 Примечание: для переключения; режим установки 2; режим установки 3; Для входа в режим настройки
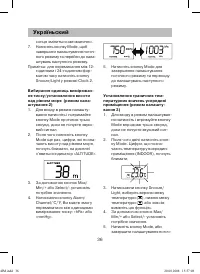
- 23 . После чего нажмите кнопку; режим установки 4; режим установки 5
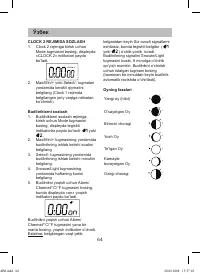
- 24 Настройки в режиме Clock 2; появится индикатор «; Настройка будильников; или
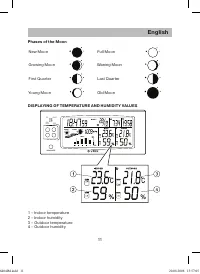
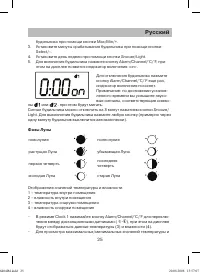
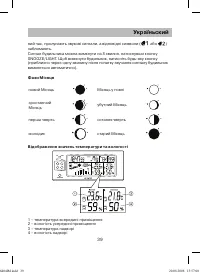
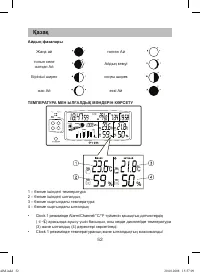
- 25 Фазы Луны
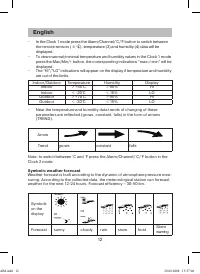
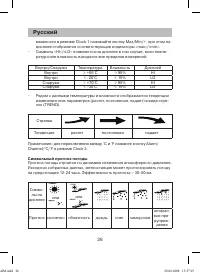
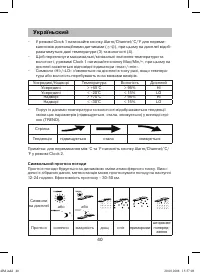
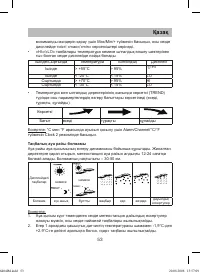
- 26 Символьный прогноз погоды
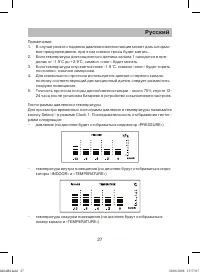
- 27 вое предупреждение, при этом символ грозы будет мигать.
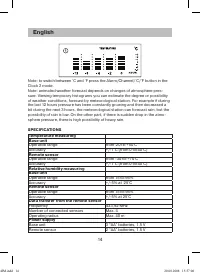
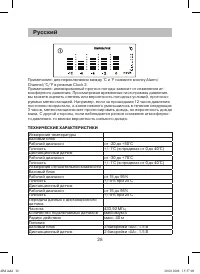
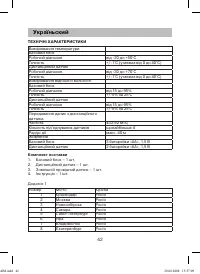
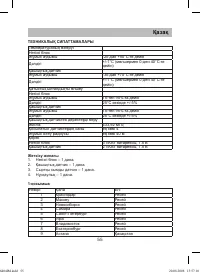
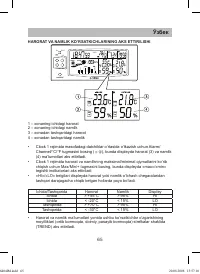
- 28 °C и °F нажмите кнопку; ТЕХНИЧЕСКИЕ ХАРАКТЕРИСТИКИ
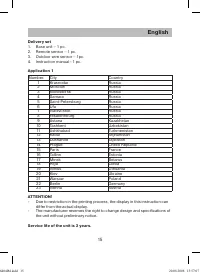
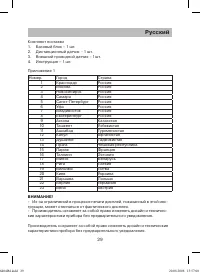
- 29 Приложение 1
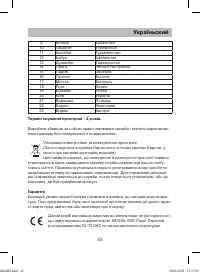
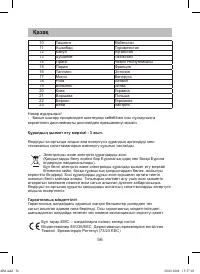
- 30 Срок службы прибора года


