Метеостанции VITEK VT-6404 - инструкция пользователя по применению, эксплуатации и установке на русском языке. Мы надеемся, она поможет вам решить возникшие у вас вопросы при эксплуатации техники.
Если остались вопросы, задайте их в комментариях после инструкции.
"Загружаем инструкцию", означает, что нужно подождать пока файл загрузится и можно будет его читать онлайн. Некоторые инструкции очень большие и время их появления зависит от вашей скорости интернета.
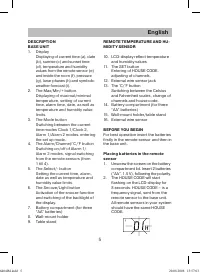


English
6
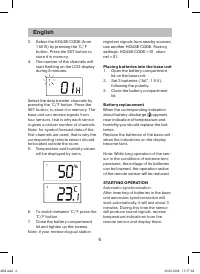
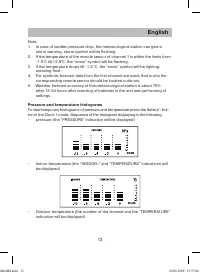
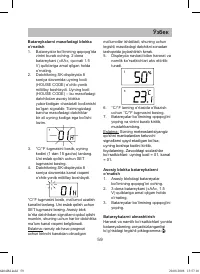
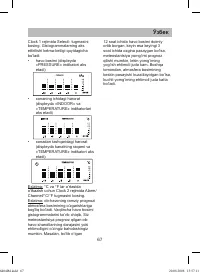
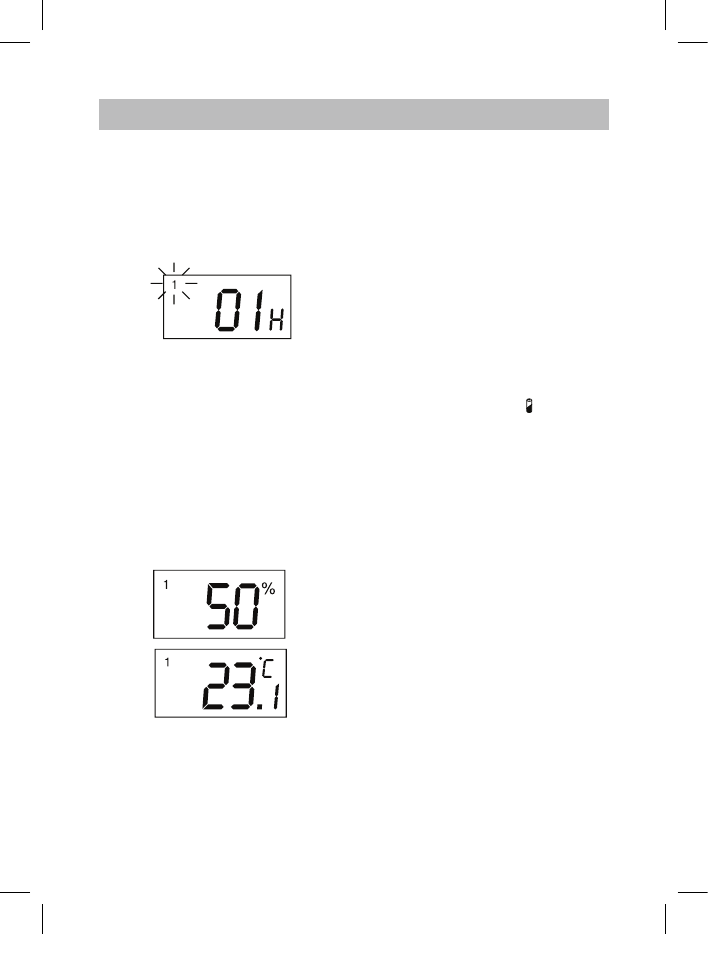
. Select the HOUSE CODE (from
1 till15) by pressing the
°C/°F
button. Press the SET button to
store it in memory.
. The number of the channels will
start flashing on the LCD-display
during 8 minutes.
Select the data transfer channels by
pressing the
°C/°F button. Press the
SET button, to store it in memory. The
base unit can receive signals from
four sensors, that is why each sensor
is given a certain number of channels.
Note: for symbol forecast data of the
first channels are used, that is why the
corresponding remote sensor should
be located outside the room.
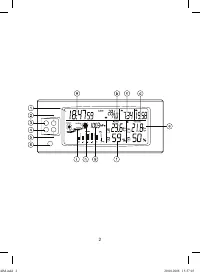
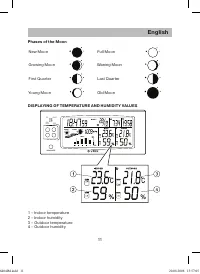
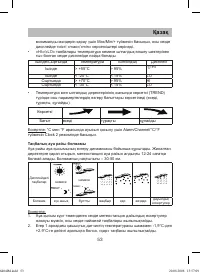
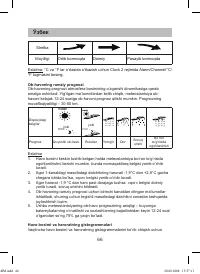
5. Temperature and humidity values
will be displayed by turns.
6. To switch between °C/°F press the
°C/°F button.
7. Close the battery compartment
lid and tighten up the screws.
Note: if your meteorological station
registers signals
from nearby sources,
use another HOUSE CODE. Factory
settings: HOUSE CODE = 01, chan-
nel = 01.
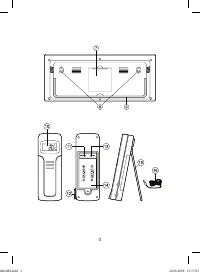
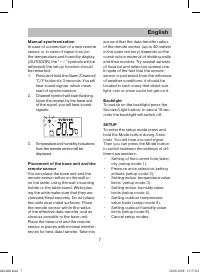
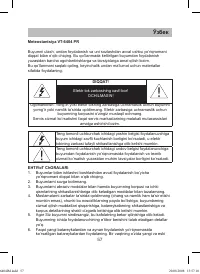
Placing batteries into the base unit
1. Open the battery compartment
lid on the base unit.
. Set batteries (“АА”, 1.5 V),
following the polarity.
. Close the battery compartment
lid.
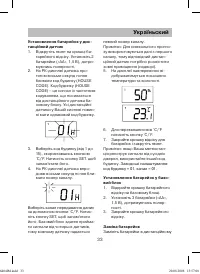
Battery replacement
When the corresponding indication
about battery discharge (
)
appears
near indication of temperature and
humidity you should replace the bat-
teries.
Replace the batteries of the base unit
when the indications on the display
become faint.
Note: While long operation of the sen-
sor in the conditions of extreme tem-
peratures,
the voltage of its batteries
can be lowered, the operation radius
of the remote sensor will be reduced.
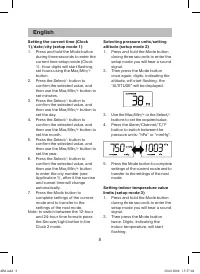
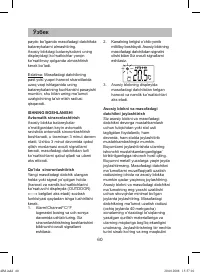
STARTING OPERATION
Automatic synchronization
After inserting of batteries in the base
unit automatic synchronization will
start automatically, it will last about
minutes. During this time the sensor
will produce sound signals, receive
temperature indications from the
remote sensor and display them.
6404IM.indd 6
20.08.2008 15:57:04
Содержание
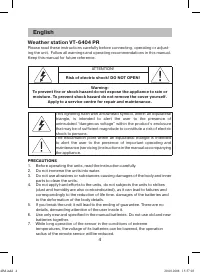
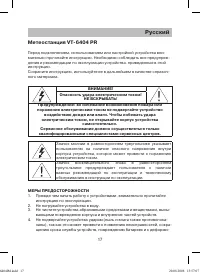
- 17 Русский; восклицательного; МЕРЫ ПРЕДОСТОРОЖНОСТИ; инструкцию по эксплуатации.
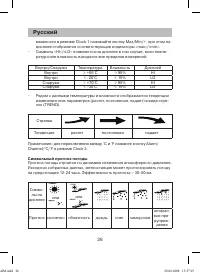
- 18 При длительной работе
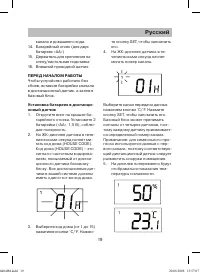
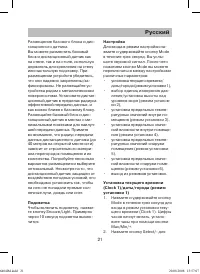
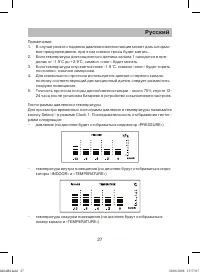
- 19 канала и домашнего кода.; ПЕРЕД НАЧАЛОМ РАБОТЫ; нажатием кнопки
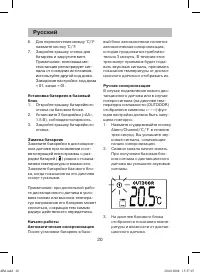
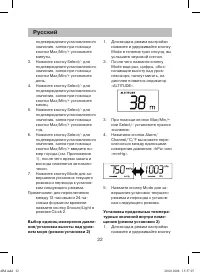
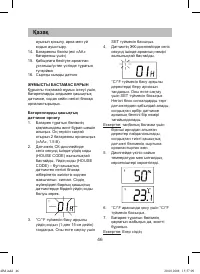
- 20 Замена батареек; После установки батареек в базо-; Ручная синхронизация; . На дисплее базового блока
- 21 Примите; Подсветка; выход из режимов установок.
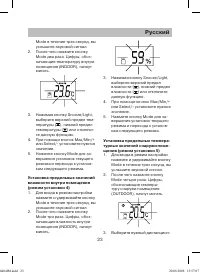
- 22 Примечание: для переключения; режим установки 2; режим установки 3; Для входа в режим настройки
- 23 . После чего нажмите кнопку; режим установки 4; режим установки 5
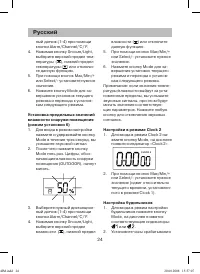
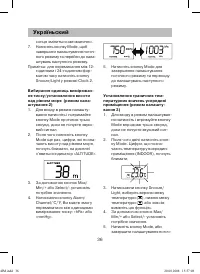
- 24 Настройки в режиме Clock 2; появится индикатор «; Настройка будильников; или
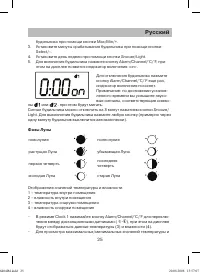
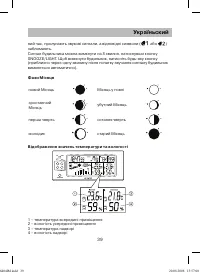
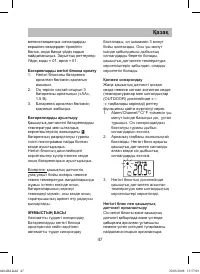
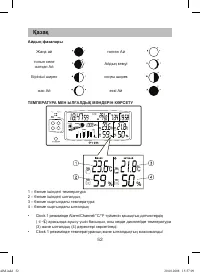
- 25 Фазы Луны
- 26 Символьный прогноз погоды
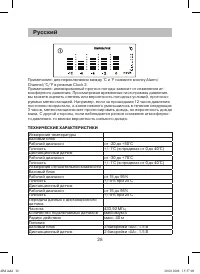
- 27 вое предупреждение, при этом символ грозы будет мигать.
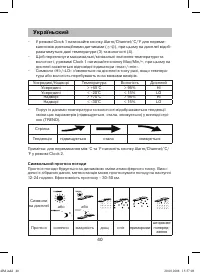
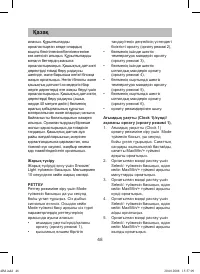
- 28 °C и °F нажмите кнопку; ТЕХНИЧЕСКИЕ ХАРАКТЕРИСТИКИ
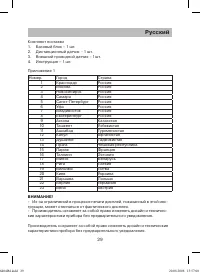
- 29 Приложение 1
- 30 Срок службы прибора года


