Материнские платы GIGABYTE GA 8VM800PMD 775 - инструкция пользователя по применению, эксплуатации и установке на русском языке. Мы надеемся, она поможет вам решить возникшие у вас вопросы при эксплуатации техники.
Если остались вопросы, задайте их в комментариях после инструкции.
"Загружаем инструкцию", означает, что нужно подождать пока файл загрузится и можно будет его читать онлайн. Некоторые инструкции очень большие и время их появления зависит от вашей скорости интернета.

Appendix
- 71 -
English
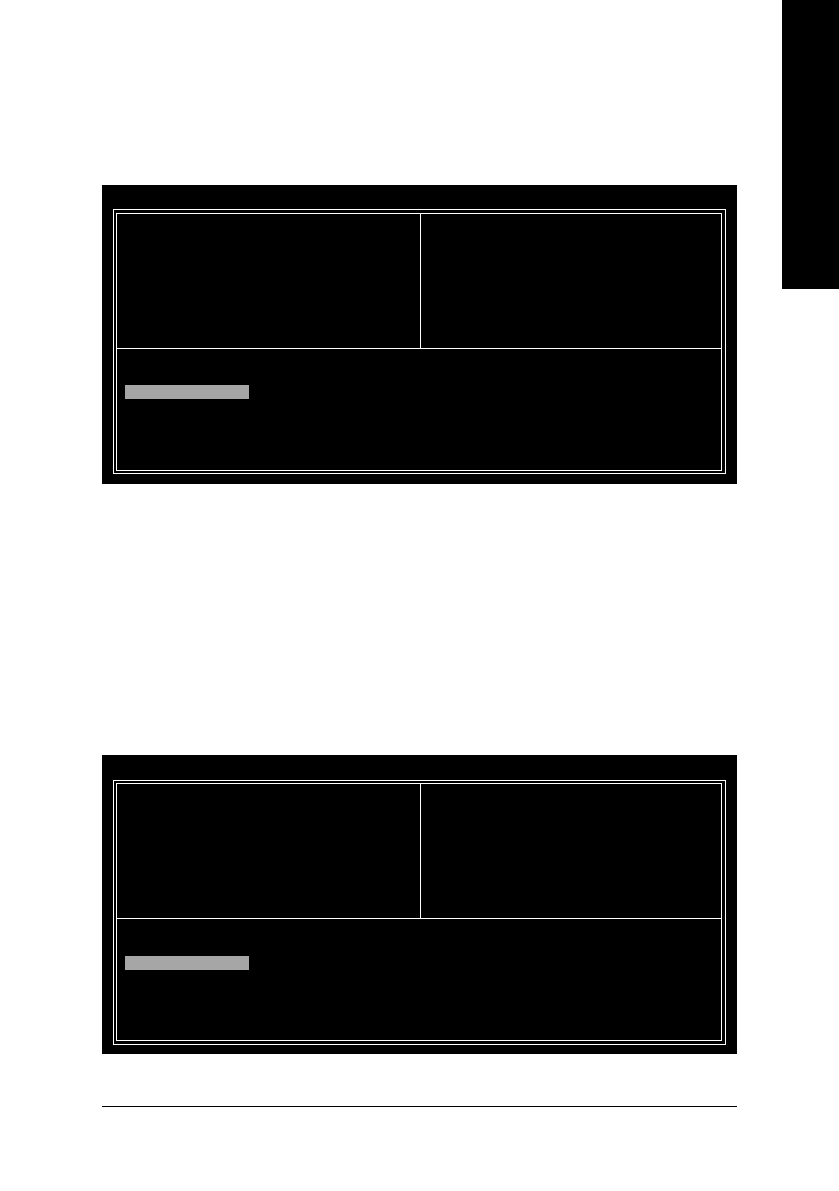
B. Delete Array:
If you want to delete an existing array, select
Delete Array
in Main Menu and press ENTER. The
channel column will be activated. Select the member of an array that is to be deleted and press ENTER.
A warning message will show up, press Y to confirm or press N to cancel (Figure 10).
Figure 10
Deleting a disk array will destroy all the data on the disk array except for RAID 1 array(s). When a RAID
1 array is deleted, the data on the two hard drives will be reserved and the two hard drives will become
two normal drives.
VIA Tech. VT8237 SATA RAID BIOS Ver 2.31
Delete a RAID array contain
the hard disks attached to
VIA RAID controller
F1
: View Array/disk Status
,
: Move to next item
Enter : Confirm the selection
ESC
: Exit
Create Array
Delete Array
Create/Delete Spare
Select Boot Array
Serial Number View
Channel
Drive Name
Array Name
Mode
Size(GB)
Status
[*]Serial_Ch0 Master
ST3120026AS
ARRAY 0
SATA
111.79
Stripe0
[*]Serial_Ch1 Master ST3120026AS
ARRAY 0
SATA
111.79
Stripe1
The selected array will be destoried.
Are you sure? Continue? Press Y/N
C. Select Boot Array:
You can select a disk array as boot device if you want to boot operating system from an array. Boot
disk array cannot be selected if the operating system does not boot from the disk array. Highlight the
Select Boot Array
item in Main Menu; press ENTER and the channel column will be activated. Then
highlight the target disk array and press ENTER. Press ESC to go back to Main Menu. If you want to
cancel the boot array setting, select the disk array that has an asterisk and press ENTER, its boot
setting will be canceled (Figure 11).
Figure 11
VIA Tech. VT8237 SATA RAID BIOS Ver 2.31
Set/Clear bootable array
F1
: View Array/disk Status
,
: Move to next item
Enter : Confirm the selection
ESC
: Exit
Create Array
Delete Array
Create/Delete Spare
Select Boot Array
Serial Number View
Channel
Drive Name
Array Name
Mode
Size(GB)
Status
[*]Serial_Ch0 Master
ST3120026AS
ARRAY 0
SATA
111.79
Boot
[*]Serial_Ch1 Master ST3120026AS
ARRAY 0
SATA
111.79
Boot


