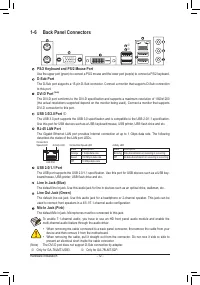
Материнские платы GIGABYTE GA 78LMT S2P rev 3 1 - инструкция пользователя по применению, эксплуатации и установке на русском языке. Мы надеемся, она поможет вам решить возникшие у вас вопросы при эксплуатации техники.
Если остались вопросы, задайте их в комментариях после инструкции.
"Загружаем инструкцию", означает, что нужно подождать пока файл загрузится и можно будет его читать онлайн. Некоторые инструкции очень большие и время их появления зависит от вашей скорости интернета.
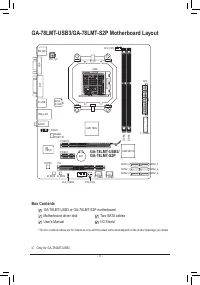
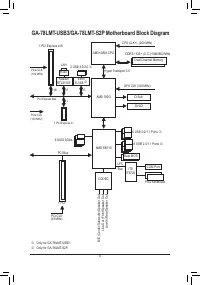


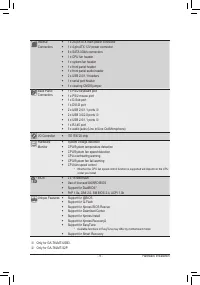


Appendix
- 38 -
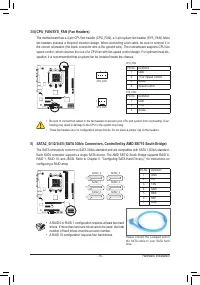
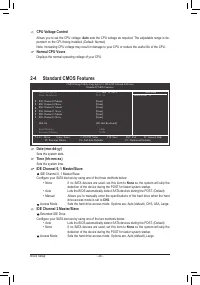
Steps:
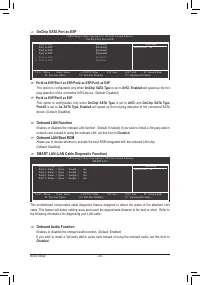
1. Turn on your computer and press <Delete> to enter BIOS Setup during the POST (Power-On Self-Test).
Ensure
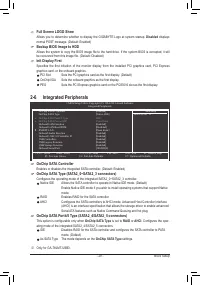
OnChip SATA Controller
is enabled under
Integrated Peripherals
. To enable RAID for the
SATA2_0/1/2/3 connectors, set
OnChip SATA Type
to
RAID
. To enable RAID for the SATA2_4/5 connec-
tors, set
OnChip SATA Type
to
RAID
and set OnChip SATA Port4/5 Type to
As SATA Type
.
2. Save changes and exit BIOS Setup.
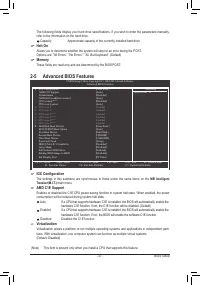
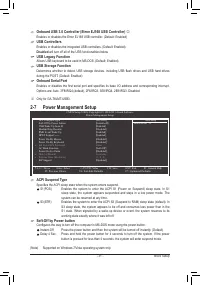
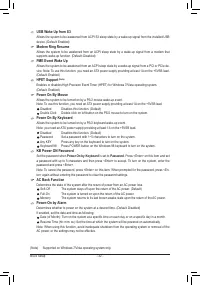
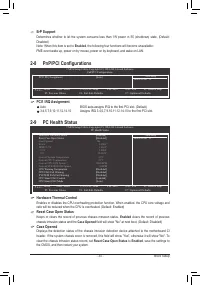
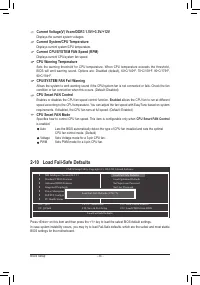
The BIOS Setup menus described in this section may differ from the exact settings for your moth-
erboard. The actual BIOS Setup menu options you will see shall depend on the motherboard you
have and the BIOS version.
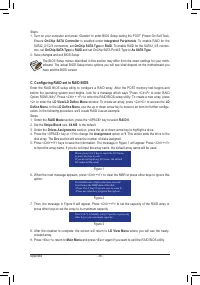
C. Configuring RAID set in RAID BIOS
Enter the RAID BIOS setup utility to configure a RAID array. After the POST memory test begins and
before the operating system boot begins, look for a message which says "Press <Ctrl-F> to enter RAID
Option ROM Utility". Press <Ctrl> + <F> to enter the RAID BIOS setup utility. To create a new array, press
<2> to enter the
LD View/LD Define Menu
window. To create an array, press <Ctrl+C> to access the
LD
Define Menu
. In the
LD Define Menu
, use the up or down arrow key to move to an item for further configu
-
ration. In the following procedure, we'll create RAID 0 as an example.
Steps:
1. Under the
RAID Mode
section, press the <SPACE> key to select
RAID 0
.
2. Set the
Stripe Block
size.
64 KB
is the default.
3. Under the
Drives Assignments
section, press the up or down arrow key to highlight a drive.
4. Press the <SPACE> key or <Y>to change the
Assignment
option to
Y
. This action adds the drive to the
disk array. The
Drv
section will show the number of disks assigned.
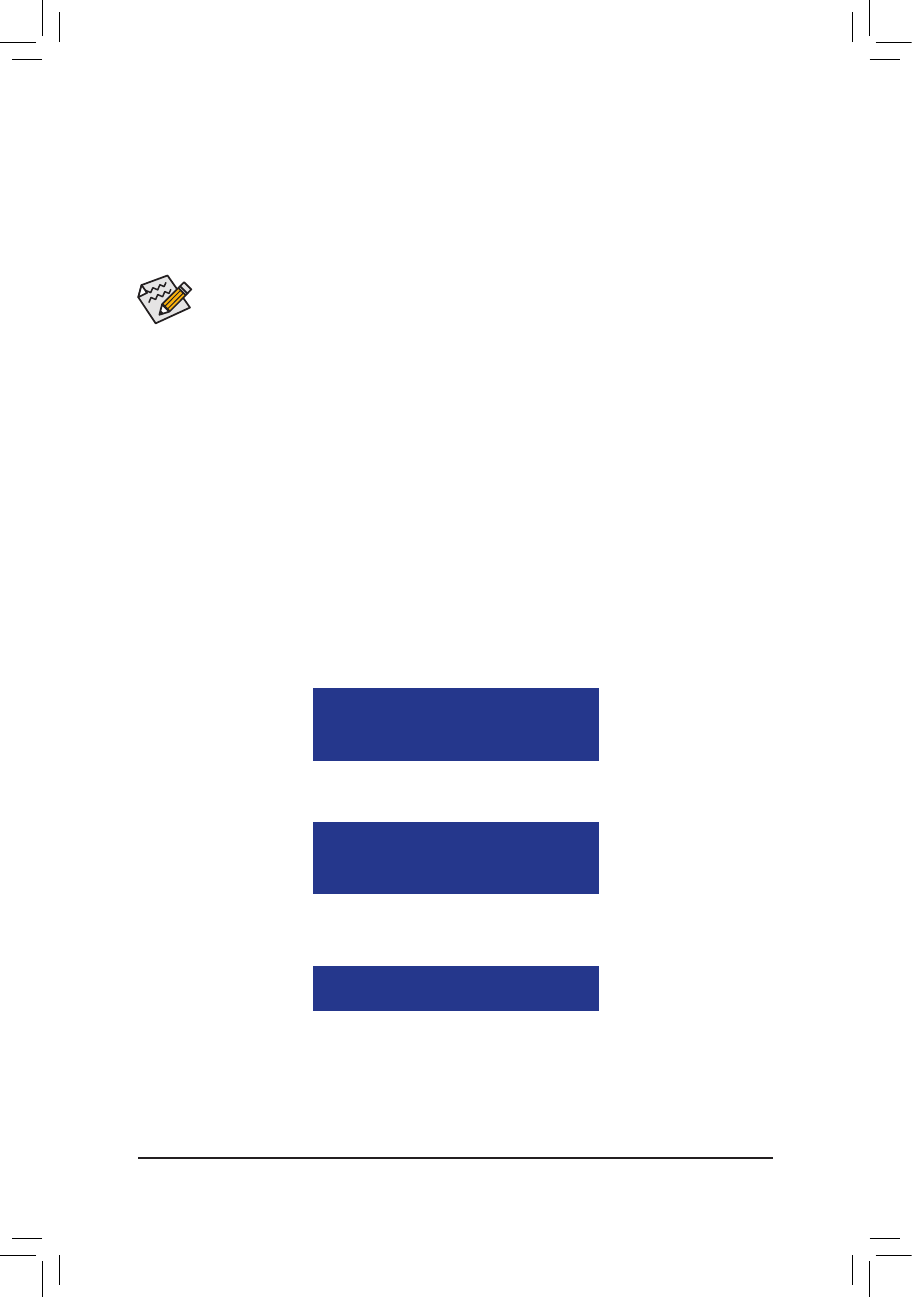
5. Press <Ctrl>+<Y> keys to save the information. The message in Figure 1 will appear. Press <Ctrl>+<Y>
to input the array name. If you do not input the array name, the default array name will be used.
6. When the next message appears, press <Ctrl>+<Y> to clear the MBR or press other keys to ignore this
option.
7. Then, the message in Figure 8 will appear. Press <Ctrl>+<Y> to set the capacity of the RAID array or
press other keys to set the array to its maximum capacity.
8. After the creation is complete, the screen will return to
LD View Menu
where you will see the newly-
created array.
9. Press <Esc> to return to
Main Menu
and press <Esc> again if you want to exit the RAID BIOS utility.
Figure 1
Figure 2
Figure 3
Please press Ctrl-Y key to input the LD Name
or press any key to exit.
If you do not input any LD name, the default
LD name will be used.
Fast Initialization Option has been selected
It will erase the MBR data of the disk.
<Press Ctrl-Y Key if you are sure to erase it>
<Press any other key to ignore this option>
Press Ctrl-Y to Modify Array Capacity or press any
other key to use maximum capacity...


