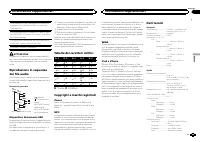
Магнитолы Pioneer MVH-1400UB - инструкция пользователя по применению, эксплуатации и установке на русском языке. Мы надеемся, она поможет вам решить возникшие у вас вопросы при эксплуатации техники.
Если остались вопросы, задайте их в комментариях после инструкции.
"Загружаем инструкцию", означает, что нужно подождать пока файл загрузится и можно будет его читать онлайн. Некоторые инструкции очень большие и время их появления зависит от вашей скорости интернета.
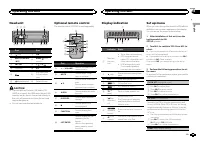


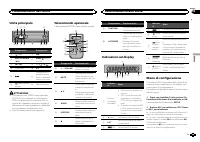


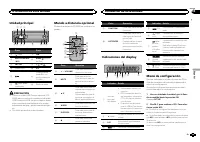
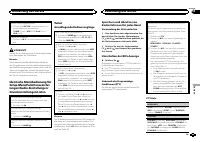


CLOCK SET
(setting the clock)
1
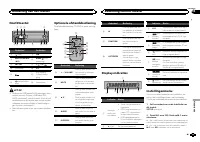
Press
M.C.
to display the setting mode.
2
Press
M.C.
to select the segment of the clock
display you wish to set.
Hour
—
Minute
3
Turn
M.C.
to adjust the clock.
CLOCK
(clock display)
You can turn the clock display on or off.
The clock display disappears temporarily when
you perform other operations, but the clock dis-
play appears again after 25 seconds.
1
Press
M.C.
to turn the clock display on or off.
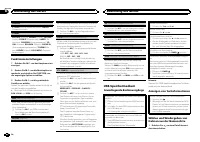
FM STEP
(FM tuning step)
Normally, the FM tuning step employed by seek
tuning is 50 kHz. When AF or TA is on, the tuning
step automatically changes to 100 kHz. It may be
preferable to set the tuning step to 50 kHz when
AF is on.
!
The tuning step remains at 50 kHz during man-
ual tuning.
1
Press
M.C.
to select the FM tuning step.
50
(50 kHz)
—
100
(100 kHz)
AUTO-PI
(auto PI seek)
The unit can automatically search for a different
station with the same programming, even during
preset recall.
1
Press
M.C.
to turn Auto PI seek on or off.
AUX
(auxiliary input)
Activate this setting when using an auxiliary de-
vice connected to this unit.
1
Press
M.C.
to turn
AUX
on or off.
USB PNP
(plug and play)
This setting allows you to switch your source to
USB
/
iPod
automatically.
1
Press
M.C.
to turn the plug and play function
on or off.
ON
–
When a USB storage device/iPod is con-
nected, depending on the type of device, the
source is automatically switched to
USB
/
iPod
when you turn on the engine. If you disconnect
your USB storage device/iPod, this unit
’
s
source is turned off.
OFF
–
When a USB storage device/iPod is con-
nected, the source is not switched to
USB
/
iPod
automatically. Please change the source
to
USB
/
iPod
manually.
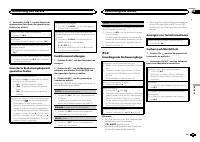
REAR-SP
(rear output setting)
The rear speaker leads output can be used for full-
range speaker or subwoofer connection.
If you switch to
SW
, you can connect a rear speak-
er lead directly to a subwoofer without using an
auxiliary amp.
Initially,
REAR-SP
is set for rear full-range speaker
connection (
FUL
).
1
Press
M.C.
to select the desired setting.
FUL
—
SW
!
Even if you change this setting, there will
be no output if you select
OFF
in
SUB.W
(Refer to
!
If you change this setting, subwoofer out-
put in the audio menu will return to the fac-
tory settings.
PREOUT
(preout setting)
The RCA outputs can be used for rear speaker or
subwoofer connection.
If you switch to
SW
, you can connect a rear speak-
er lead directly to a subwoofer without using an
auxiliary amp.
Initially,
PREOUT
is set for rear full-range speaker
connection (
SW
).
1
Press
M.C.
to select the desired setting.
SW
—
REA
!
Even if you change this setting, there will
be no output if you select
OFF
in
SUB.W
(Refer to
!
If you change this setting, subwoofer out-
put in the audio menu will return to the fac-
tory settings.
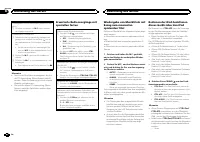
DEMO
(demo display setting)
1
Press
M.C.
to turn the demo display on or off.
!
If
PW SAVE
is on,
DEMO
cannot be selected.
SCROLL
(scroll mode setting)
When ever scroll is set to
ON
, recorded text infor-
mation scrolls continuously in the display. Set to
OFF
if you prefer the information to scroll just
once.
1
Press
M.C.
to turn the ever scroll on or off.
TITLE
(multi-language)
This unit can display the text information of a com-
pressed audio file even if they are embedded in a
Western European or Russian language.
!
If the embedded language and the selected
language setting are not the same, text infor-
mation may not display properly.
!
Some characters may not be displayed prop-
erly.
1
Press
M.C.
to select the desired setting.
EUR
(European)
—
RUS
(Russian)
PW SAVE
(power saving)
Switching this function on enables you to reduce
the consumption of battery power.
!
Turning on the source is the only operation al-
lowed when this function is on.
!
If
PW SAVE
is turned on,
DEMO
is turned off
automatically.
1
Press
M.C.
to turn the power save on or off.
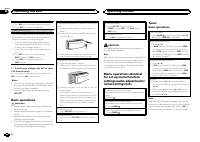
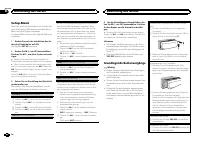
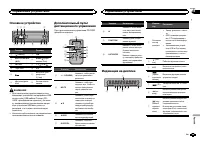
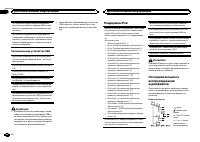
Switching the dimmer setting
You can adjust the brightness of illumination.
%
Press and hold
.
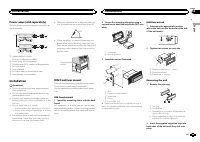
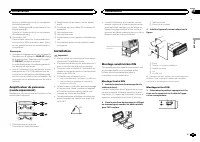
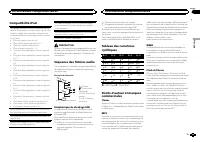
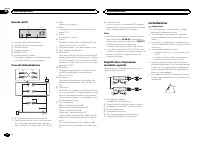
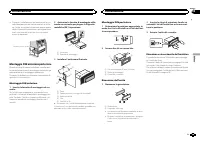
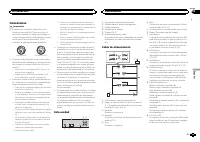
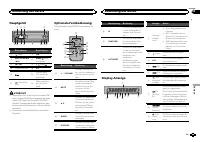
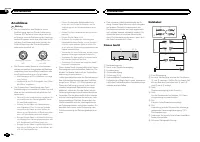
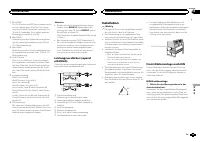
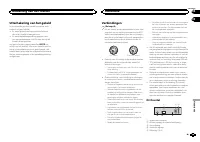
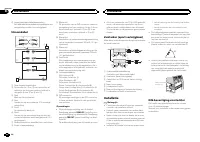
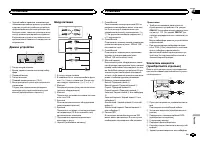
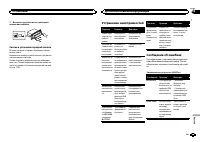
Using an AUX source
1
Insert the stereo mini plug into the AUX
input jack.
2
Press SRC/OFF to select AUX as the
source.
Note
AUX cannot be selected unless the auxiliary set-
ting is turned on. For more details, refer to
Sound muting
Sound is muted automatically when:
!
A call is made or received using a cell phone
connected to this unit.
!
Voice guidance is output from a connected
Pioneer navigation unit.
The sound is turned off,
MUTE
is displayed and
no audio adjustments, except volume control,
are possible. Operation returns to normal when
the phone connection or the voice guidance is
ended.
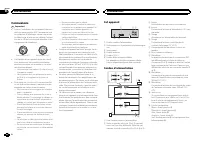
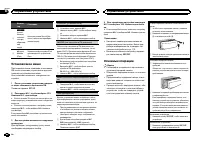
English
Operating this unit
9
Section
Operating this unit
En
02


