Магнитолы Pioneer FH-X360UB - инструкция пользователя по применению, эксплуатации и установке на русском языке. Мы надеемся, она поможет вам решить возникшие у вас вопросы при эксплуатации техники.
Если остались вопросы, задайте их в комментариях после инструкции.
"Загружаем инструкцию", означает, что нужно подождать пока файл загрузится и можно будет его читать онлайн. Некоторые инструкции очень большие и время их появления зависит от вашей скорости интернета.

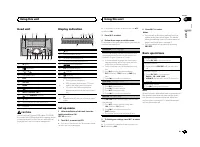
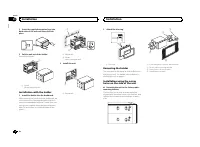
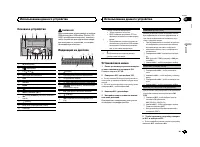
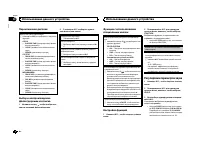

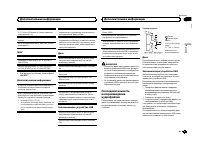
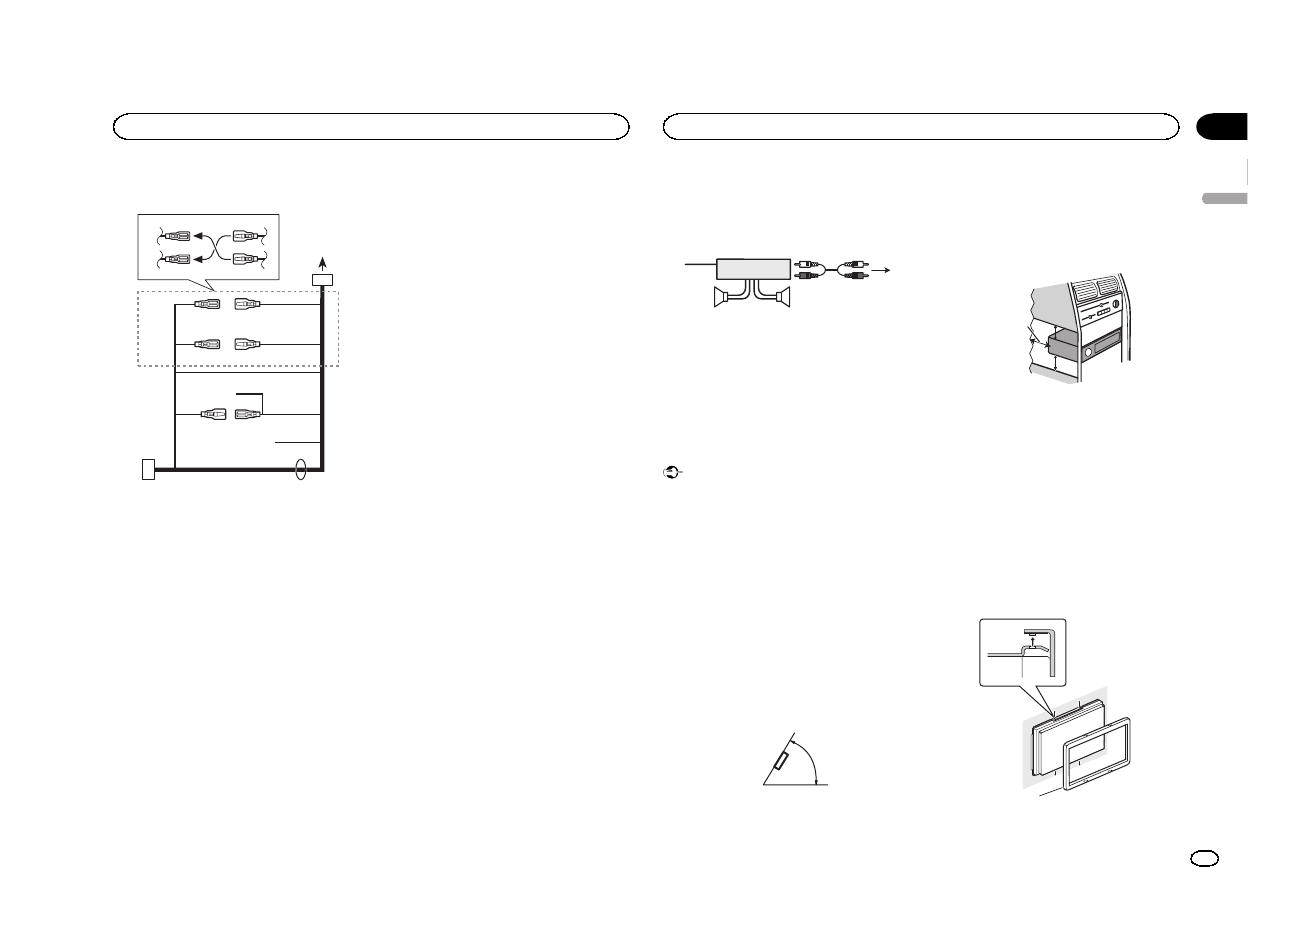
Power cord
1
3
3
2
4
4
5
5
6
6
b
8
9
7
a
e
d
c
1
To power cord input
2
Depending on the kind of vehicle, the func-
tion of
3
and
5
may be different. In this
case, be sure to connect
4
to
5
and
6
to
3
.
3
Yellow
Back-up (or accessory)
4
Yellow
Connect to the constant 12 V supply termi-
nal.
5
Red
Accessory (or back-up)
6
Red
Connect to terminal controlled by ignition
switch (12 V DC).
7
Connect leads of the same color to each
other.
8
Black (chassis ground)
9
Blue/white
The pin position of the ISO connector will dif-
fer depending on the type of vehicle. Connect
9
and
b
when Pin 5 is an antenna control
type. In another type of vehicle, never con-
nect
9
and
b
.
a
Blue/white
Connect to system control terminal of the
power amp (max. 300 mA 12 V DC).
b
Blue/white
Connect to auto-antenna relay control termi-
nal (max. 300 mA 12 V DC).
c
Yellow/black
If you use an equipment with Mute function,
wire this lead to the Audio Mute lead on that
equipment. If not, keep the Audio Mute lead
free of any connections.
d
Speaker leads
White: Front left
+
White/black: Front left
*
Gray: Front right
+
Gray/black: Front right
*
Green: Rear left
+
or subwoofer
+
Green/black: Rear left
*
or subwoofer
*
Violet: Rear right
+
or subwoofer
+
Violet/black: Rear right
*
or subwoofer
*
e
ISO connector
In some vehicles, the ISO connector may be
divided into two. In this case, be sure to con-
nect to both connectors.
Notes
!
Change the initial menu of this unit. Refer to
The subwoofer output of this unit is monau-
ral.
!
When using a subwoofer of 70 W (2
W
), be
sure to connect the subwoofer to the violet
and violet/black leads of this unit. Do not
connect anything to the green and green/
black leads.
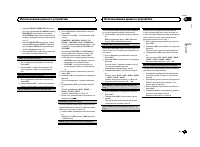
Power amp (sold separately)
Perform these connections when using the op-
tional amplifier.
1
3
2
4
5
5
1
System remote control
Connect to Blue/white cable.
2
Power amp (sold separately)
3
Connect with RCA cables (sold separately)
4
To Rear output or subwoofer output
5
Rear speaker or subwoofer
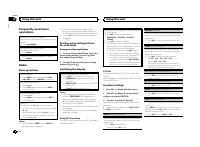
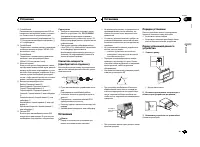
Installation
Important
!
Check all connections and systems before
final installation.
!
Do not use unauthorized parts as this may
cause malfunctions.
!
Consult your dealer if installation requires
drilling of holes or other modifications to the
vehicle.
!
Do not install this unit where:
—
it may interfere with operation of the vehicle.
—
it may cause injury to a passenger as a result
of a sudden stop.
!
The semiconductor laser will be damaged if
it overheats. Install this unit away from hot
places such as near the heater outlet.
!
Optimum performance is obtained when the
unit is installed at an angle of less than 60°.
60°
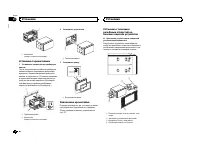
!
When installing, to ensure proper heat dis-
persal when using this unit, make sure you
leave ample space behind the rear panel and
wrap any loose cables so they are not block-
ing the vents.
5cm
cm
Leave ample
space
5 cm
5 cm
!
Use commercially available parts when in-
stalling.
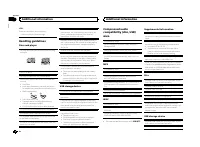
How to install
This unit can be installed properly using either
of the methods in the below list.
!
Installation with the holder
!
Installation using the screw holes on the side
of the unit
Before installing this unit
1
Remove the trim ring.
1
1
Trim ring
English
Installation
9
Section
Installation
En
03
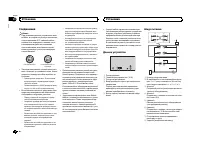
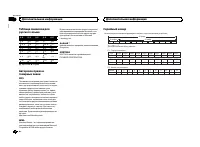
Содержание
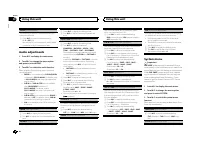
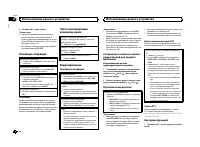
- 17 Основное устройство; ВНИМАНИЕ; USB; Индикация на дисплее; SET UP; YES; Использование данного устройства
- 18 Радиоприемник; Основные операции; SEEK; AF; AF; FREQUENCY; Использование функций; Список; PTY; Настройка функций
- 19 FUNCTION; запоминающие устройства; Подключение по протоколу; Android; Функции кнопки
- 20 Регулировки параметров звука; AUDIO
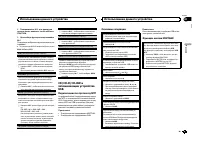
- 22 Меню системы; PW SAVE; Информация о; Меню
- 23 Стартовое меню; Меню систе
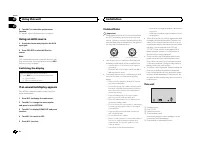
- 24 Соединения; Важно; Данное устройство; Установка
- 25 настройка выхода заднего канала и; Усилитель мощности; RCA; Порядок установки
- 26 Перед установкой данного устройства
- 27 Общие; Дополнительная информация
- 28 Диски и проигрыватель; компакт
- 29 WAV; USB MTP; Pioneer; Диск
- 30 Серийный номер
- 31 Технические характеристики


