
Лобзики Bosch 0.601.5A6.100 - инструкция пользователя по применению, эксплуатации и установке на русском языке. Мы надеемся, она поможет вам решить возникшие у вас вопросы при эксплуатации техники.
Если остались вопросы, задайте их в комментариях после инструкции.
"Загружаем инструкцию", означает, что нужно подождать пока файл загрузится и можно будет его читать онлайн. Некоторые инструкции очень большие и время их появления зависит от вашей скорости интернета.


English |
17
Bosch Power Tools
1 609 92A 33H | (9.9.16)
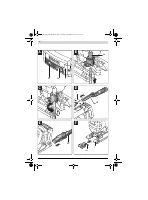
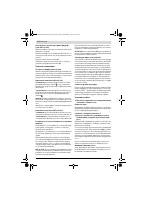
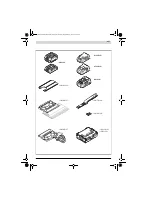
Connecting the Dust Extraction (see figures D – E)
Insert the vacuum connection
20
into the opening of base
plate
7
.
Place a vacuum hose
21
(accessory) onto the vacuum con-
nection
20
. Connect the vacuum hose
21
with a vacuum
cleaner (accessory). An overview for the connection of vari-
ous vacuum cleaners can be found at the end of these instruc-
tions.
To enable optimum dust extraction, use the splinter guard
22
if possible.
The vacuum cleaner must be suitable for the material being
worked.
When vacuuming dry dust that is especially detrimental to
health or carcinogenic, use a special vacuum cleaner.
Splinter Guard (see figure F)
The splinter guard
22
can prevent fraying of the surface while
sawing wood. The splinter guard can only be used with certain
saw blade types, and only at a cutting angle of 0 °. When saw-
ing with the splinter guard, the base plate
7
may not be offset
to the rear for sawing close to edges.
Insert the splinter guard
22
into base plate
7
from the front.
Sliding Shoe (see figure G)
The plastic guide plate
6
of base plate
7
reduces sensitive sur-
faces from being scratched up. When cutting metal, use the
steel sliding shoe
23
.
To mount the steel sliding shoe
23
, slide it onto base plate
7
from the front.
Operation
Operating Modes
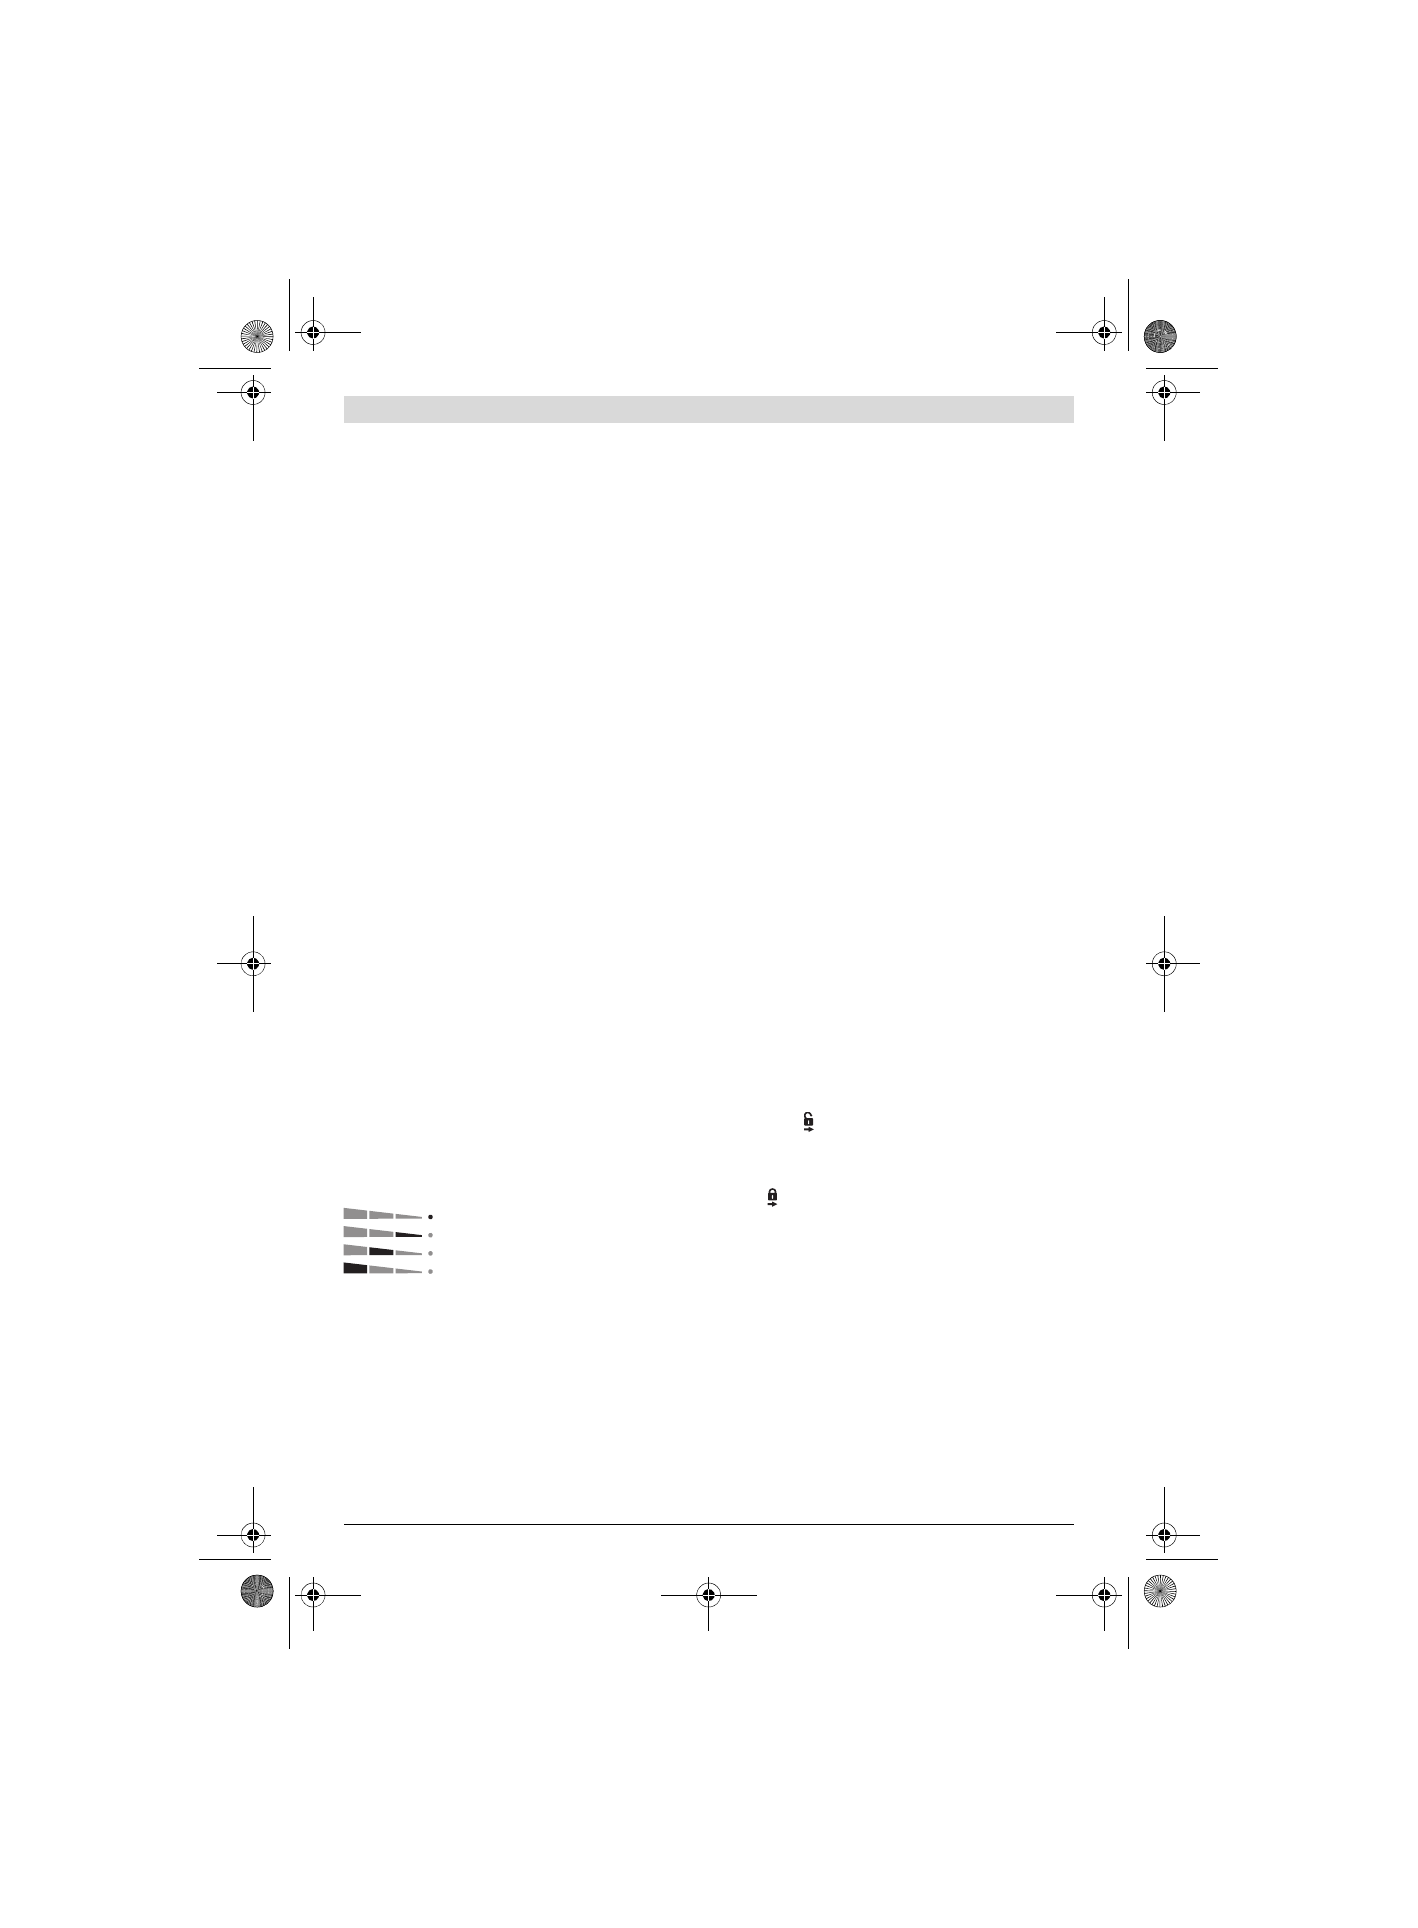
Orbital Action Settings
The four orbital action settings allow for optimal adaptation
of cutting speed, cutting capacity and cutting pattern to the
material being sawed.
The orbital action can be adjusted with the adjusting lever
8
,
even during operation.
The optimal orbital action setting for the respective applica-
tion can be determined through practical testing. The follow-
ing recommendations apply:
– Select a lower orbital action setting (or switch it off) for a
finer and cleaner cutting edge.
– For thin materials such as sheet metal, switch the orbital
action off.
– For hard materials such as steel, work with low orbital
action.
– For soft materials and when sawing in the direction of the
grain, work with maximum orbital action.
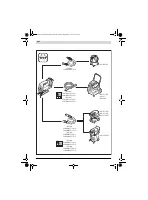
Adjusting the Cutting Angle (see figure H)
(only GST 18 V-LI B)
The base plate
7
can be swivelled by 45° to the left or right for
mitre cuts.
Remove the vacuum connection
20
.
Loosen screw
24
with hex key
5
and slide the base plate
7
in
toward the battery
3
to the stop.
For adjustment of precise mitre angles, the base plate has ad-
justment notches on the left and right at 0 ° and 45 °. Swivel
the base plate
7
to the desired position according to the scale
25
. Other mitre angles can be adjusted using a protractor.
Afterwards, push the base plate
7
to the stop in the direction
of the saw blade
10
.
Tighten the screw
24
again.
The vacuum connection
20
and the splinter guard
22
cannot
be used for bevel cuts.
Offsetting the Base Plate (see figure H)
(only GST 18 V-LI B)
For sawing close to edges, the base plate
7
can be offset to
the rear.
Loosen screw
24
with hex key
5
and slide the base plate
7
in
toward the battery
3
to the stop.
Tighten the screw
24
again.
The splinter guard
22
must not be used when sawing with the
base plate
7
offset.
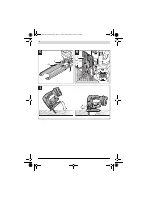
Starting Operation
Inserting the battery
Insert the charged battery
3
from the rear into the base of the
power tool. Press the battery completely into the base until
the red stripe can no longer be seen and the battery is se-
curely locked.
Starting and Stopping (GST 18 V-LI B)
To
start
the machine, firstly press on the safety switch
1
next
to the symbol to deactivate it. Then press and hold the
On/Off switch
2
.
To
switch off
the machine, release the On/Off switch
2
. Acti-
vate the safety switch
1
by pressing on it next to the
symbol .
Note:
For safety reasons, the On/Off switch
2
cannot be
locked; it must remain pressed during the entire operation.
To save energy, only switch the power tool on when using it.
Starting and Stopping (GST 18 V-LI S)
To
start
the machine, push the On/Off switch
2
forward so
that the
“1”
is indicated on the switch.
To
switch off
the machine, push the On/Off switch
2
toward
the rear so that the
“0”
is indicated on the switch.
Controlling the Stroke Rate
The required stroke rate is dependent on the material and the
working conditions and can be determined by a practical trial.
Reducing the stroke rate is recommended when the saw
blade engages in the material as well as when sawing plastic
and aluminium.
No orbital action
Small orbital action
Medium orbital action
Large orbital action
OBJ_BUCH-2148-004.book Page 17 Friday, September 9, 2016 9:14 AM
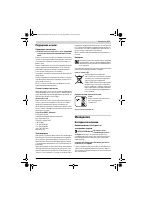
Содержание
- 121 Указания по безопасности
- 123 Описание продукта и услуг; Применение по назначению
- 124 Данные по шуму и вибрации; Сборка; Зарядка аккумулятора
- 125 Установка/смена пильного полотна; Отсос пыли и стружки
- 126 Работа с инструментом; Режимы работы
- 127 Указания по применению; Техобслуживание и сервис; Техобслуживание и очистка
- 128 Транспортировка; Українська; Вказівки з техніки безпеки; Загальні застереження для електроприладів
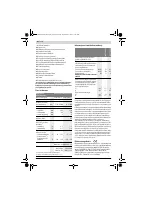
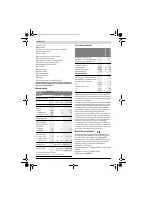
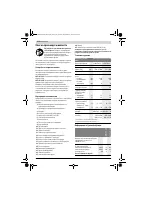
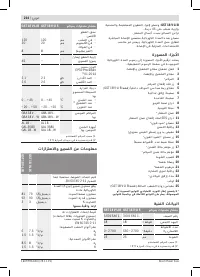
Характеристики

Остались вопросы?Не нашли свой ответ в руководстве или возникли другие проблемы? Задайте свой вопрос в форме ниже с подробным описанием вашей ситуации, чтобы другие люди и специалисты смогли дать на него ответ. Если вы знаете как решить проблему другого человека, пожалуйста, подскажите ему :)


