
Кондиционеры DOMETIC FreshJet 1700 9105306658 - инструкция пользователя по применению, эксплуатации и установке на русском языке. Мы надеемся, она поможет вам решить возникшие у вас вопросы при эксплуатации техники.
Если остались вопросы, задайте их в комментариях после инструкции.
"Загружаем инструкцию", означает, что нужно подождать пока файл загрузится и можно будет его читать онлайн. Некоторые инструкции очень большие и время их появления зависит от вашей скорости интернета.


EN
FreshJet
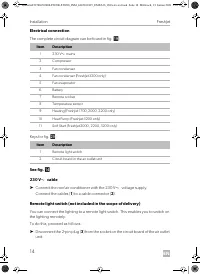
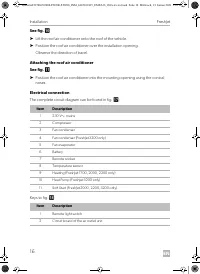
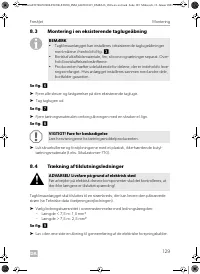
Installation
15
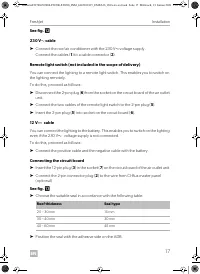
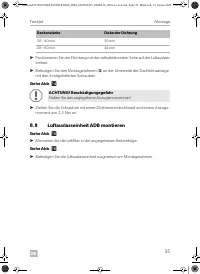
➤
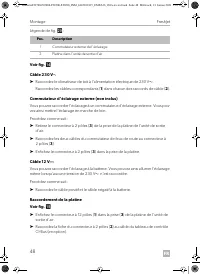
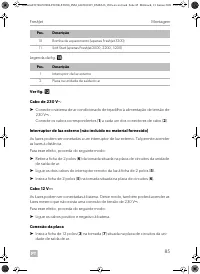
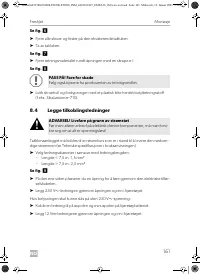
Connect the two cables of the remote light switch to the 2-pin plug (
3
).
➤
Insert the 2-pin plug (
3
) into socket on the circuit board.
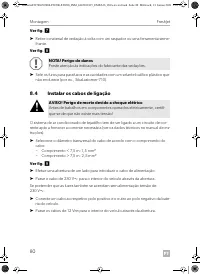
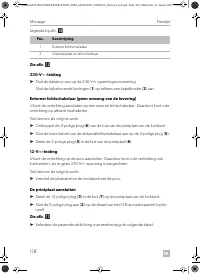
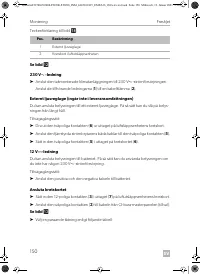
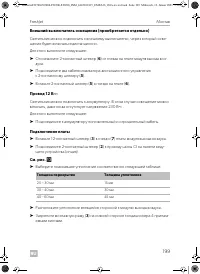
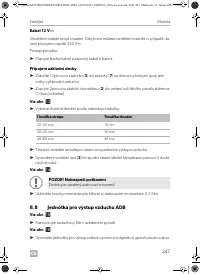
12 V
g
cable
You can connect the lighting to the battery. This enables you to switch on the lighting
even if the 230 V
w
voltage supply is not connected.
To do this, proceed as follows:
➤
Connect the positive cable and the negative cable to the battery.
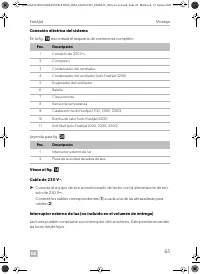
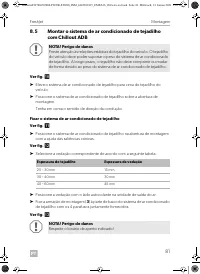
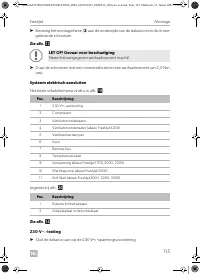
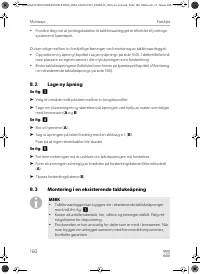
Connecting the circuit board
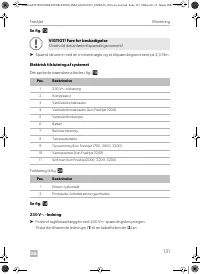
See fig.
e
➤
Insert the 12-pin plug (
1
) in the socket (
3
) on the circuit board of the air outlet unit.
➤
Connect the 2-pin connector plug (
2
) to the wire from CI-Bus master panel
(optional).
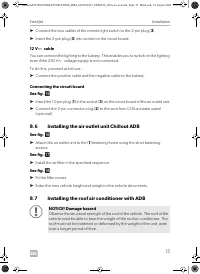
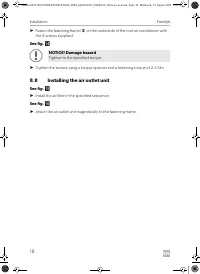
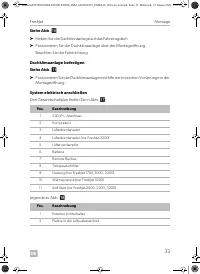
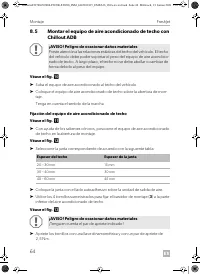
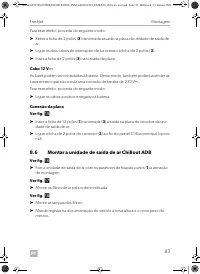
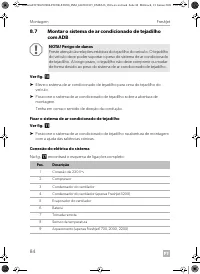
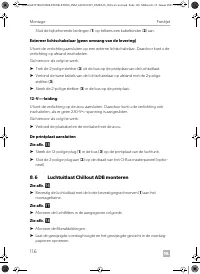
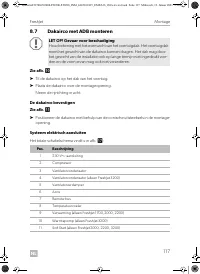
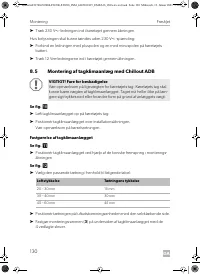
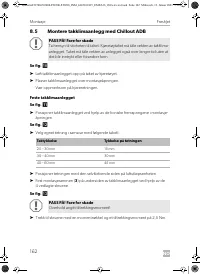
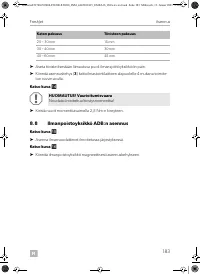
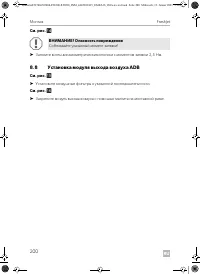
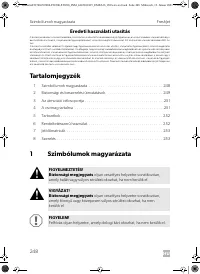
8.6
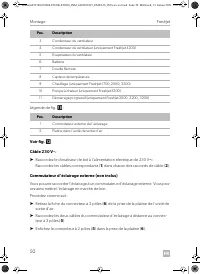
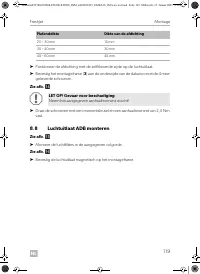
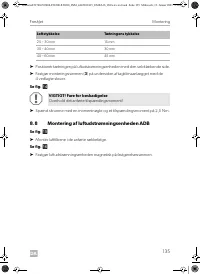
Installing the air outlet unit Chillout ADB
See fig.
f
➤
Attach the air outlet unit to the (
1
) fastening frame using the short fastening
screws.
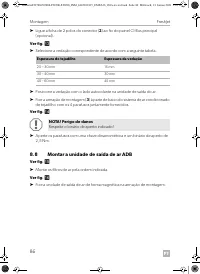
See fig.
g
➤
Install the air filter in the specified sequence.
See fig.
h
➤
Fit the filter covers.
➤
Enter the new vehicle height and weight in the vehicle documents.
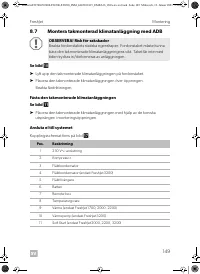
8.7
Installing the roof air conditioner with ADB
A
NOTICE! Damage hazard
Observe the structural strength of the roof of the vehicle. The roof of the
vehicle must be able to bear the weight of the roof air conditioner. The
roof must not be indented or deformed by the weight of the unit, even
over a longer period of time.
DometicFJ1700-FJ2000-FJ2200-FJ3200_INM_4445101815_EMEA16_202x-xx-xx.book Seite 15 Mittwoch, 13. Januar 2021 5:16 17
Содержание
- 185 Обращение с прибором; Опасность для жизни из-за поражения электрическим током
- 187 ВНИМАНИЕ! Опасность повреждения; Монтаж устройства
- 188 Целевая группа данной инструкции; Аксессуары
- 189 Использование по назначению; не предназначен
- 190 Заводские таблички; Указания по монтажу; ОСТОРОЖНО! Опасность для здоровья
- 191 Указания по транспортировке; Указания о месте монтажа
- 192 Указания по электрической системе; Изготовление нового отверстия
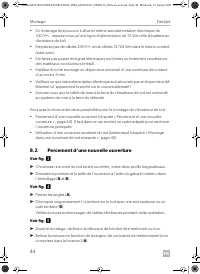
- 193 Монтаж в имеющемся отверстии люка в крыше; УКАЗАНИЕ
- 194 Прокладка кабелей и проводов
- 197 Крепление накрышного кондиционера
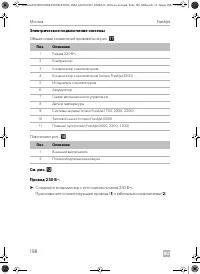
- 198 Электрическое подключение системы
- 200 Установка модуля выхода воздуха ADB


