
Кондиционеры DOMETIC FreshJet 1700 9105306658 - инструкция пользователя по применению, эксплуатации и установке на русском языке. Мы надеемся, она поможет вам решить возникшие у вас вопросы при эксплуатации техники.
Если остались вопросы, задайте их в комментариях после инструкции.
"Загружаем инструкцию", означает, что нужно подождать пока файл загрузится и можно будет его читать онлайн. Некоторые инструкции очень большие и время их появления зависит от вашей скорости интернета.


EN
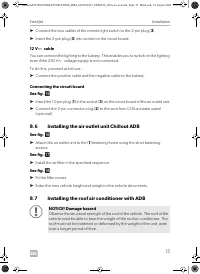
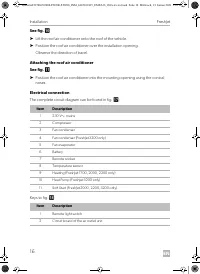
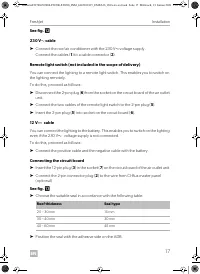
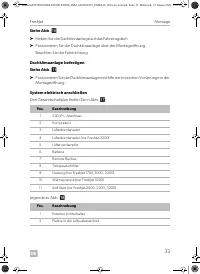
Installation
FreshJet
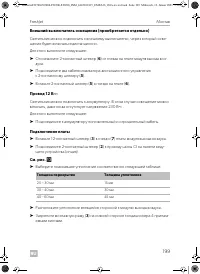
12
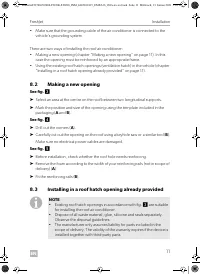
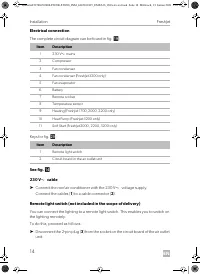
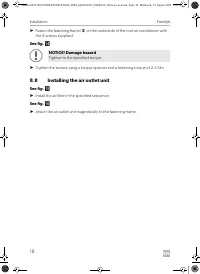
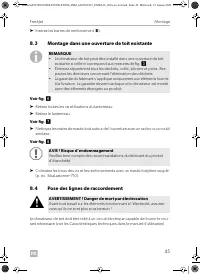
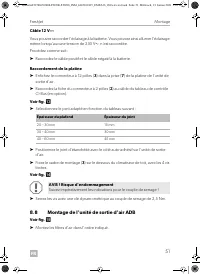
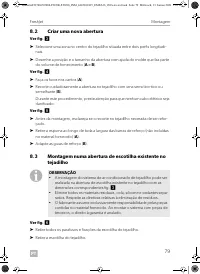
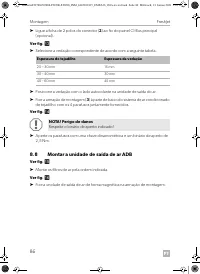
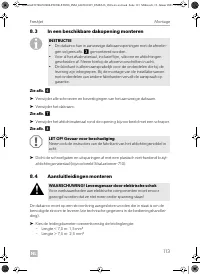
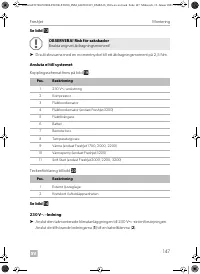
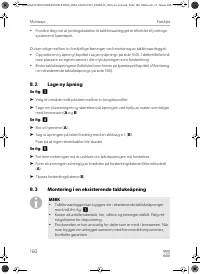
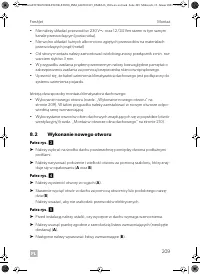
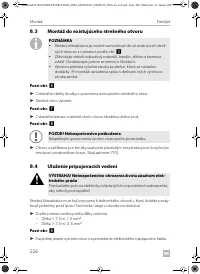
See fig.
6
➤
Remove all screws and fixtures of the existing roof hatch.
➤
Take out the roof hatch.
See fig.
7
➤
Remove the sealant around the opening using a scraper or similar tool.
See fig.
8
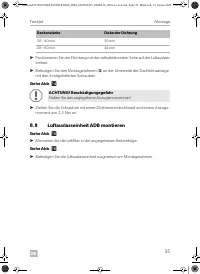
A
➤
Seal the screw holes and recesses with a flexible non-hardening butyl sealing
compound (e.g. SikaLastomer-710).
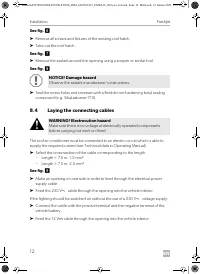
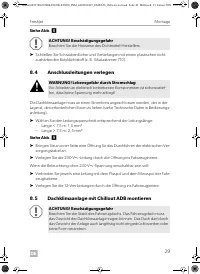
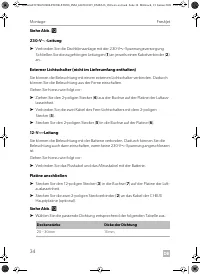
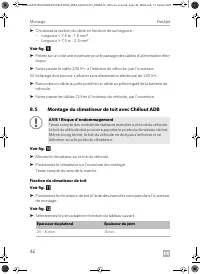
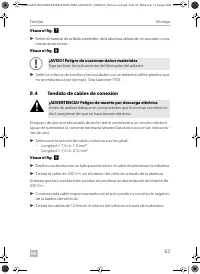
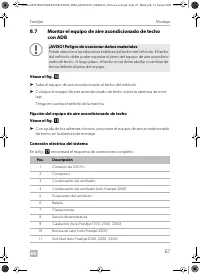
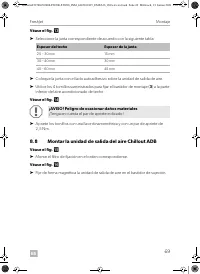
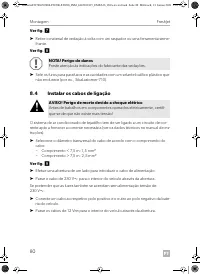
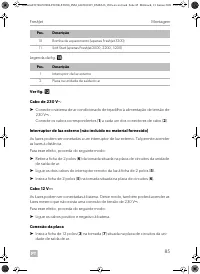
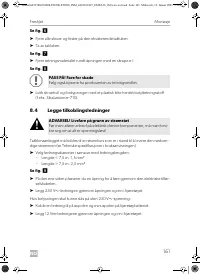
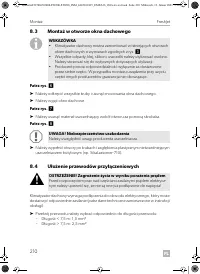
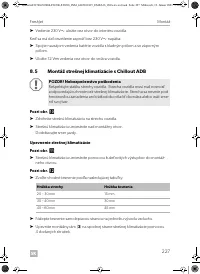
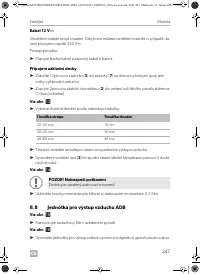
8.4
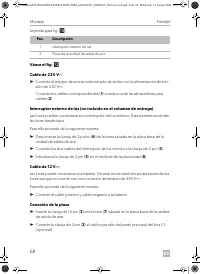
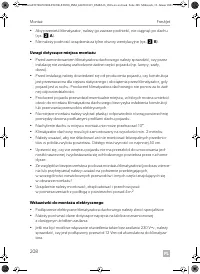
Laying the connecting cables
!
The roof air conditioner must be connected to an electric circuit which is able to
supply the required current (see Technical data in Operating Manual).
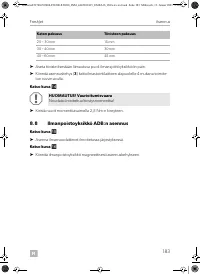
➤
Select the cross-section of the cable corresponding to the length:
–
Length < 7.5 m: 1.5 mm²
–
Length > 7.5 m: 2.5 mm²
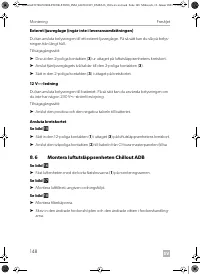
See fig.
9
➤
Make an opening on one side in order to feed through the electrical power
supply cable.
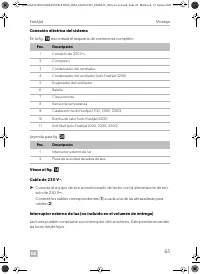
➤
Feed the 230 V
w
cable through the opening into the vehicle interior.
If the lighting should be switched on without the use of a 230 V
w
voltage supply:
➤
Connect the cable with the positive terminal and the negative terminal of the
vehicle battery.
➤
Feed the 12 V
g
cable through the opening into the vehicle interior.
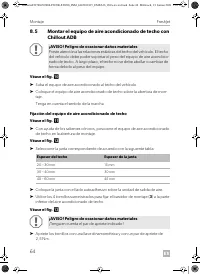
NOTICE! Damage hazard
Observe the sealant manufacturer’s instructions.
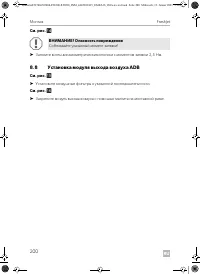
WARNING! Electrocution hazard
Make sure there is no voltage at electrically operated components
before carrying out work on them!
DometicFJ1700-FJ2000-FJ2200-FJ3200_INM_4445101815_EMEA16_202x-xx-xx.book Seite 12 Mittwoch, 13. Januar 2021 5:16 17
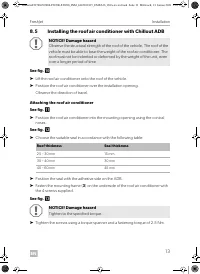
Содержание
- 185 Обращение с прибором; Опасность для жизни из-за поражения электрическим током
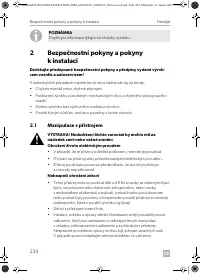
- 187 ВНИМАНИЕ! Опасность повреждения; Монтаж устройства
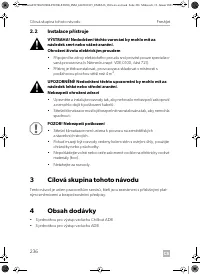
- 188 Целевая группа данной инструкции; Аксессуары
- 189 Использование по назначению; не предназначен
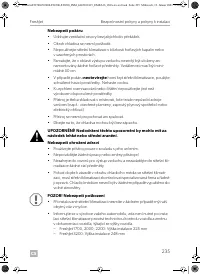
- 190 Заводские таблички; Указания по монтажу; ОСТОРОЖНО! Опасность для здоровья
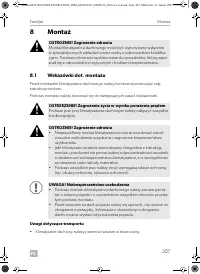
- 191 Указания по транспортировке; Указания о месте монтажа
- 192 Указания по электрической системе; Изготовление нового отверстия
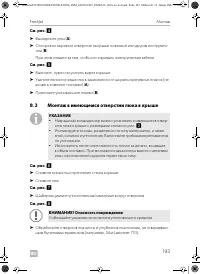
- 193 Монтаж в имеющемся отверстии люка в крыше; УКАЗАНИЕ
- 194 Прокладка кабелей и проводов
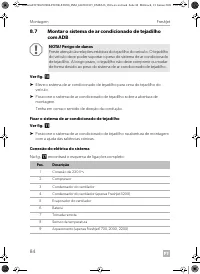
- 197 Крепление накрышного кондиционера
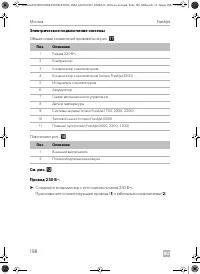
- 198 Электрическое подключение системы
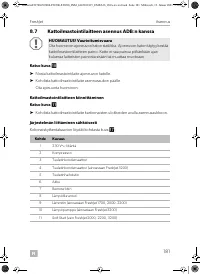
- 200 Установка модуля выхода воздуха ADB


