Кофемашина Bosch TCA 5309 - инструкция пользователя по применению, эксплуатации и установке на русском языке. Мы надеемся, она поможет вам решить возникшие у вас вопросы при эксплуатации техники.
Если остались вопросы, задайте их в комментариях после инструкции.
"Загружаем инструкцию", означает, что нужно подождать пока файл загрузится и можно будет его читать онлайн. Некоторые инструкции очень большие и время их появления зависит от вашей скорости интернета.


15
TCA53 03/2012
en
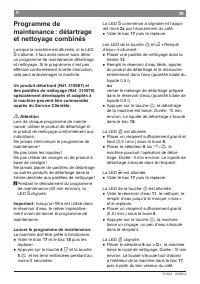
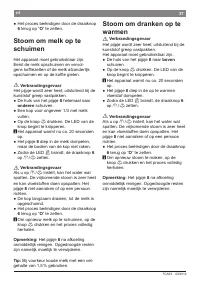
● Place a suitable container (approx. “0,5 l”)
under the nozzle
8
.
● Set the dial
6
to
g
/
h
.
● When water stops coming out of the
nozzle
8
, set the dial back to “
O
”.
● Fill the water tank and the water pipes
(see “Switching on the appliance / Filling
the system”).
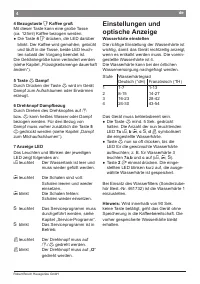
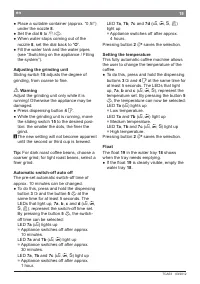
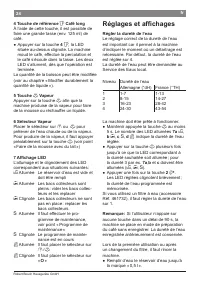
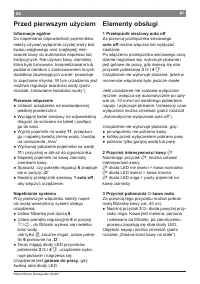
Adjusting the grinding unit
Sliding switch
15
adjusts the degree of
grinding, from coarse to ine.
¡
Warning
Adjust the grinding unit only while it is
running! Otherwise the appliance may be
damaged.
● Press dispensing button
4
F
.
● While the grinding unit is running, move
the sliding switch
15
to the desired posi
tion: the smaller the dots, the iner the
grind.
i
The new setting will not become apparent
until the second or third cup is brewed.
Tip:
For dark roast coffee beans, choose a
coarser grind; for light roast beans, select a
iner grind.
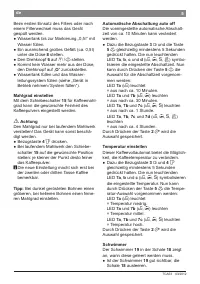
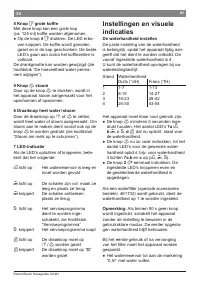
Automatic switch-off auto off
The preset automatic switchoff time of
approx. 10 minutes can be changed.
● To do this, press and hold the dispensing
button
3
E
and the button
5
h
at the
same time for at least 5 seconds. The
LEDs that light up,
7a
,
b
,
c
and
d
(
H
,
I
,
S
,
J
), represent the switchoff time set.
By pressing the button
5
h
, the switch
off time can be selected:
LED
7a
(
H
) lights up
= Appliance switches off after approx.
10 minutes.
LED
7a
and
7b
(
H
,
I
) light up
= Appliance switches off after approx.
30 minutes.
LED
7a
,
7b
and
7c
(
H
,
I
,
S
) light up
= Appliance switches off after approx.
1 hour.
LED
7a
,
7b
,
7c
and
7d
(
H
,
I
,
S
,
J
)
light up
= Appliance switches off after approx.
4 hours.
Pressing button
2
â
saves the selection.
Setting the temperature
This fully automatic coffee machine allows
the user to change the temperature of the
coffee.
● To do this, press and hold the dispensing
buttons
3
E
and
4
F
at the same time for
at least 5 seconds. The LEDs that light
up,
7a
,
b
and
c
(
H
,
I
,
S
), represent the
temperature set. By pressing the button
5
h
, the temperature can now be selected:
LED
7a
(
H
) lights up
= Low temperature.
LED
7a
and
7b
(
H
,
I
) light up
= Medium temperature.
LED
7a
,
7b
and
7c
(
H
,
I
,
S
) light up
= High temperature.
Pressing button
2
â
saves the selection.
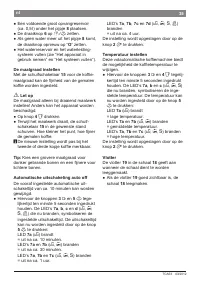
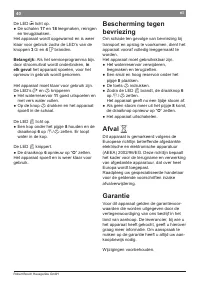
Float
The loat
19
in the water tray
18
shows
when the tray needs emptying.
● If the loat
19
is clearly visible, empty the
water tray
18
.


