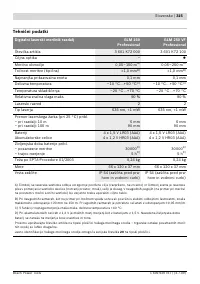
Измерительные приборы Bosch GLM 250 VF Prof - инструкция пользователя по применению, эксплуатации и установке на русском языке. Мы надеемся, она поможет вам решить возникшие у вас вопросы при эксплуатации техники.
Если остались вопросы, задайте их в комментариях после инструкции.
"Загружаем инструкцию", означает, что нужно подождать пока файл загрузится и можно будет его читать онлайн. Некоторые инструкции очень большие и время их появления зависит от вашей скорости интернета.


English |
23
Bosch Power Tools
1 609 929 T67 | (3.7.09)
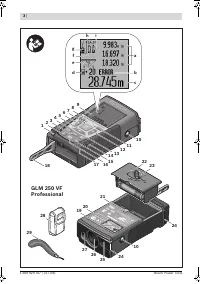
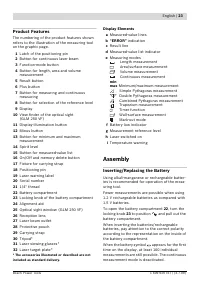
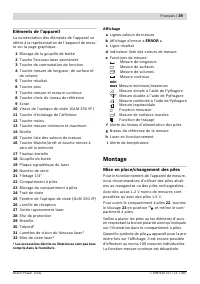
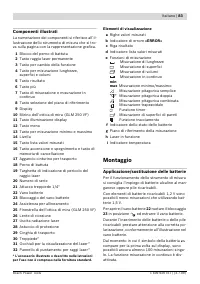
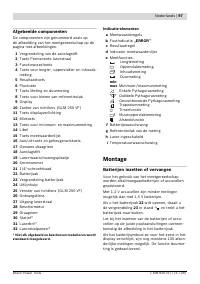
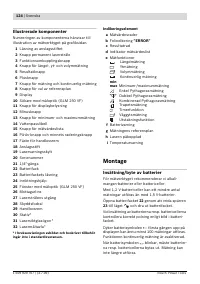
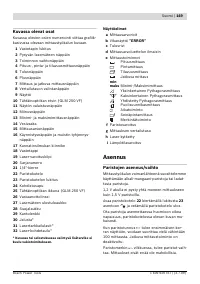
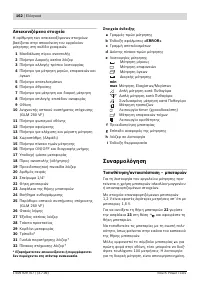
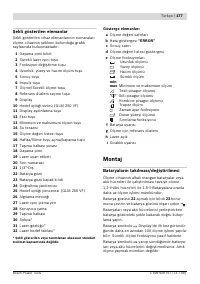
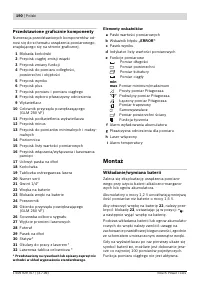
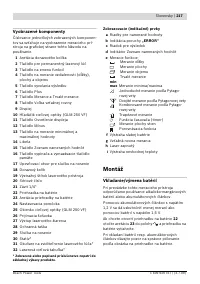
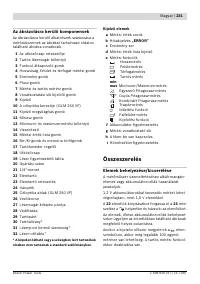
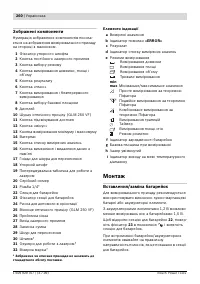
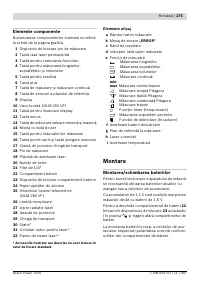
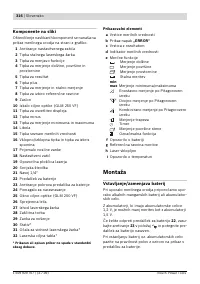
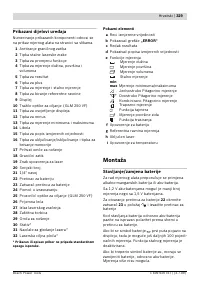
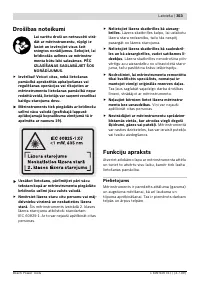
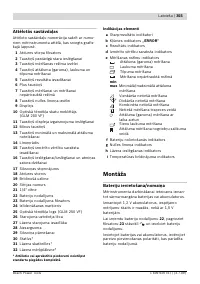
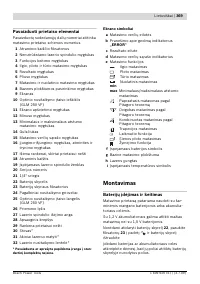
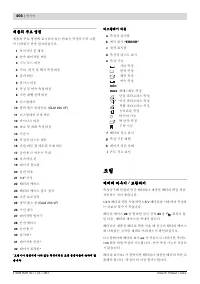
Product Features
The numbering of the product features shown
refers to the illustration of the measuring tool
on the graphic page.
1
Latch of the positioning pin
2
Button for continuous laser beam
3
Function-mode button
4
Button for length, area and volume
measurement
5
Result button
6
Plus button
7
Button for measuring and continuous
measuring
8
Button for selection of the reference level
9
Display
10
View finder of the optical sight
(GLM 250 VF)
11
Display-illumination button
12
Minus button
13
Button for minimum and maximum
measurement
14
Spirit level
15
Button for measured-value list
16
On/Off and memory delete button
17
Fixture for carrying strap
18
Positioning pin
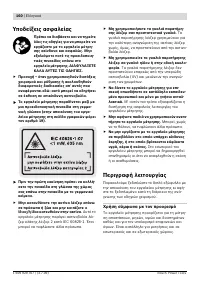
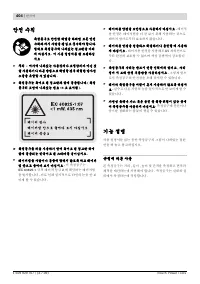
19
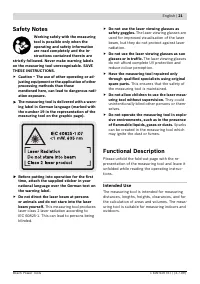
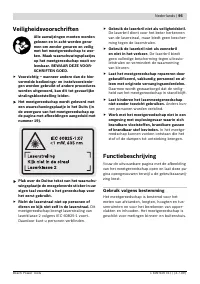
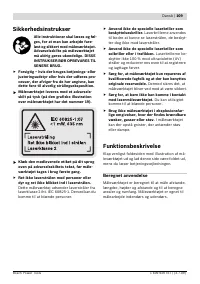
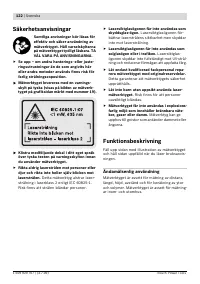
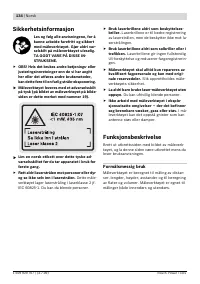
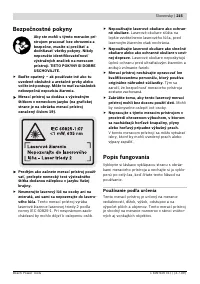
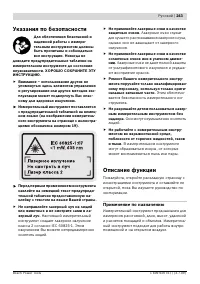
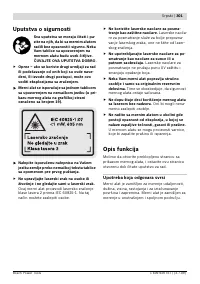
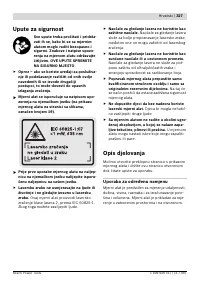
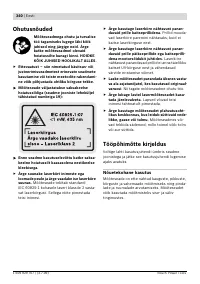
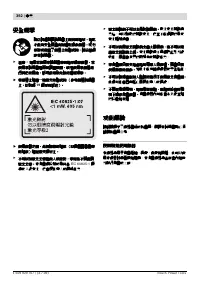
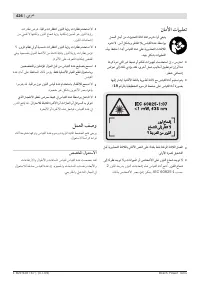
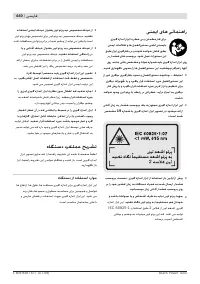
Laser warning label
20
Serial number
21
1/4" thread
22
Battery compartment
23
Locking knob of the battery compartment
24
Alignment aid
25
Optical sight window (GLM 250 VF)
26
Reception lens
27
Laser beam outlet
28
Protective pouch
29
Carrying strap
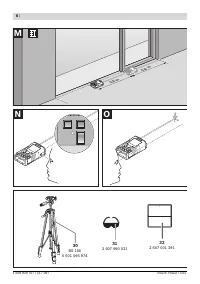
30
Tripod*
31
Laser viewing glasses *
32
Laser target plate *
* The accessories illustrated or described are not
included as standard delivery.
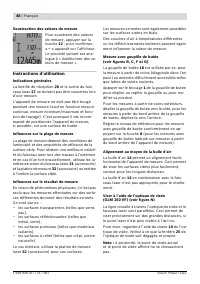
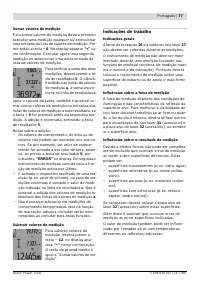
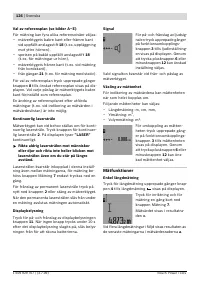
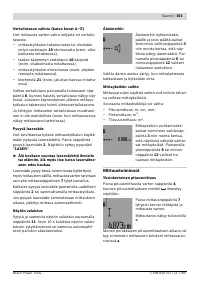
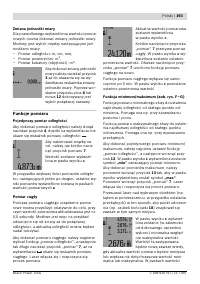
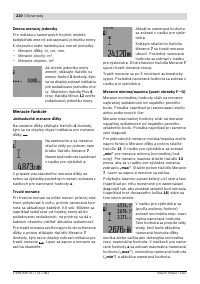
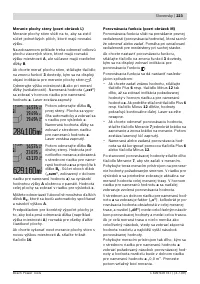
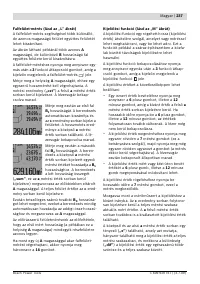
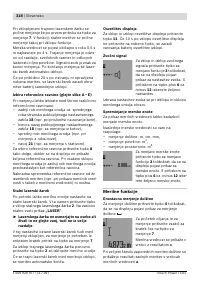
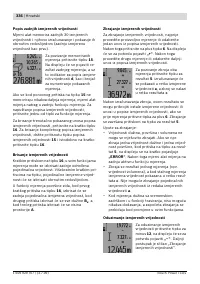
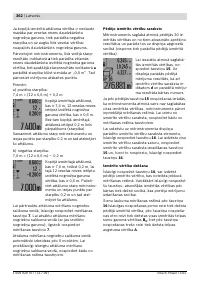
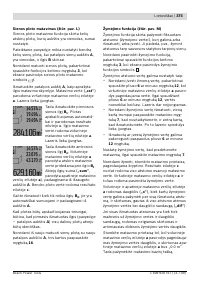
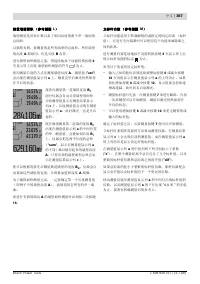
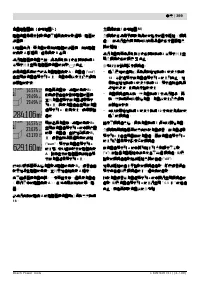
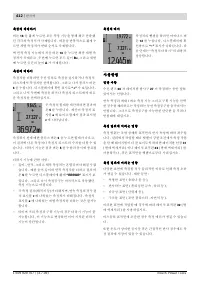
Display Elements
a
Measured-value lines
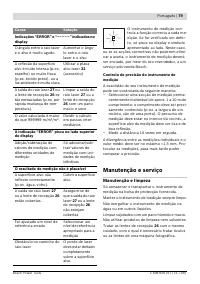
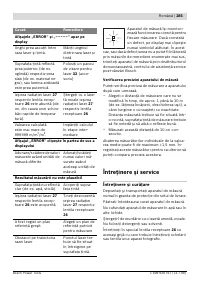
b “ERROR”
indication
c
Result line
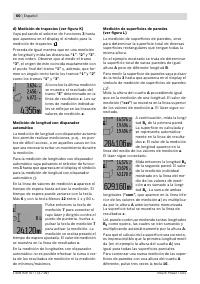
d
Measured-value list indicator
e
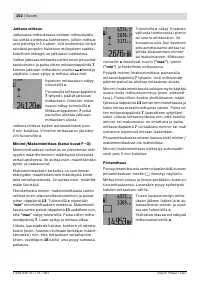
Measuring modes
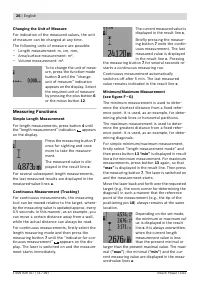
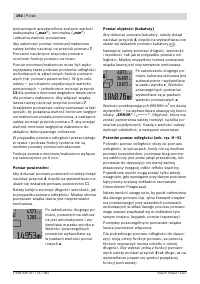
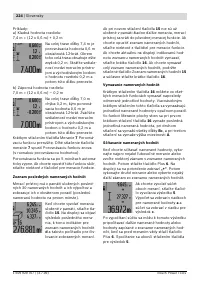
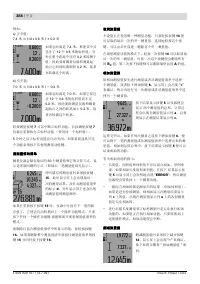
Length measurement
Area/surface measurement
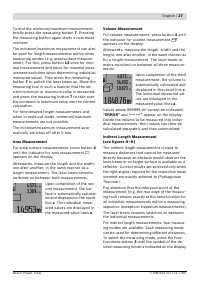
Volume measurement
Continuous measurement
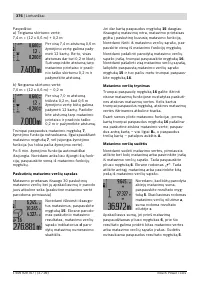
min
max
Minimum/maximum measurement
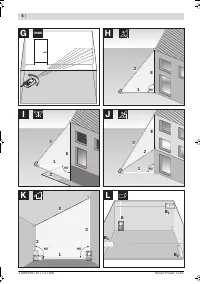
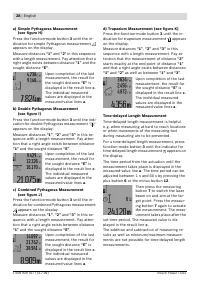
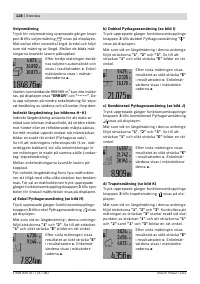
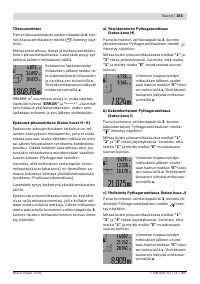
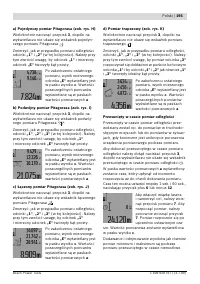
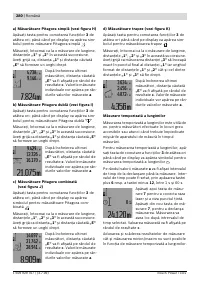
Simple Pythagoras measurement
Double Pythagoras measurement
Combined Pythagoras measurement
Trapezium measurement
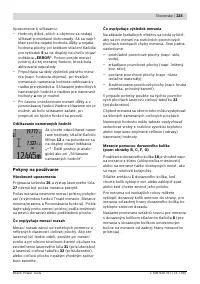
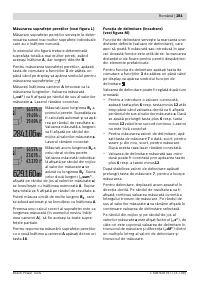
Timer function
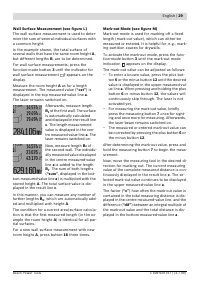
Wall-surface measurement
Mark-out mode
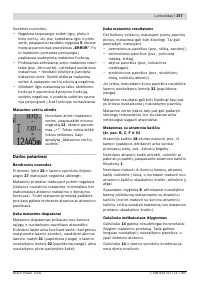
f
Battery low indicator
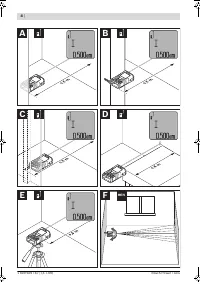
g
Measurement reference level
h
Laser switched on
i
Temperature warning
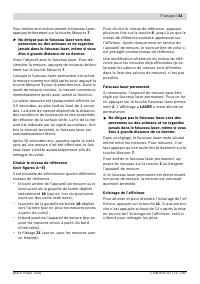
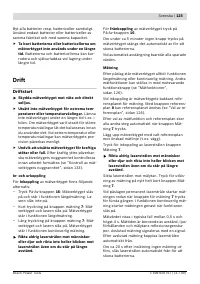
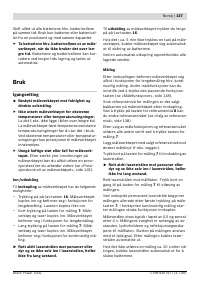
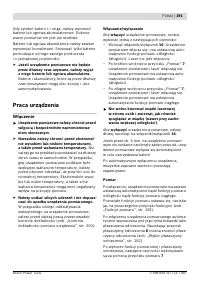
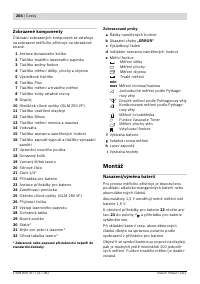
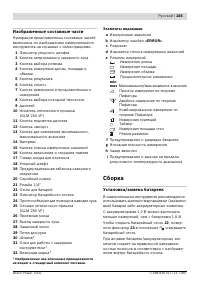
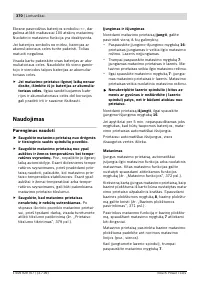
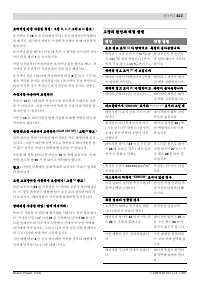
Assembly
Inserting/Replacing the Battery
Using alkali-manganese or rechargeable batter-
ies is recommended for operation of the meas-
uring tool.
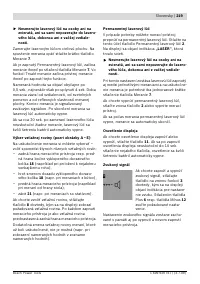
Fewer measurements are possible when using
1.2 V rechargeable batteries as compared with
1.5 V batteries.
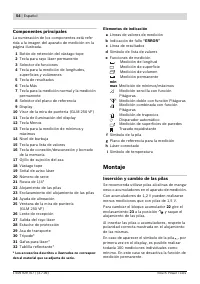
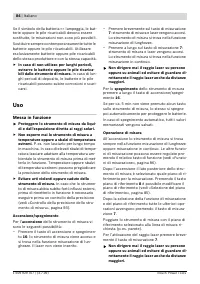
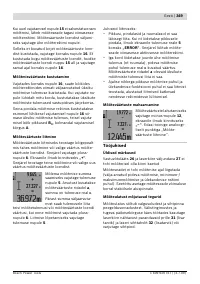
To open the battery compartment
22
, turn the
locking knob
23
to position
and pull out the
battery compartment.
When inserting the batteries/rechargeable
batteries, pay attention to the correct polarity
according to the representation on the inside of
the battery compartment.
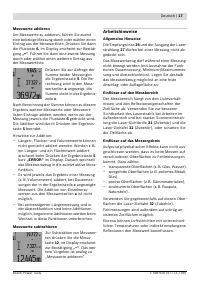
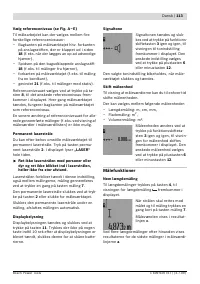
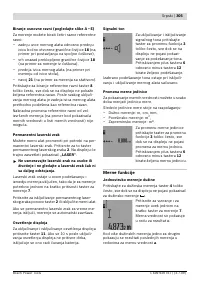
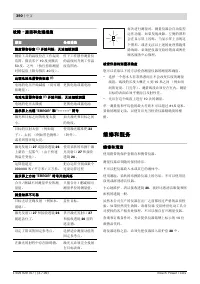
When the battery symbol appears for the first
time on the display, at least 100 individual
measurements are still possible. The continuous
measurement mode is deactivated.
1
2
1
3
2
1
3
2
1
3
2
OBJ_BUCH-947-004.book Page 23 Friday, July 3, 2009 8:44 AM
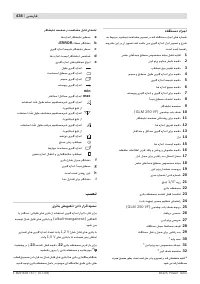
Содержание
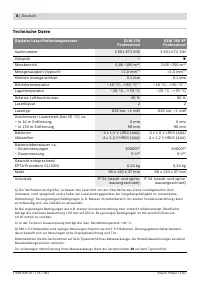
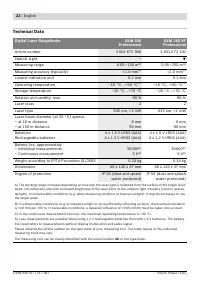
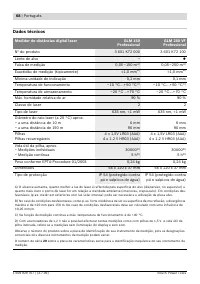
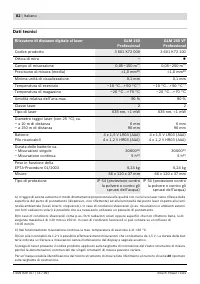
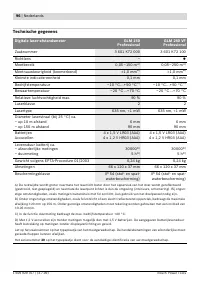
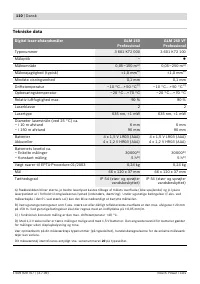
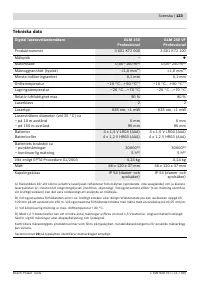
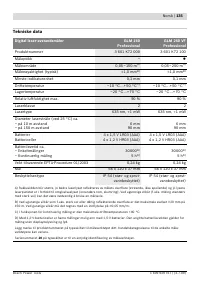
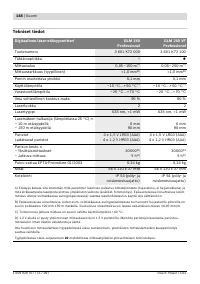
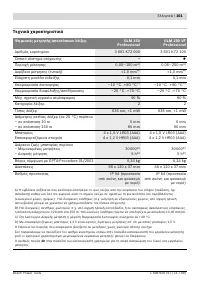
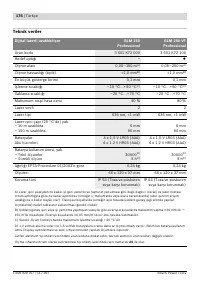
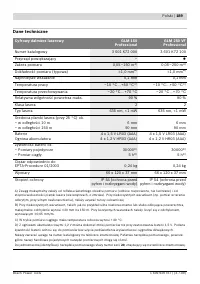
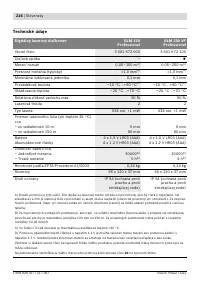
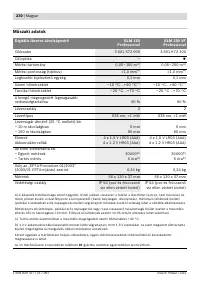
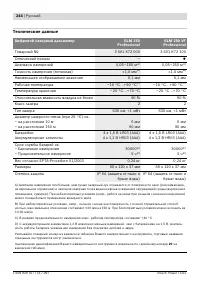
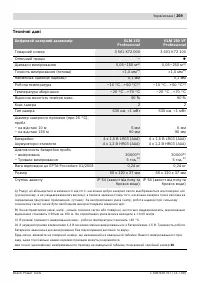
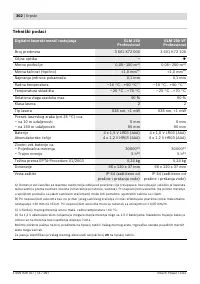
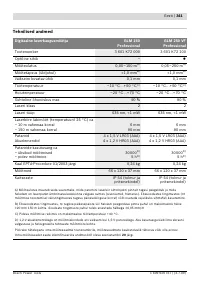
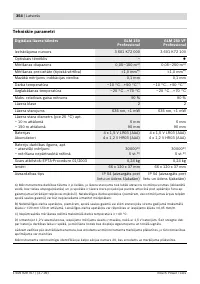
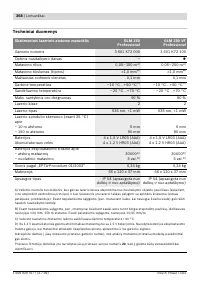
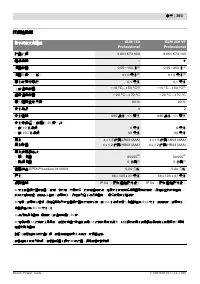
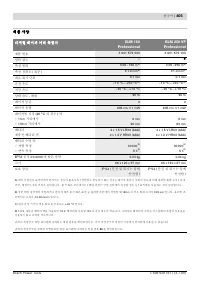
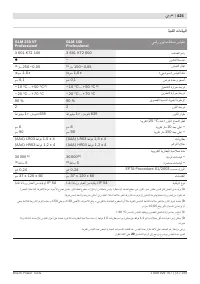
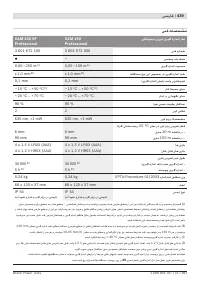
- 244 Технические данные; Цифровой лазерный дальномер
- 245 Изображенные составные части; Элементы индикации; Сборка; Установка/замена батареек
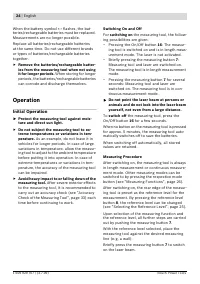
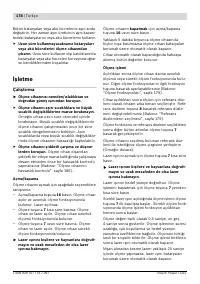
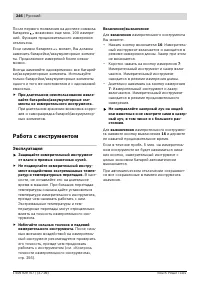
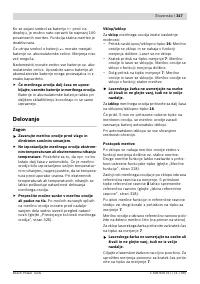
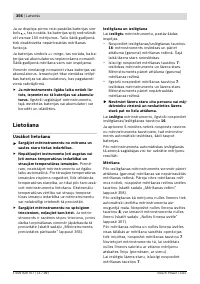
- 246 Работа с инструментом; Эксплуатация; включения
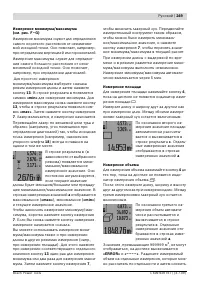
- 247 Измерение
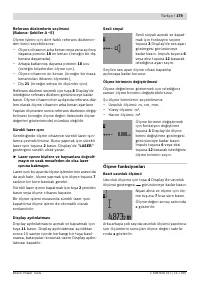
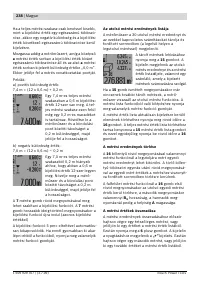
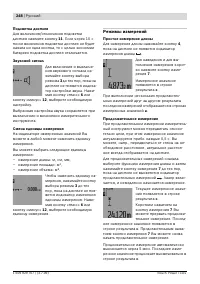
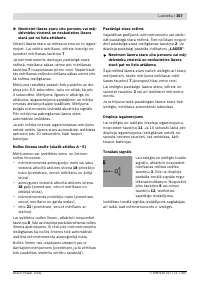
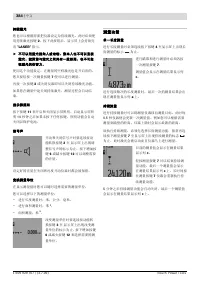
- 248 Подсветка дисплея; Режимы измерений; Простое измерение длины
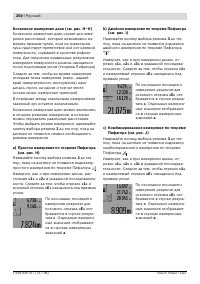
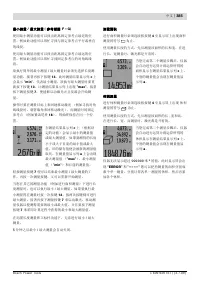
- 250 a) Простое измерение по теореме Пифагора
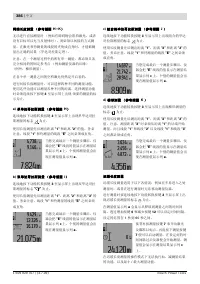
- 251 Измерение длины с выдержкой по времени
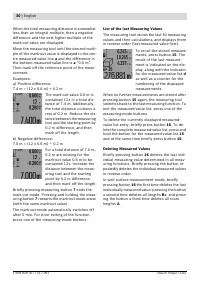
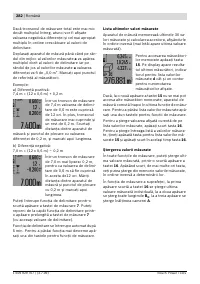
- 253 Список последних измеренных значений
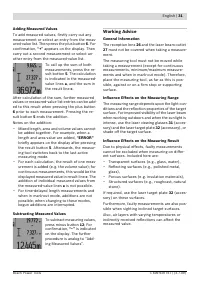
- 254 Вычитание измеренных значений; Указания по применению; Общие указания
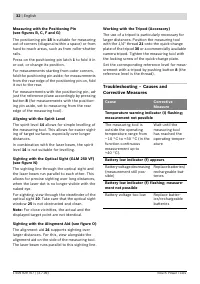
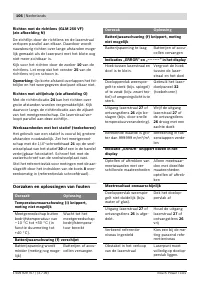
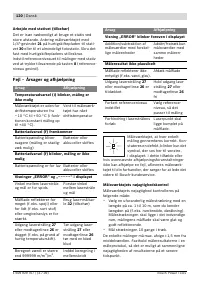
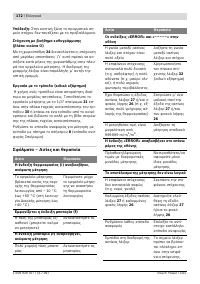
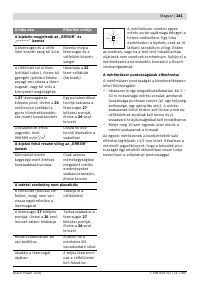
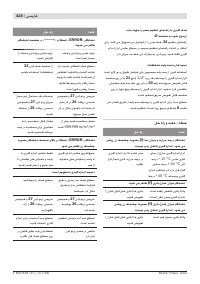
- 255 Неисправность; Причина
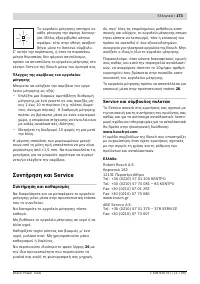
- 256 Техобслуживание и сервис; Техобслуживание и очистка
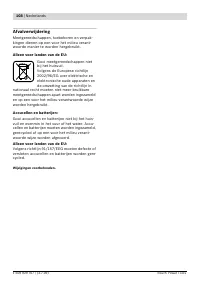
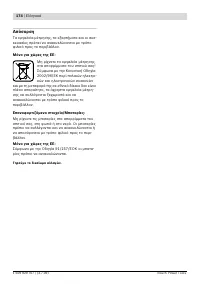
- 257 Россия; Утилизация


