
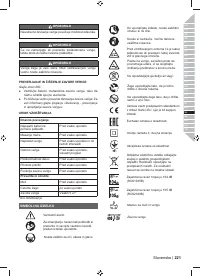
Электропилы Ryobi RCS1935B 5133004338 - инструкция пользователя по применению, эксплуатации и установке на русском языке. Мы надеемся, она поможет вам решить возникшие у вас вопросы при эксплуатации техники.
Если остались вопросы, задайте их в комментариях после инструкции.
"Загружаем инструкцию", означает, что нужно подождать пока файл загрузится и можно будет его читать онлайн. Некоторые инструкции очень большие и время их появления зависит от вашей скорости интернета.


7
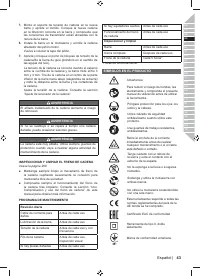
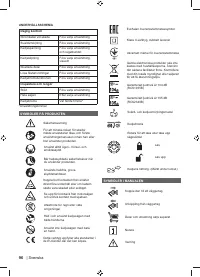
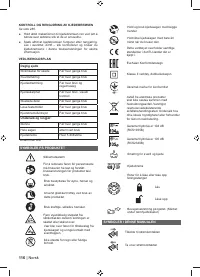
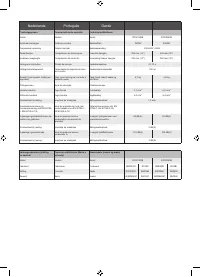
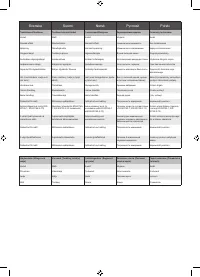
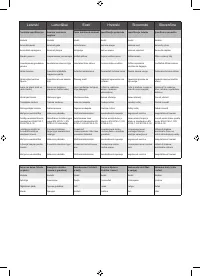
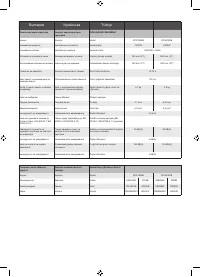
English
|
EN
FR
DE
ES
IT
NL
PT
DA
SV
FI
NO
RU
PL
CS
HU
RO
LV
LT
ET
HR
SL
SK
BG
UK
TR
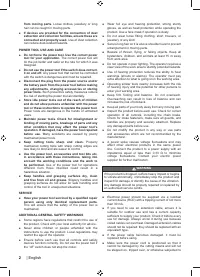
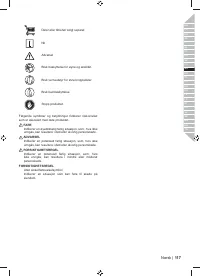
exposure per day.
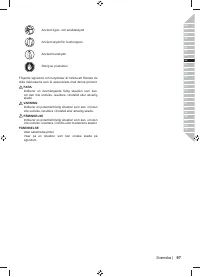
■
Protective gloves available from professional chainsaw
retailers are designed specifically for chainsaw use,
which give protection, good grip and also reduce the
effect of handle vibration.
If you experience any of the symptoms of this condition,
immediately discontinue use and see your physician.
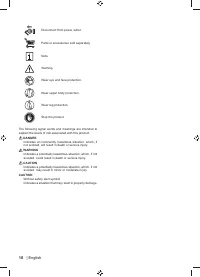
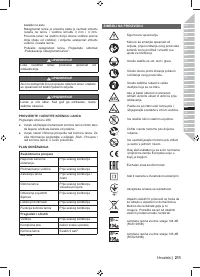
WARNING
Injuries may be caused, or aggravated, by prolonged
use of a tool. When using any tool for prolonged periods,
ensure you take regular breaks.
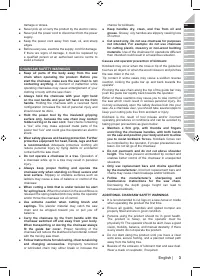
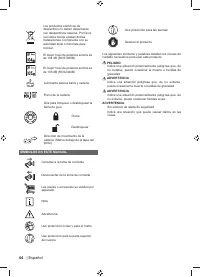
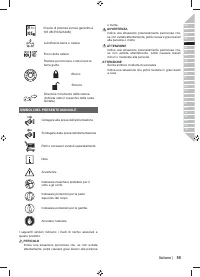
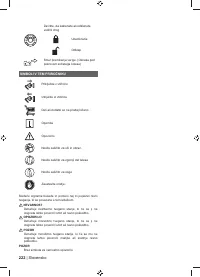
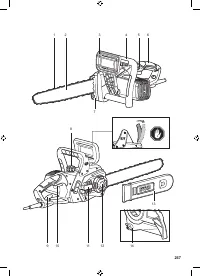
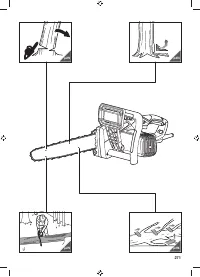
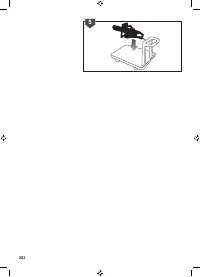
KNOW YOUR PRODUCT
See page 267.
1. Chain
2. Guide bar
3. Front hand guard/Chain brake
4. Front handle
5. Trigger release
6. Rear handle
7. Spiked bumper
8. Chain lubricant cap
9. Cord retainer
10. Switch trigger
11. Sprocket cover
12. Chain tension/Guide bar locking knob
13. Guide bar cover
14. Chain catcher
SAFETY DEVICES
Low kick-back saw chain
A low-kickback saw chain helps to reduce the possibility of
a kickback event.
The rakers (depth gauges) ahead of each cutter can
minimize the force of a kickback reaction by preventing the
cutters from digging in too deeply. Only use replacement
guide bar and chain combinations recommended by the
manufacturer.
As saw chains are sharpened, they lose some of the low
kickback qualities and extra caution is required. For your
safety, replace saw chains when cutting performance
decreases.
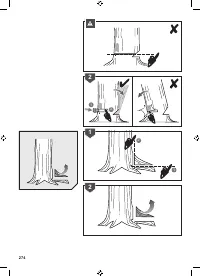
Spiked bumper
The integral bumper spike may be used as a pivot when
making a cut. It helps to keep the body of the chainsaw
steady while cutting. When cutting, push the product
forward until the spikes dig into the edge of the wood, then
by moving the rear handle up or down in the direction of the
cutting line it can help ease the physical strain of cutting
Guide bars
Generally, guide bars with small radius tips have somewhat
lower potential for kickback. You should use a guide bar
and matching chain which is just long enough for the job.
Longer bars increase the risk of loss of control during
sawing. Regularly check the chain tension. When cutting
smaller branches (less than the full length of the guide bar)
the chain is more likely to be thrown off if the tension is
not correct.
Chain brake
Chain brakes are designed to quickly stop the chain from
rotating. When the chain brake lever/hand guard is pushed
towards the bar, the chain should stop immediately. A
chain brake does not prevent kickback. It only lowers the
risk of injury should the chain bar contact the operator’s
body during a kickback event. The chain brake should be
tested before each use for correct operation in both the run
and brake positions.
Chain catcher
A chain catcher prevents the saw chain from being thrown
back towards the operator if the saw chain comes loose
or breaks.
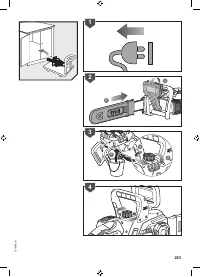
ASSEMBLY
WARNING
If any parts are damaged or missing, do not operate the
product until the parts are replaced. Failure to heed this
warning could result in serious personal injury.
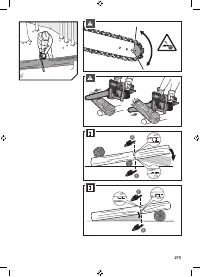
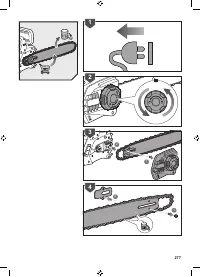
ASSEMBLING THE SAW CHAIN AND GUIDE BAR
See page 268 - 269.
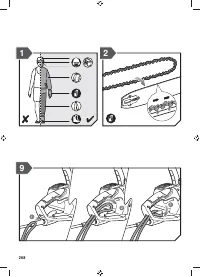
1. Disconnect the mains plug. Wear protective gloves.
2. Unscrew the guide bar locking knob and remove the
sprocket cover.
3. The saw chain should face in the direction of chain
rotation. If they face backwards, turn the loop over.
4. Place the chain drive links into the bar groove.
5. Position the chain so there is a loop at the back of the
bar.
6. Hold the chain in position on the bar and place the loop
around the drive sprocket. Lower the bar so that the
bolt goes through the hole in the attached chain tension
assembly.
7. Replace the sprocket cover and then tighten the chain
tension/guide bar locking knob by turning it clockwise
until it locks into place. Check the chain tension
frequently.
The chain tension is correct when the gap between the
cutter in the chain and the bar is between 3 mm - 4
mm. Pull the chain in the middle of the lower side of the
bar downwards (away from the bar) and measure the
distance between the bar and the chain cutters.
8. Tighten and lock the chain tension/guide bar locking
knob by turning it clockwise.
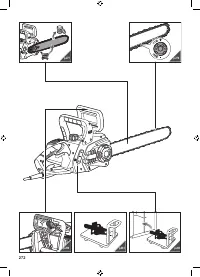
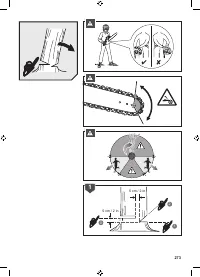
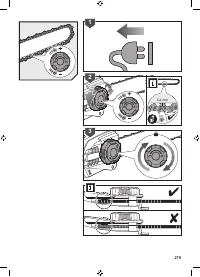
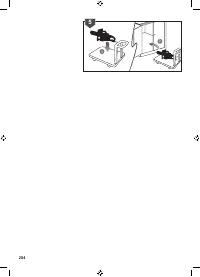
ADJUSTING THE CHAIN TENSION
See page 279.
1. Disconnect the product from the power supply. Wear
protective gloves.
2. To correct the chain tension, fully loosen the chain
tension/guide bar locking knob, then tighten the chain
tension/guide bar locking knob by turning it clockwise
until it locks into place. Check the chain tension


