
Духовые шкафы Kuppersberg SR 669 B - инструкция пользователя по применению, эксплуатации и установке на русском языке. Мы надеемся, она поможет вам решить возникшие у вас вопросы при эксплуатации техники.
Если остались вопросы, задайте их в комментариях после инструкции.
"Загружаем инструкцию", означает, что нужно подождать пока файл загрузится и можно будет его читать онлайн. Некоторые инструкции очень большие и время их появления зависит от вашей скорости интернета.


8
9
Technical passporT
english
english
Technical passporT
electric oven
electric oven
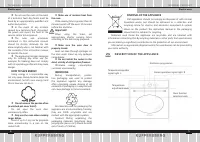
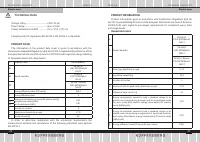
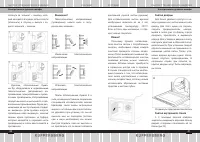
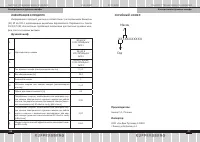
electrical connection
The oven is manufactured to work
with a one-phase alternating current
(230V 1N~50 Hz) and is equipped with
a 3 x 1,5 mm2 connection lead of 1.5
mm length with a plug including a
protection contact.
A connection socket for electricity
supply should be equipped with a
protection pin and may not be located
above the cooker. After the cooker is
positioned, it is necessary to make the
connection socket accessible to the
user.
Before connecting the oven to
the socket, check if:
the fuse and electricity supply
are able to withstand the cooker load,
the electricity supply is
equipped with an effi cacious ground
system which meets the requirements of
current standards and provisions,
the plug is within easy reach.
important!
If the fi xed power supply cable
is damaged, it should be replaced at
the manufacturer or at an au thorized
servicing outlet, or by a qualifi ed person
to avoid danger.
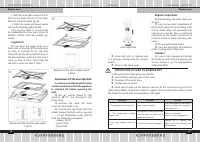
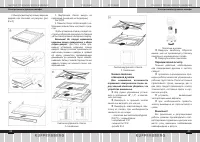
O P e rat i O N
before using the oven for the
fi rst time
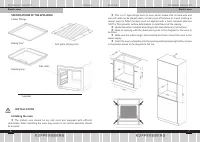
Remove packaging, clean the
interior of the oven and the hob.
Take out and wash the oven
fi ttings with warm water and a little
washing–up liq uid.
Switch on the ventillation in the
room or open a window.
Heat the oven (to a temperature
of 250°C, for approx. 30 min.), remove
any stains and wash carefully; the
heating zones of the hob should be
heated for around 4 min. without a pan.
important!
To clean the oven, only use a cloth
well rang out with warm water to which
a little washing-up liquid has been
added.
important!
When you plug in the appliance
for the fi rst time or power is restored
after a power outage you need to set
the current time (see Control panel
operation on the next page).
The current time must be set for the
appliance to operate.
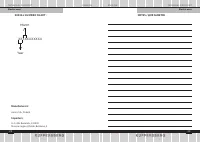
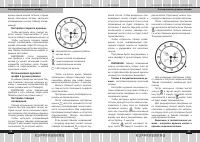
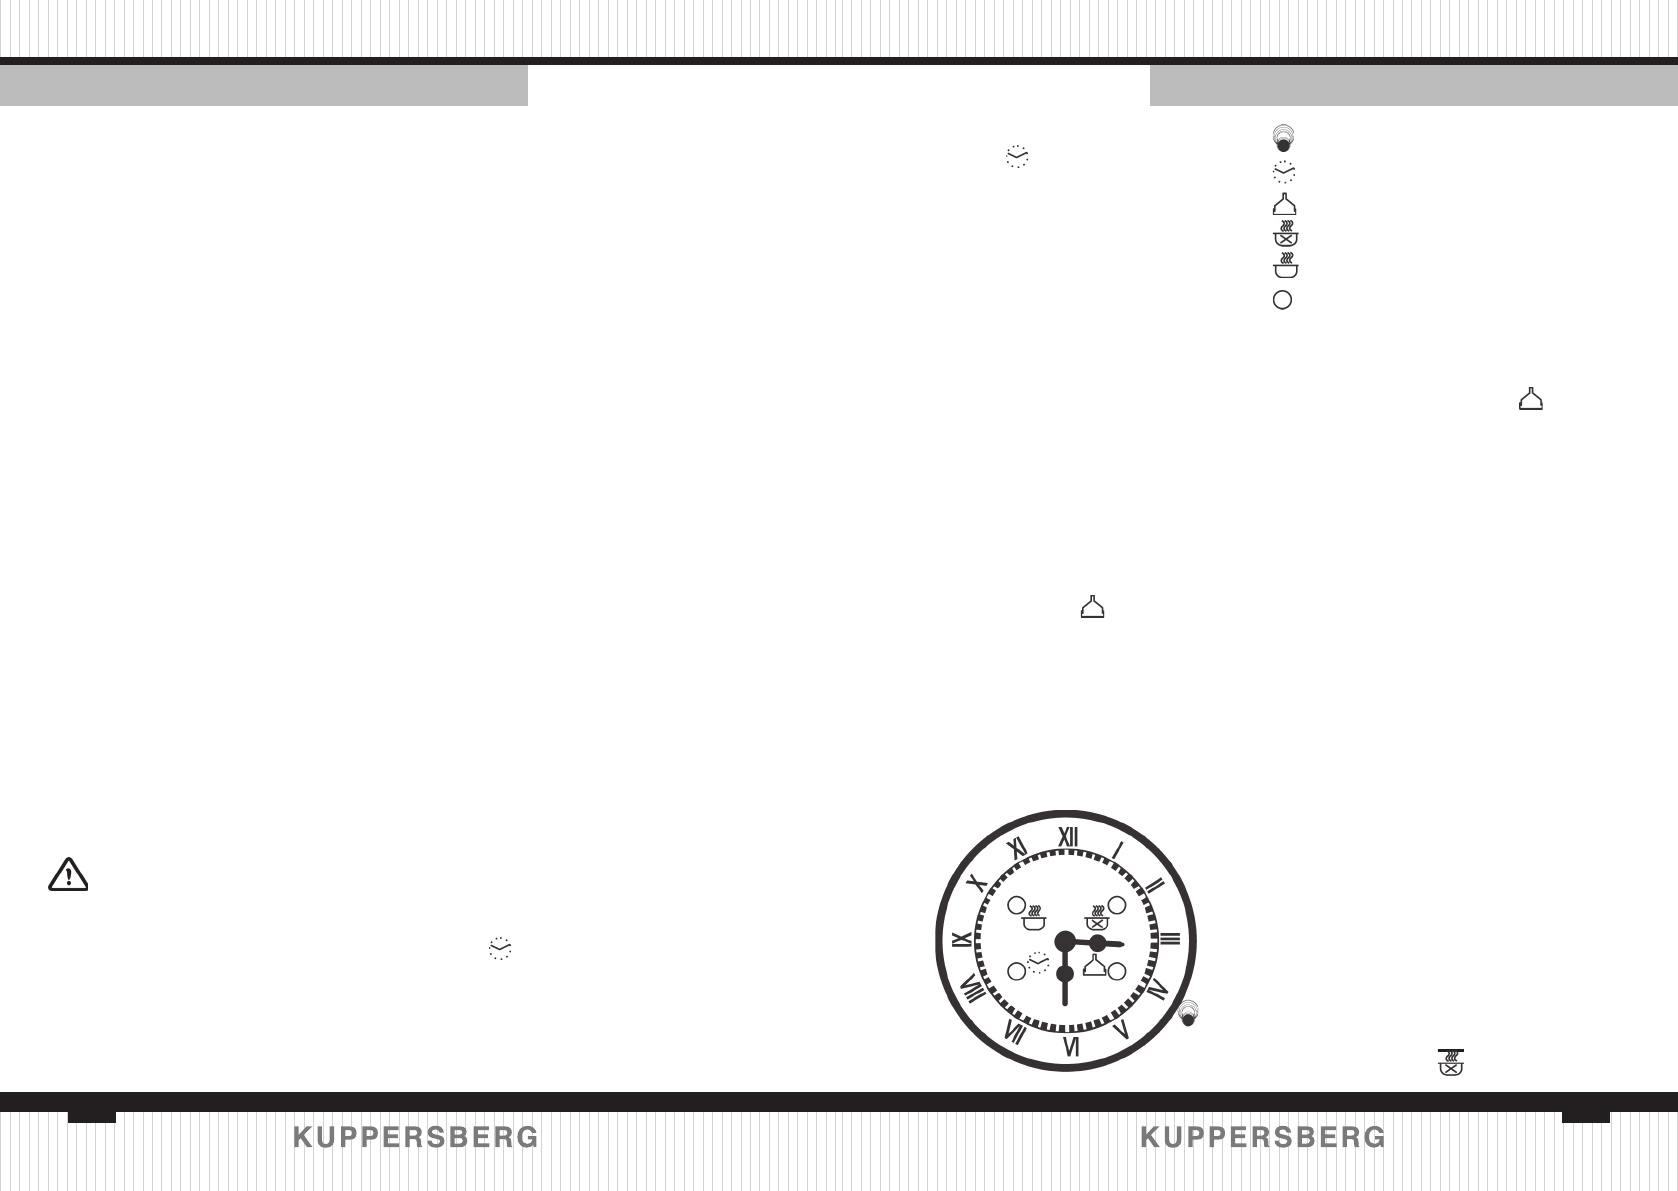
electronic timer
This timer governs the time display
(with analog hands) and the operation
of the oven (using push knob and
indicator icons)
Pushing on the knob, you can: adjust
the time, program the start time and
end of cooking, set the alarm (Minute
Minder).
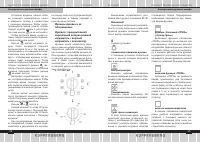
Setting the time day
To adjust the clock press the knob
briefl y 4 times until you get the fl ashing
of the icon.
Hence to increase or decrease
the time, turn knob clockwise or
counterclockwise. After 10 seconds of
the last adjustment, the electronic timer
automatically exit time setting mode.
ATTENTION: after providing power
supply, the
icon blinks to remind to
set the clock. Push the knob and the
icon stops blinking.
manual cooking
During default condition, timer
allows manual fi ring of the oven using
the general oven switch (external to the
timer).
ATTENTION: after providing power
supply, the timer takes few seconds
before the relay is energized.
Setting the minut minder
Minute Minder allows you to have
a simple alarm after a scheduled time
without activa ting the cooking (mode
Minute Minder).
To schedule an „alarm” (Minute
Minder mode), press the knob 3 times
until the fl a shing of
icon.
To increase or decrease the Minute
Minder time, turn knob clockwise
or counterclockwi se. The fl ashing of
„Minute Minder” icon conti
nues for
some seconds after the last rotation.
The program can be confi rmed by
pressing the knob (at least 2 minutes of
time).
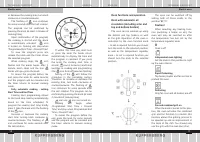
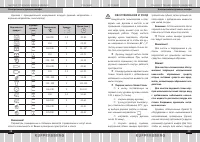
- push knob
- clock icon
- alarm icon
- end time icon
- start time icon
- LED for backlighting icons
Upon confi rmation of the program,
the time count is started and the alarm
is automatically activated.
icon is
turned on. To view the program press
and release the knob: the timer shows
the selected program.
When “Minute Minder time”=”Present
Time”, the Minute Minder icon fl ashes
and the alarm beeps. To Stop the alarm,
press and release the knob. Otherwise,
after 1 minute, beeps are disabled
and the icon „Minute Minder” remains
fl ashing until you press the knob.
To cancel Minute Minder after the
program confi rmation, press the knob
for some se conds. The program will
be canceled and the timer returns to
manual cooking mode.
ATTENTION : it’s possible to use
Minute Minder only when there is no
current cooking program active.
Semi automatic cooking -
setting end time
Cooking end programming allows
you to start immediately and stop
cooking in an automatic manner based
on the time scheduled.
To program the end of cooking time
press briefl y 2 times the knob until you
get the fl ashing of
icon. To increase
Содержание
- 14 РАСПАКОВКА
- 15 О П И СА Н И Е УС Т Р О Й С Т В А; Решетка для гриля; М О Н ТА Ж
- 16 Э К С П Л УАТА Ц И Я; Камеру духовки нужно мыть; Электронный таймер
- 17 Настройка текущего времени.; Готовка в полуавтоматическом ре-
- 18 Функции духовки и ее
- 19 включен верхний и нижний на-; Контрольная лампа; Для функции «гриль» и «усилен-; П РА КТ И Ч Е С К И Е С О В Е Т Ы
- 20 О Б С Л УЖ И В А Н И Е И У Х О Д; Паровая чистка «Steam Clean»
- 21 Снятие дверцы
- 22 Замена лампочки
- 23 П О В Е Д Е Н И Е В А В А Р И Й Н Ы Х С И Т УА Ц И Я Х; Т Е Х Н И Ч Е С К И Е Д А Н Н Ы Е
- 24 ИНФОРМАЦИЯ О ПРОДУКТЕ; фов, плит и кухонных вытяжек; Духовой шкаф; Месяц
- 26 УС ТА Н О В КА, ГА РА Н Т И Й Н О Е И П О С Т ГА РА Н Т И Й Н О Е О Б С Л УЖ И В А Н И Е; Телефон горячей линии Kuppersberg:; Полный список авторизованных сервисных центров Kuppersberg; УСЛОВИЯ ГАРАНТИИ


