
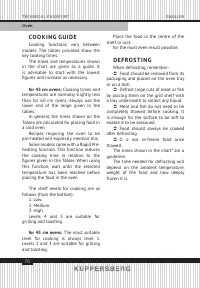
Духовые шкафы Kuppersberg RC 6911 ANT - инструкция пользователя по применению, эксплуатации и установке на русском языке. Мы надеемся, она поможет вам решить возникшие у вас вопросы при эксплуатации техники.
Если остались вопросы, задайте их в комментариях после инструкции.
"Загружаем инструкцию", означает, что нужно подождать пока файл загрузится и можно будет его читать онлайн. Некоторые инструкции очень большие и время их появления зависит от вашей скорости интернета.


62
TECHNICAL PASSPORT
ENGLISH
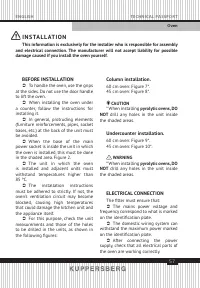
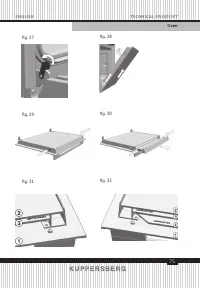
Oven
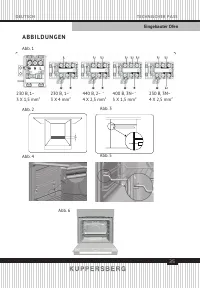
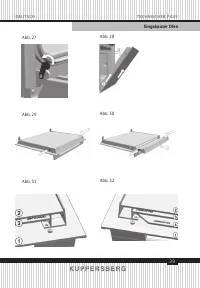
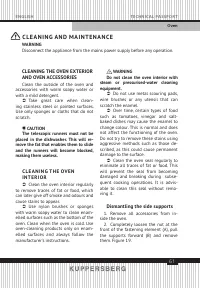
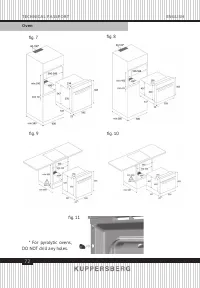
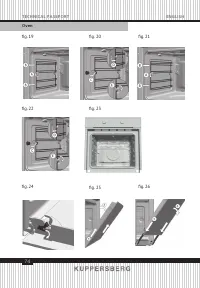
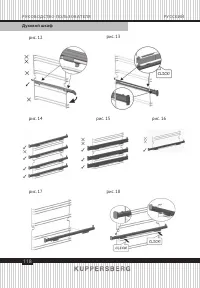
Assembling the supports
3. Insert the rear notch into the rear
fastening nut.
4. Fix the front fastening nut (C) in
the front notch of the support. Figure
20.
5. Secure the support with the nut
(D) and turn until it is fully adjusted (E).
Figure 20.
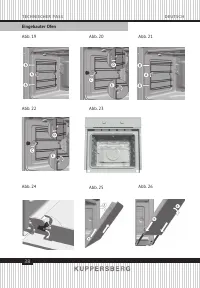
Dismantling the bottom panel
INFORMATION
To dismantle the bottom panel first
dismantle the side supports, following
the instructions set out in the previous
section.
Then:
1. Remove the bottom screws (A) and
then the top screw (B). Figure 21.
2. To assemble the bottom panel,
proceed in the reverse order.
WARNING
For your safety, never operate the
oven without the back panel (that
protects the fan) in place.
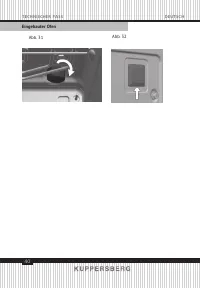
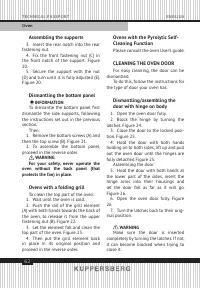
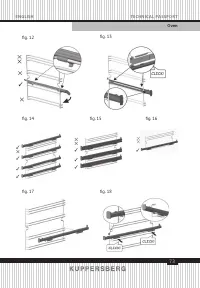
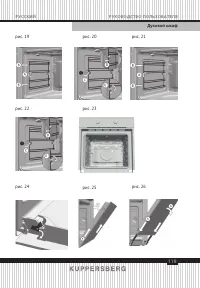
Ovens with a folding grill
To clean the top part of the oven:
1. Wait until the oven is cold.
2. Push the rail of the grill element
(A) with both hands towards the back of
the oven, to release it from the upper
fastening nut (B). Figure 22.
3. Let the element fall and clean the
top part of the oven. Figure 23.
4. Then put the grill element back
in place in its original position and
proceed in the reverse order.
Ovens with the Pyrolytic Self-
Cleaning Function
Please consult the oven User’s guide.
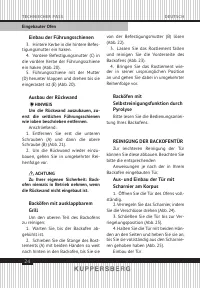
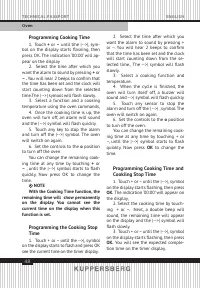
CLEANING THE OVEN DOOR
For easy cleaning, the door can be
dismantled.
To do this, follow the instructions for
the type of door your oven has.
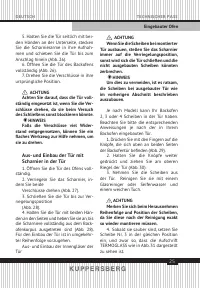
Dismantling/assembling the
door with hinge on body
1. Open the oven door fully.
2. Block the hinge by turning the
latches. Figure 24.
3. Close the door to the locked posi-
tion. Figure 25.
4. Hold the door with both hands
holding on to both sides, lift up and pull
out the oven door until the hinges are
fully detached Figure 25.
Assembling the door
5. Hold the door with both hands at
the lower part of the sides, insert the
hinge arms into their housings and
let the door fall as far as it will go.
Figure 26.
6. Open the oven door fully. Figure
26.
7. Turn the latches back to their orig-
inal position.
WARNING
Make sure the door is inserted
completely by turning the latches. If not,
it can become blocked when trying to
close it.
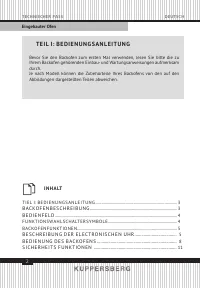
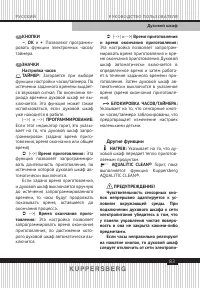
Содержание
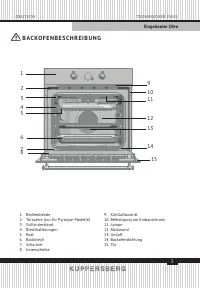
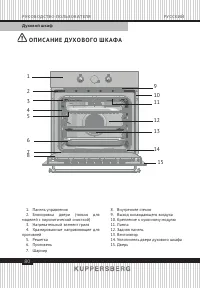
- 80 О П И СА Н И Е ДУ Х О В О Г О Ш К АФА
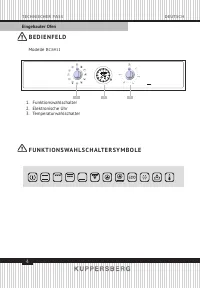
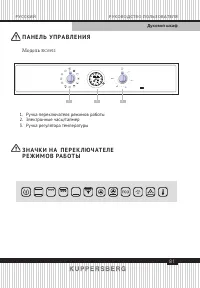
- 81 П А Н Е Л Ь У П Р А В Л Е Н И Я; Модель; Ручка переключателя режимов работы; З Н АЧ К И Н А П Е Р Е К Л Ю Ч АТ Е Л E
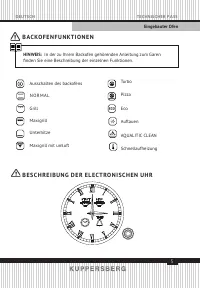
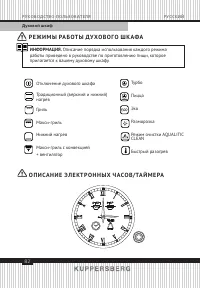
- 82 Р Е Ж И М Ы РА Б ОТ Ы ДУ Х О В О Г О Ш К АФА; CLEAN
- 83 Другие функции; AQUALITIC CLEAN®
- 84 OK
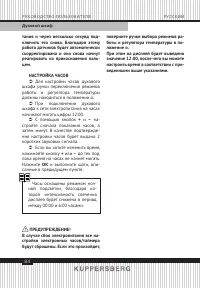
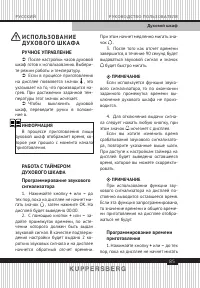
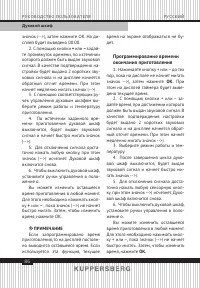
- 85 ПРИМЕЧАНИЕ; Программирование времени; И С П О Л Ь З О В А Н И Е; РУЧНОЕ УПРАВЛЕНИЕ; ИНФОРМАЦИЯ; РАБОТА С ТАЙМЕРОМ
- 88 У К А З А Н И Я; Функция AQUALITIC CLEAN®; Не наливайте воду в горячую ду
- 93 У К А З А Н И Я П О Т Е Х Н И К Е Б Е З О П АС Н О С Т И; Электробезопасность
- 94 Обеспечение безопасности в
- 95 Правила техники безопасности; Перед запуском цикла очистки
- 96 Во время выполнения процесса
- 97 УС ТА Н О В К А; Установка в колонну
- 98 ПРЕДУПРЕЖДЕНИЕ; ПОДКЛЮЧЕНИЕ К СЕТИ; Для всех духовых шкафов:
- 99 И Н Ф О Р М А Ц И Я; П Е Р Е Д П Е Р В Ы М
- 100 П Р О Ч И Е В А Ж Н Ы Е
- 101 УС ТА Н О В КА
- 102 O Ч И С Т К А И Т Е Х Н И Ч Е С КО Е О Б С Л УЖ И В А Н И Е
- 103 ВНИМАНИЕ
- 105 Снятие/установка внутренних
- 106 ЗАМЕНА ЛАМПЫ ПОДСВЕТКИ; Замена верхней лампы
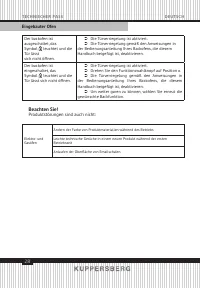
- 107 УС Т РА Н Е Н И Е Н Е И С П РА В Н О С Т Е Й; способах их устранения.
- 108 Обратите Ваше внимание!; Также, неисправностями Изделия не являются:
- 109 Т Е Х Н И Ч Е С К А Я
- 110 Ч АС Т Ь I I I: Р У КО В О Д С Т В О П О
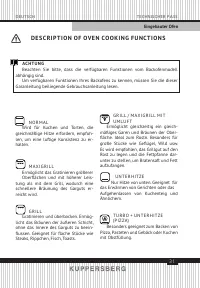
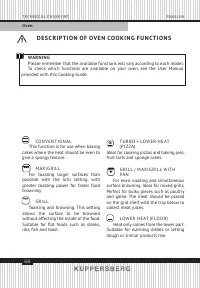
- 111 О П И СА Н И Е Р Е Ж И М О В П Р И Г ОТО В Л Е Н И Я
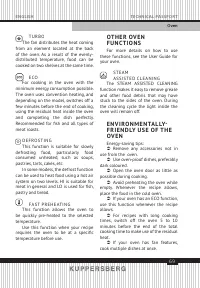
- 113 П Р О Ч И Е ФУ Н К Ц И И
- 114 Р У КО В О Д С Т В О П О; В случае духовых шкафов шири
- 115 РА З М О РА Ж И В А Н И Е
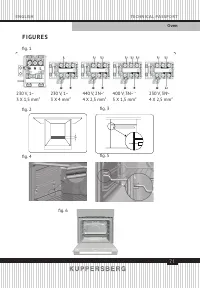
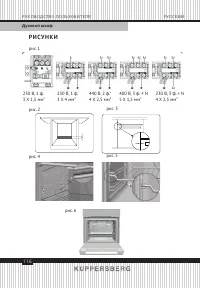
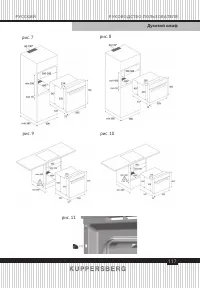
- 116 Р И СУ Н К И
- 122 С Е Р И Й Н Ы Й Н О М Е Р:; ООО «Эм Джи Русланд»,; Фирма-производитель оставляет за собой право на внесение
- 125 ГАРАНТИЙНЫЙ СЕРТИФИКАТ
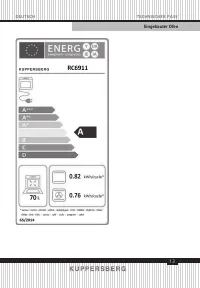
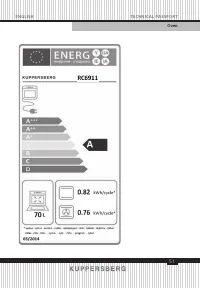
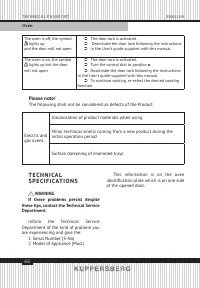
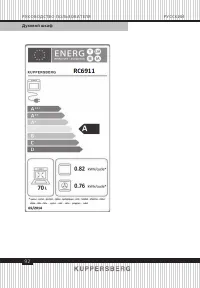
Характеристики

Остались вопросы?Не нашли свой ответ в руководстве или возникли другие проблемы? Задайте свой вопрос в форме ниже с подробным описанием вашей ситуации, чтобы другие люди и специалисты смогли дать на него ответ. Если вы знаете как решить проблему другого человека, пожалуйста, подскажите ему :)


