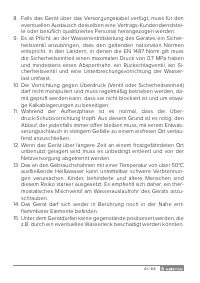
Водонагреватели Ariston VLS - инструкция пользователя по применению, эксплуатации и установке на русском языке. Мы надеемся, она поможет вам решить возникшие у вас вопросы при эксплуатации техники.
Если остались вопросы, задайте их в комментариях после инструкции.
"Загружаем инструкцию", означает, что нужно подождать пока файл загрузится и можно будет его читать онлайн. Некоторые инструкции очень большие и время их появления зависит от вашей скорости интернета.


31 / EN
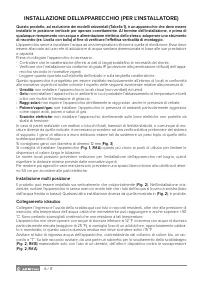
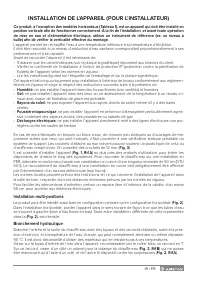
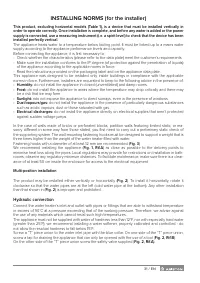
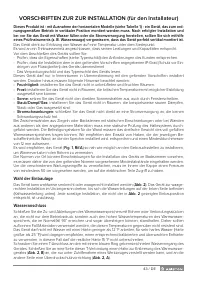
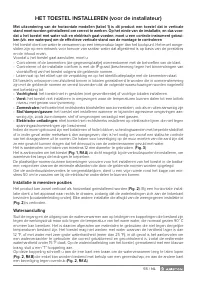
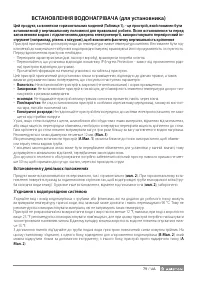
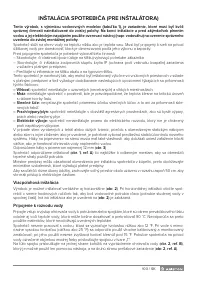
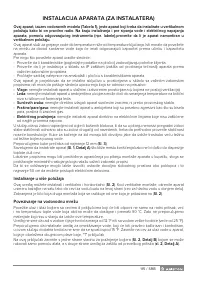
INSTALLING NORMS (for the installer)
This product, excluding horizontal models (Table 1), is a device that must be installed vertically in
order to operate correctly. Once installation is complete, and before any water is added or the power
supply is connected, use a measuring instrument (i.e. a spirit level) to check that the device has been
installed perfectly vertical.
The appliance heats water to a temperature below boiling point. It must be linked up to a mains water
supply according to the appliance performance levels and capacity.
Before connecting the appliance, it is first necessary to:
- Check whether the characteristics (please refer to the data plate) meet the customer’s requirements.
- Make sure the installation conforms to the IP degree (of protection against the penetration of liquids)
of the appliance according to the applicable norms in force.
- Read the instructions provided on the packaging label and on the appliance data plate.
This appliance was designed to be installed only inside buildings in compliance with the applicable
norms in force. Furthermore, installers are requested to keep to the following advice in the presence of:
- Humidity:
do not install the appliance in closed (unventilated) and damp rooms.
- Frost:
do not install the appliance in areas where the temperature may drop critically and there may
be a risk that ice may form.
- Sunlight:
ndo not expose the appliance to direct sunrays, even in the presence of windows.
- Dust/vapours/gas:
do not install the appliance in the presence of particularly dangerous substances
such as acidic vapours, dust or those saturated with gas.
- Electrical discharges:
do not install the appliance directly on electrical supplies that aren’t protected
against sudden voltage jumps.
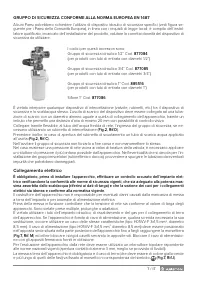
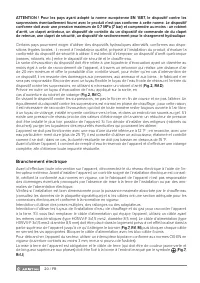
In the case of walls made of bricks or perforated blocks, partition walls featuring limited static, or ma-
sonry different in some way from those stated, you first need to carry out a preliminary static check of
the supporting system. The wall-mounting fastening hooks must be designed to support a weight that is
three times higher than the weight of the water heater filled with water.
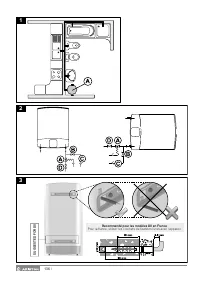
Fastening hooks with a diameter of at least 12 mm are recommended (
Fig. 3
)
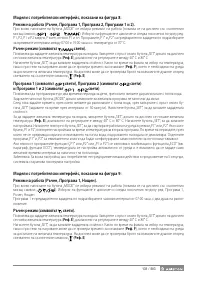
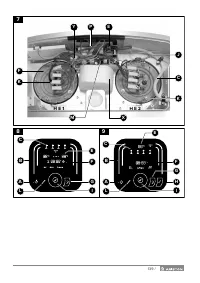
We recommend installing the appliance (
Fig. 1, Rif.A
) as close as possible to the delivery points to
minimise heat loss along the pipes. Local regulations may provide for restrictions on installation in bath-
rooms; observe any regulatory minimum distances. To facilitate maintenance, make sure there is a clear-
ance of at least 50 cm inside the enclosure for access to the electrical equipment.
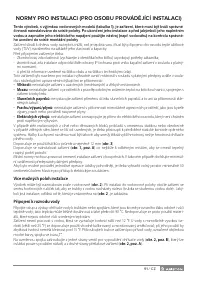
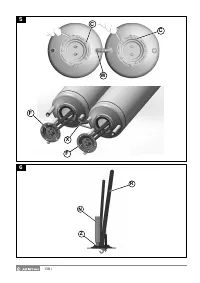
Multi-position installation
The product may be installed either vertically or horizontally (
Fig. 2
). To install it horizontally, rotate it
clockwise so that the water pipes are at the left (cold water pipe at the bottom). Any other installation
than that shown in (
Fig. 2
) is improper and prohibited.
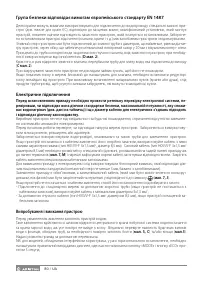
Hydraulic connection
Connect the water heater’s inlet and outlet with pipes or fittings that are able to withstand temperature
in excees of 90°C at a pressure exceeding that of the working pressure. Therefore, we advise against
the use of any materials which cannot resist such high temperatures.
The appliance must not be supplied with water of hardness less than 12°F, nor with especially hard water
(greater than 25°F); we recommend installing a water softener, properly calibrated and controlled - do
not allow the residual hardness to fall below 15°F.
Screw a “T” piece union to the water inlet pipe with the blue collar. On one side of the “T” piece union,
screw a tap for draining the appliance that can only be opened with the use of a tool (
Fig. 2, Rif.B
).
On the other side of the “T” piece union screw the safety valve supplied (
Fig. 2, Rif.A
).
Содержание
- 65 на этапе; normale; воды. По этой причине необходимо подключить слив, при
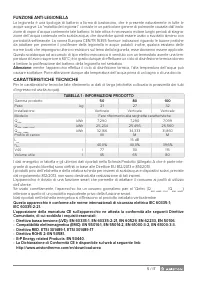
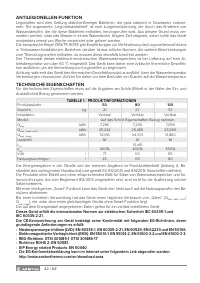
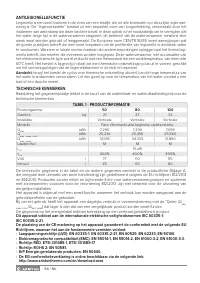
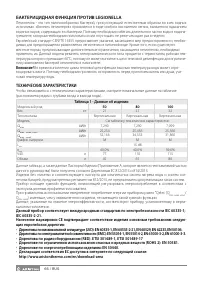
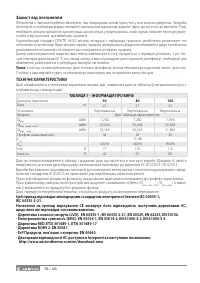
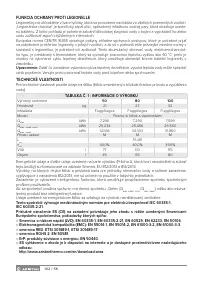
- 66 БАКТЕРИЦИДНАЯ ФУНКЦИЯ ПРОТИВ LEGIONELLA; ТЕХНИЧЕСКИЕ ХАРАКТЕРИСТИКИ; Таблица 1 - Данные об изделии; щих европейских директив:
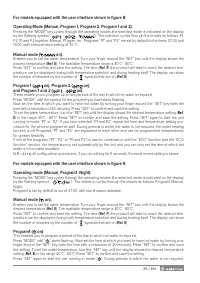
- 67 Многопозиционная установка
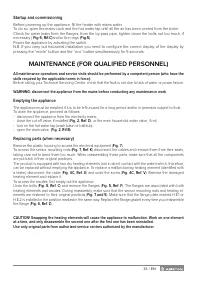
- 69 ТЕХНИЧЕСКОЕ ОБСЛУЖИВАНИЕ; Опорожнение водонагревателя; ный элемент только после того, как установите первый на свое место.; Периодическое техобслуживание
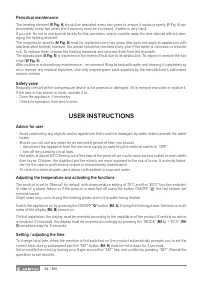
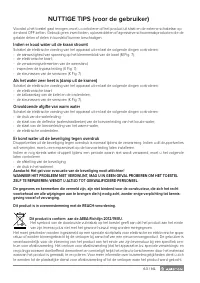
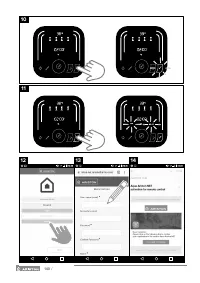
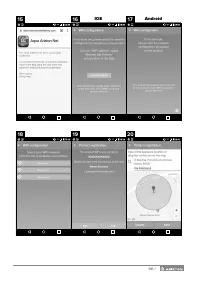
- 70 ИНСТРУКЦИИ ПО ЭКСПЛУАТАЦИИ ДЛЯ ПОЛЬЗОВАТЕЛЯ; Рекомендации для пользователя
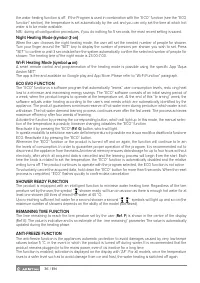
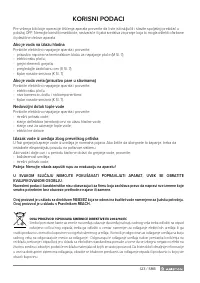
- 75 ПОЛЕЗНЫЕ СВЕДЕНИЯ; Если из крана выходит холодная вода; Если из крана выходит кипяток (в кранах присутствует пар); Слабый напор горячей воды; Подкапывание воды из устройства защиты от избыточного давления; ФИЦИРОВАННОМУ ПЕРСОНАЛУ.
Характеристики

Остались вопросы?Не нашли свой ответ в руководстве или возникли другие проблемы? Задайте свой вопрос в форме ниже с подробным описанием вашей ситуации, чтобы другие люди и специалисты смогли дать на него ответ. Если вы знаете как решить проблему другого человека, пожалуйста, подскажите ему :)


