
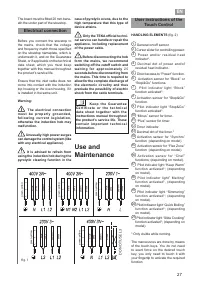
Варочная панель Teka IZ 6420 LONDON BRICK - инструкция пользователя по применению, эксплуатации и установке на русском языке. Мы надеемся, она поможет вам решить возникшие у вас вопросы при эксплуатации техники.
Если остались вопросы, задайте их в комментариях после инструкции.
"Загружаем инструкцию", означает, что нужно подождать пока файл загрузится и можно будет его читать онлайн. Некоторые инструкции очень большие и время их появления зависит от вашей скорости интернета.


EN
31
any time by turning off the plate,
by changing the power level or by
choosing a different special function.
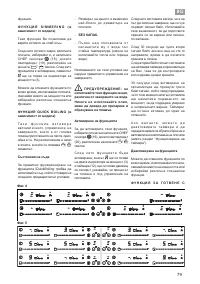
SIMMERING FUNCTION (depending
on the model)
This feature allows you to keep
simmered.
After the food is boiled, enable the
plate by selecting it, and press the
CHEF sensor
(16) until the led (19)
located on the icon
/
lights
up. Once the function is activated, the
symbol will appear on the power
indicator (3).
You can override the function at
any time by turning off the plate,
by changing the power level or by
choosing a different special function.
Q U I C K B O I L I N G F U N C T I O N
(depending on the model)
This function enables the automatic
boiling control, which is a great help
for cooking pasta, rice, eggs, boil some
food, etc. It is available only in zones
where the
/
symbol appears.
Conditions of the container
For a proper operation of the Quick
Boiling function, you need to use a
container that meets the following
preconditions:
- Bottom size as close as possible to
the diameter of the plate.
-
WITHOUT CAP.
- Filled to
over half its capacity at
room temperature water
(never
use warmed or hot water).
Failure to comply with these condi
-
tions will distort the proper control of
boiling.
WARNING: do not use this
feature for a different cooking
purpose other than boiling water.
Never use oil, it may lead to
overheat and generate a flame.
Activation of the function
To activate the function, select the
plate, and press the CHEF sensor
(16) until the led (20) located on the
icon /
lights up.
Once the feature is activated, the
sign will appear on both the power
indicator (3) and the timer indicator
(12); a moving segment will appear,
indicating that the cooking is under
system’s control.
When the system detects that it is
about to start boiling, a first beep will
be heard. Take this opportunity to
prepare your food for boiling or baking
as desired.
After 30 seconds, a second beep will
be heard; if you have not already done
so, it’s time to pour the food in the pan.
After the second beep, the system will
activate the timer and stopwatch for
you so that you can control how long
the food is to be boiled.
30 seconds after activating the
stopwatch, a third beep will sound
to warn that from that moment on,
the system will decrease the power
supplied in order to maintain a gentle
and continuous boil. The timer will
remain active until the end of cooking.
If desired, you can disable the timer
and set a time for the countdown and
automatic shutdown of the plate (see
section Timer Function).
Deactivation of the function
You can override the function at
any time by turning off the plate,
by changing the power level or by
choosing a different special function.
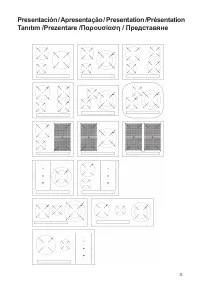
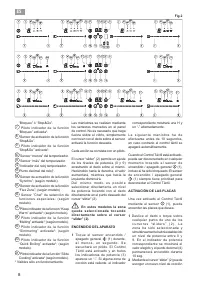
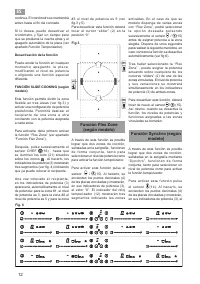
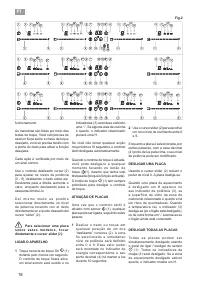
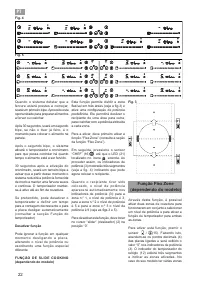
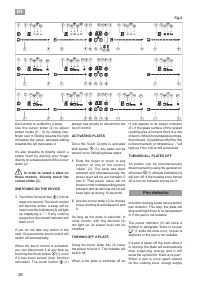
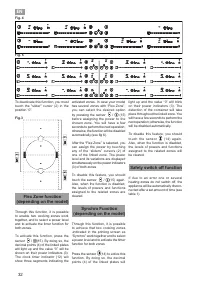
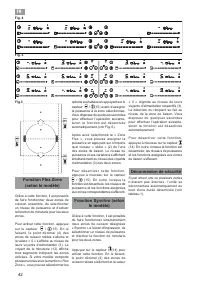
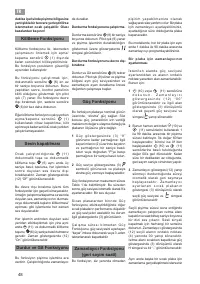
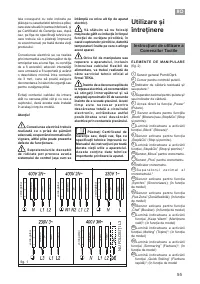
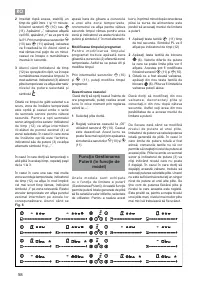
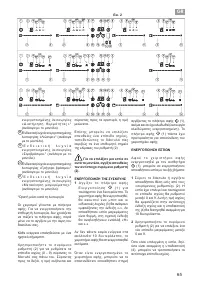
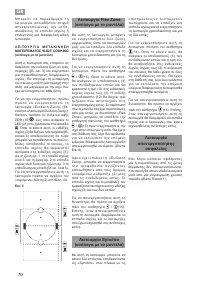
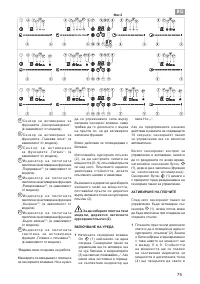
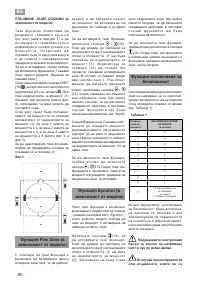
S L I D E C O O K I N G F U N C T I O N
(depending on the model)
This function allows to divide the
flexible zone into three areas (see
fig.3) and activates a predefined
power configuration. It will allow slide
the vessel from one area to another,
to cook with the power assigned to
each zone.
To activate it, you must first activate
the "Flex Zone" function (see section
"Flex Zone function").
After, press on the CHEF sensor
(16) , until the leds (21) located on the
icon
lights up. When doing so, the
power indicators (3) will show three
segments (see fig. 4) indicating that
you can now place the vessel.
Once the vessel is placed, the power
level will appear automatically in the
power indicators (3): for zone #1,
the power level is 3, for zone #2 the
power level is 5 and for zone #3 the
power level is 9 (see fig.3 and 5).
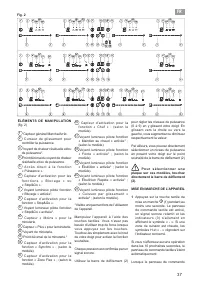
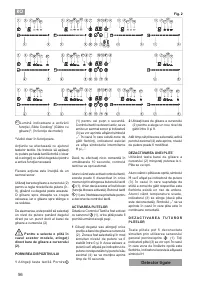
Fig. 6
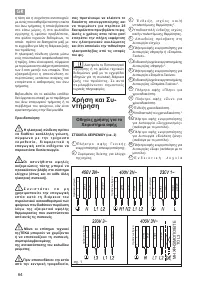
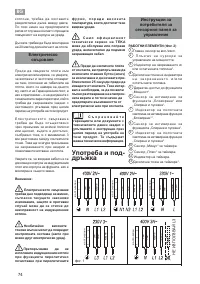
Характеристики

Остались вопросы?Не нашли свой ответ в руководстве или возникли другие проблемы? Задайте свой вопрос в форме ниже с подробным описанием вашей ситуации, чтобы другие люди и специалисты смогли дать на него ответ. Если вы знаете как решить проблему другого человека, пожалуйста, подскажите ему :)


