
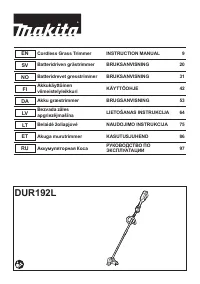
Триммеры Makita DUR192LZ - инструкция пользователя по применению, эксплуатации и установке на русском языке. Мы надеемся, она поможет вам решить возникшие у вас вопросы при эксплуатации техники.
Если остались вопросы, задайте их в комментариях после инструкции.
"Загружаем инструкцию", означает, что нужно подождать пока файл загрузится и можно будет его читать онлайн. Некоторые инструкции очень большие и время их появления зависит от вашей скорости интернета.


15 ENGLISH
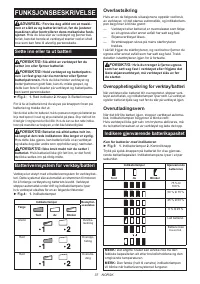
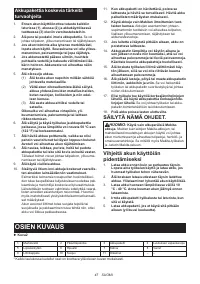
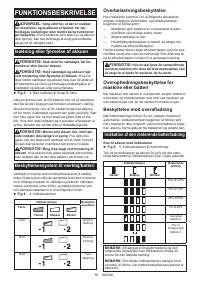
FUNCTIONAL DESCRIPTION
WARNING:
Always be sure that the tool is
switched off and the battery cartridge is removed
before adjusting or checking function on the tool.
Failure to switch off and remove the battery cartridge may
result in serious personal injury from accidental start-up.
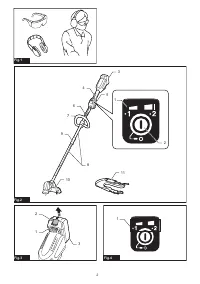
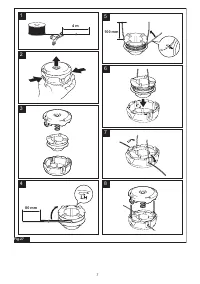
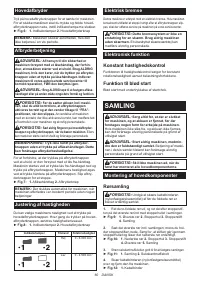
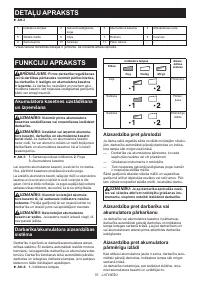
Installing or removing battery cartridge
CAUTION:
Always switch off the tool before
installing or removing of the battery cartridge.
CAUTION:
Hold the tool and the battery car-
tridge firmly when installing or removing battery
cartridge.
Failure to hold the tool and the battery
cartridge firmly may cause them to slip off your hands
and result in damage to the tool and battery cartridge
and a personal injury.
►
Fig.3:
1.
Red indicator
2.
Button
3.
Battery cartridge
To remove the battery cartridge, slide it from the tool
while sliding the button on the front of the cartridge.
To install the battery cartridge, align the tongue on the
battery cartridge with the groove in the housing and slip
it into place. Insert it all the way until it locks in place
with a little click. If you can see the red indicator on the
upper side of the button, it is not locked completely.
CAUTION:
Always install the battery cartridge
fully until the red indicator cannot be seen.
If not,
it may accidentally fall out of the tool, causing injury to
you or someone around you.
CAUTION:
Do not install the battery cartridge
forcibly.
If the cartridge does not slide in easily, it is
not being inserted correctly.
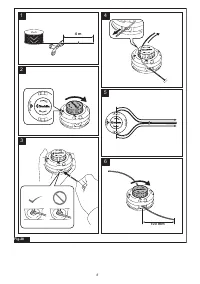
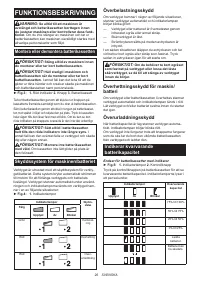
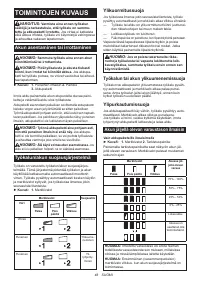
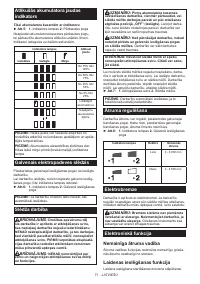
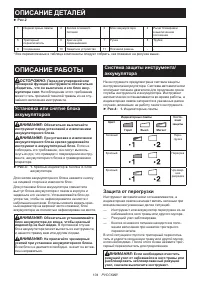
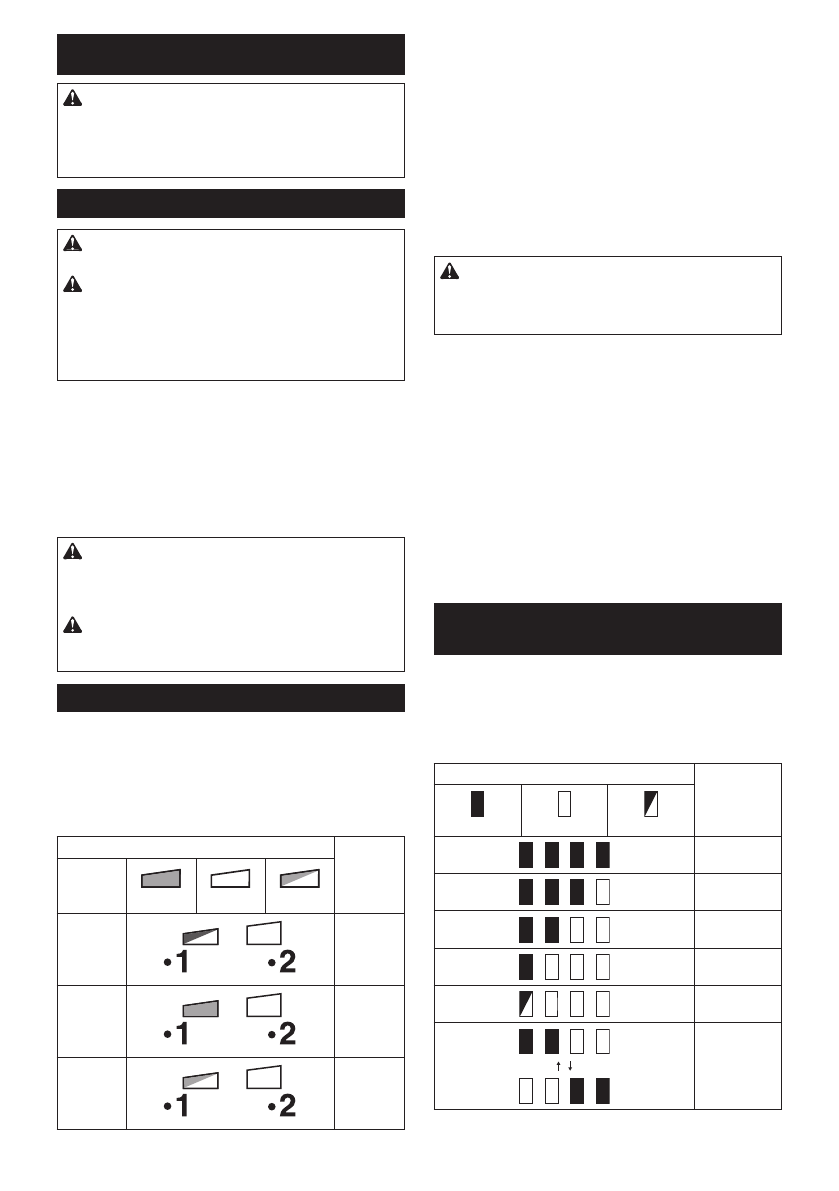
Tool / battery protection system
The tool is equipped with a tool/battery protection system.
This system automatically cuts off power to the motor to
extend tool and battery life. The tool will automatically stop
during operation and the indicator lamps light up if the tool
is placed under one of the following conditions:
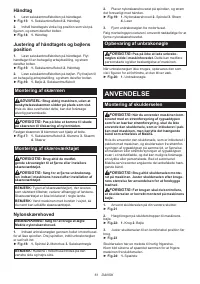
►
Fig.4:
1.
Indicator lamps
Indicator lamps
Protection
status
Color
Lighted
Off
Blinking
Green
Overload
Red
Overheat
Red
Over-
discharge
Overload protection
If the tool gets into one of the following situation, the
tool automatically stops and the indicator lamp starts
blinking in green:
— The tool or battery is overloaded by entangled
weeds or other debris.
— The cutting tool is locked.
— The main power button is turned on while the
switch trigger is being pulled.
In this situation, release the switch trigger and remove
entangled weeds or debris if necessary. After that, pull
the switch trigger again to resume.
CAUTION:
If you need to remove the entan-
gled weeds on the tool or release the locked
cutting tool, be sure to turn the tool off before you
start.
Overheat protection for tool or
battery
When the tool or battery cartridge is overheated, the
tool stops automatically and the indicator lamp lights
up in red. Let the tool and/or battery cool down before
turning the tool on again.
Overdischarge protection
When the battery capacity becomes low, the tool stops
automatically. The indicator lamp starts blinking in red.
If the tool does not operate even when the switches are
operated, remove the battery cartridge from the tool and
charge it.
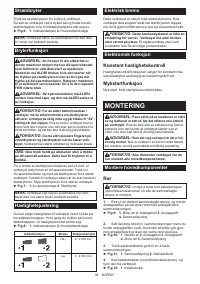
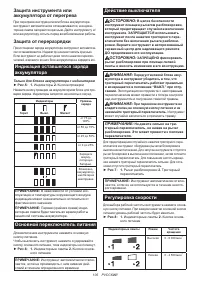
Indicating the remaining battery
capacity
Only for battery cartridges with the indicator
►
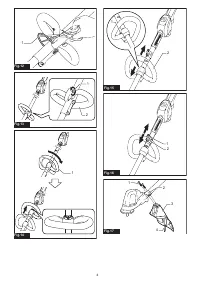
Fig.5:
1.
Indicator lamps
2.
Check button
Press the check button on the battery cartridge to indi-
cate the remaining battery capacity. The indicator lamps
light up for a few seconds.
Indicator lamps
Remaining
capacity
Lighted
Off
Blinking
75% to 100%
50% to 75%
25% to 50%
0% to 25%
Charge the
battery.
The battery
may have
malfunctioned.
Содержание
- 98 Вибрация; Декларация о соответствии ЕС; МЕРЫ БЕЗОПАСНОСТИ; Общие рекомендации по технике
- 99 Важные правила техники
- 100 Электробезопасность
- 101 Режущие узлы
- 103 СОХРАНИТЕ ДАННЫЕ
- 104 ОПИСАНИЕ ДЕТАЛЕЙ; Установка или снятие блока
- 105 Защита инструмента или; Основной переключатель питания
- 106 Электрический тормоз; СБОРКА; Установка основных компонентов
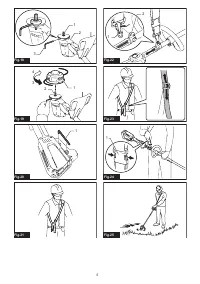
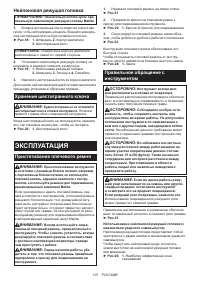
- 107 Нейлоновая режущая головка; ЭКСПЛУАТАЦИЯ; Пристегивание плечевого ремня
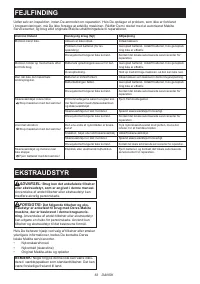
- 108 ОБСЛУЖИВАНИЕ; Очистка инструмента
- 109 ПОИСК И УСТРАНЕНИЕ НЕИСПРАВНОСТЕЙ; ДОПОЛНИТЕЛЬНЫЕ
Характеристики

Остались вопросы?Не нашли свой ответ в руководстве или возникли другие проблемы? Задайте свой вопрос в форме ниже с подробным описанием вашей ситуации, чтобы другие люди и специалисты смогли дать на него ответ. Если вы знаете как решить проблему другого человека, пожалуйста, подскажите ему :)


Здравствуйте Подскажите пожалуйста, не включается, пищит, аккумулятор заряжен, не понимаю в чём причина??? Макита DUR 192L
Пиликает и всë.