
Триммеры FERM GTM1005 - инструкция пользователя по применению, эксплуатации и установке на русском языке. Мы надеемся, она поможет вам решить возникшие у вас вопросы при эксплуатации техники.
Если остались вопросы, задайте их в комментариях после инструкции.
"Загружаем инструкцию", означает, что нужно подождать пока файл загрузится и можно будет его читать онлайн. Некоторые инструкции очень большие и время их появления зависит от вашей скорости интернета.


9
EN
objects on top of the machine
• Do not operate the machine without the wire
attachment fitted
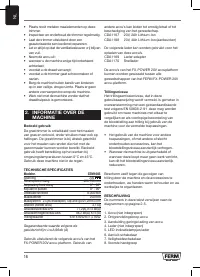
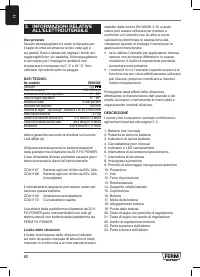
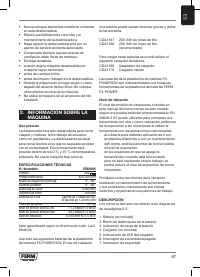
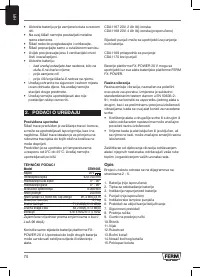
2. MACHINE INFORMATION
Intended use
The grass trimmer is developed for cutting of
grass and weeds, under bushes as well as on
slopes. The grass trimmer is ideal for cutting
edges that cannot be reached with the lawn
mower.
Intended use is related to operation within 0°C
and 45°C ambient temperature. Do not use this
machine in the rain.
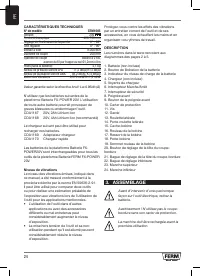
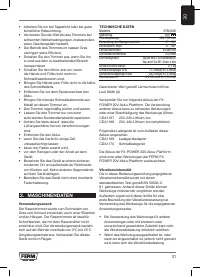
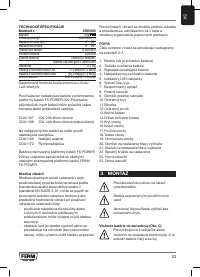
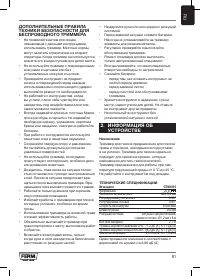
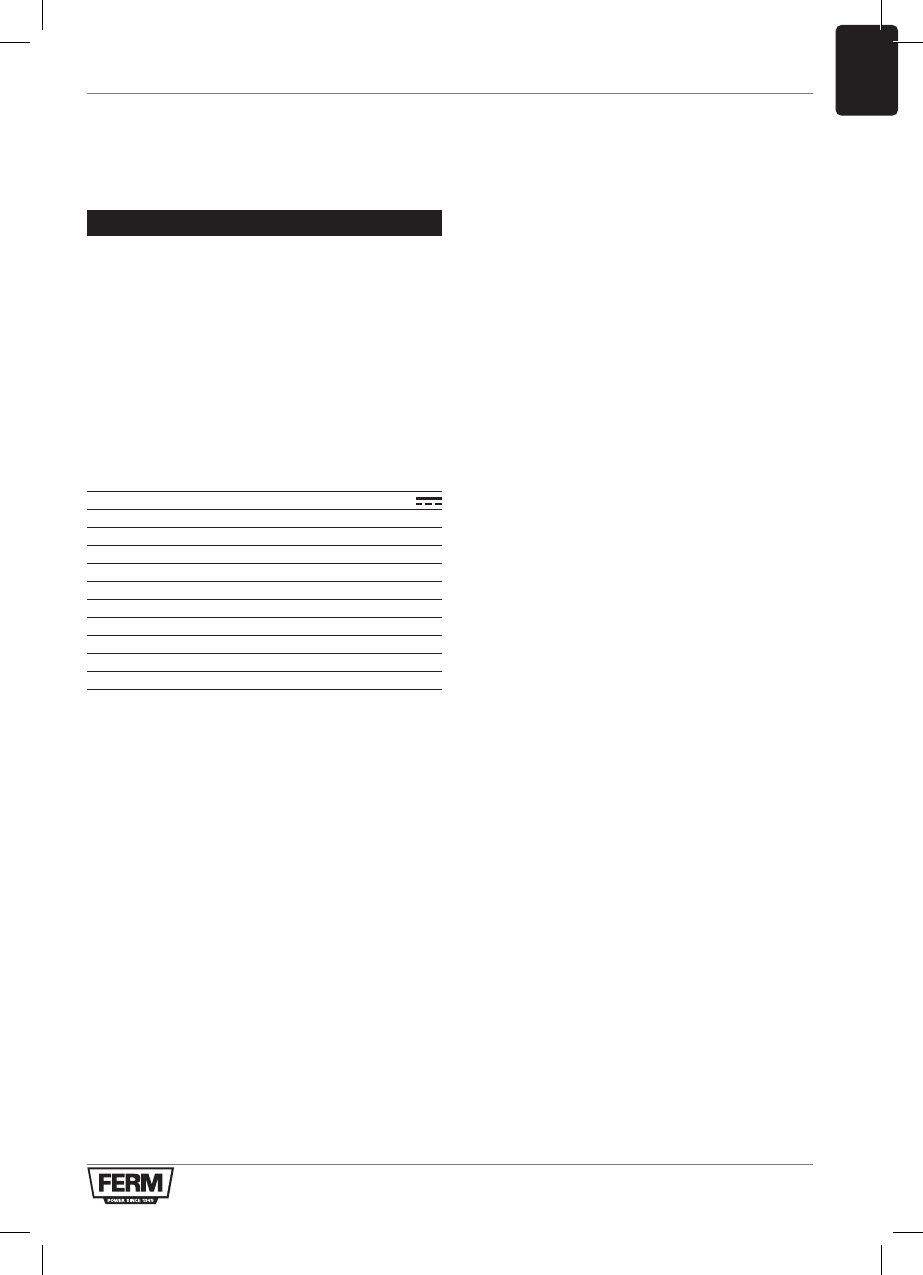
TECHNICAL SPECIFICATIONS
Model No.
GTM1005
Voltage 20V
Telescopic pole
420-700 mm
Pole angle adjustment
0° - 90°
Head adjustable
0° - 90°
No load speed
8.000/min
Cutting diameter
250 mm
Cutting system 2 line wire spool, Tap and go Ø1.2mm x 8m
Weight (excl battery)
2.1 kg
Sound pressure level LPA
71.2 dB(A) K=3 dB(A)
Sound power level LWA
88.2 dB(A) K=3 dB(A)
Vibration value
6.918 m/s2 K=1.5 m/s2
Guaranteed value according to the noise directive:
LwA 96db(A)
Only use the following batteries of the FX-POWER
20V battery platform. Using any other batteries
could cause serious injury or damage the tool.
CDA1167 20V, 2Ah Lithium-Ion
CDA1168 20V, 4Ah Lithium-Ion (recommended)
The following charger of the can be used to
charge these batteries.
CDA1169 Charger adapter
CDA1170 Quick charger
The batteries of the FX-POWER 20V battery
platform are interchangeable with all the FERM
FX-POWER battery platform tools.
Vibration level
The vibration emission level stated in this instruction
manual has been measured in accordance with a
standardized test given in EN 50636-2-91; it may
be used to compare one tool with another and as
a preliminary assessment of exposure to vibration
when using the tool for the applications mentioned.
- Using the tool for different applications, or with
different or poorly maintained accessories,
may significantly increase the exposure level.
- The times when the tool is switched off or when
it is running but not actually doing the job, may
significantly reduce the exposure level.
Protect yourself against the effects of vibration by
maintaining the tool and its accessories, keeping
your hands warm, and organizing your work
patterns.
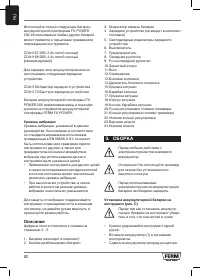
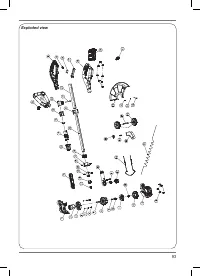
DESCRIPTION
The numbers in the text refer to the diagrams on
pages 2-5
1. Battery (not included)
2. Battery unlock button
3. Battery charge indication
4. Charger (not included)
5. Charger LED indicators
6. On/off switch
7. Safety switch
8. Front handle
9. Front handle knob
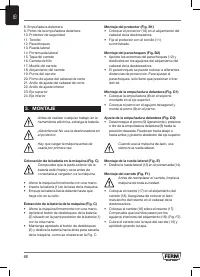
10. Protection guard
11. Screw
12. Guardrail
13. Side wheel
14. Side wheel holder
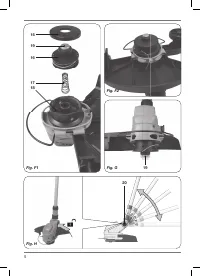
15. Spool cover
16. Spool reel
17. Spool spring
18. Spool housing
19. Tip spool reel
20. Adjustment knob trimmer head
21. Adjustment ring trimmer head
22. Lower adjustment ring
23. Upper shaft
24. Lower shaft
Содержание
- 78 Внимательно прочтите все руковод-
- 79 f) Если использование электроинструмента; b) Используйте средства индивидуальной; h) Всегда сохраняйте бдительность и; Момент невнимательности может привести к
- 80 g) Следуйте всем инструкциям по зарядке
- 81 - перед тем, как оставить инструмент на; УСТРОЙСТВЕ; Назначение; Гарантированное значение в соответствии с
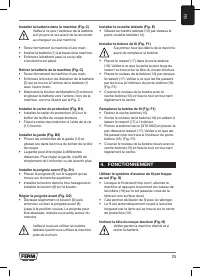
- 82 Уровень вибрации; Описание; Установка аккумуляторной батареи на
- 83 Использование системы «нажми и готово»; Выключите инструмент и отсоедините
- 84 ОКРУЖАЮЩАЯ СРЕДА; Только для стран ЕC; ГАРАНТИЯ
- 85 ةيكلسلالا بشعلا بيذشت ةنيكام; ةملاسلا تاريذحتو ،ةقفرملا ةملاسلا تاريذحت أرقا


