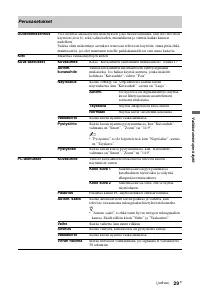
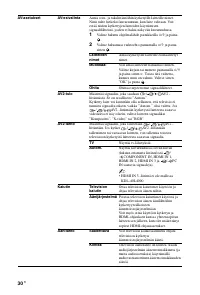
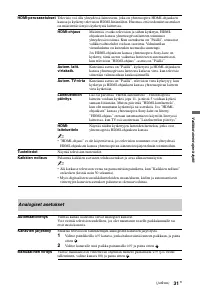
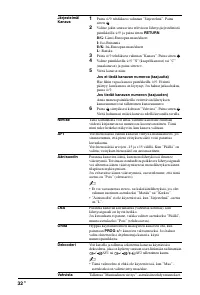
Телевизоры Sony KDL-40L(S)(U)(V)4000(40xx)(42xx) / KDL-46V4000(42xx) / KDL-52V4000(42xx) - инструкция пользователя по применению, эксплуатации и установке на русском языке. Мы надеемся, она поможет вам решить возникшие у вас вопросы при эксплуатации техники.
Если остались вопросы, задайте их в комментариях после инструкции.
"Загружаем инструкцию", означает, что нужно подождать пока файл загрузится и можно будет его читать онлайн. Некоторые инструкции очень большие и время их появления зависит от вашей скорости интернета.


9
GB
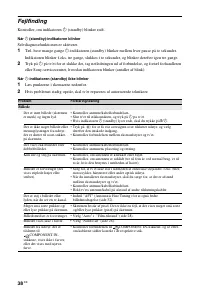
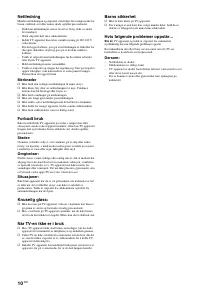
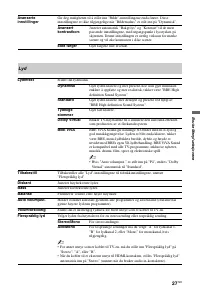
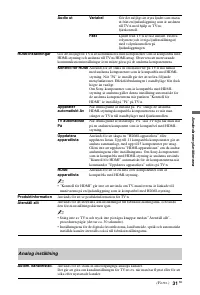
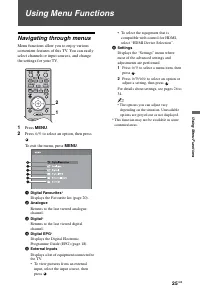
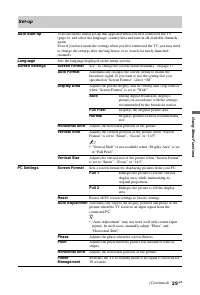
Safety
Information
Installation/Set-up
Install and use the TV set in accordance with the instructions below
in order to avoid any risk of fire, electrical shock or damage and/or
injuries.
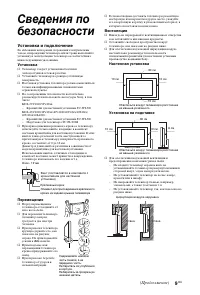
Installation
s
The TV set should be installed near an easily accessible mains
socket.
s
Place the TV set on a stable, level surface.
s
Only qualified service personnel should carry out wall
installations.
s
For safety reasons, it is strongly recommended that you use
Sony accessories, including:
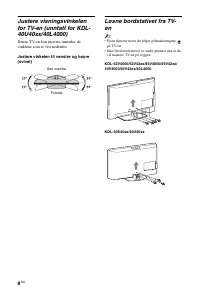
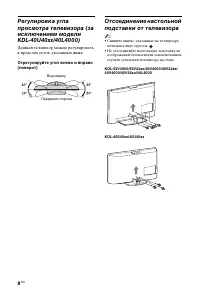
KDL-52V4000/52V42xx:
– Wall-mount bracket SU-WL500
KDL-46V4000/46V42xx/40V4000/40V42xx/40S40xx/
40U40xx/40L4000:
– Wall-mount bracket SU-WL500
– TV stand SU-FL300M
s
Be sure to use the screws supplied with the Wall-mount bracket
when attaching the mounting hooks to the TV set. The supplied
screws are designed so that they are 8 mm to 12 mm in length
when measured from the attaching surface of the mounting
hook.
The diameter and length of the screws differ depending on the
Wall-mount bracket model.
Use of screws other than those supplied may result in internal
damage to the TV set or cause it to fall, etc.
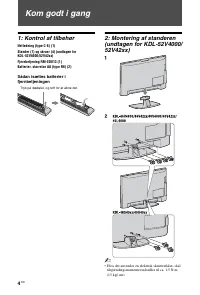
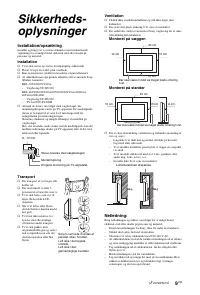
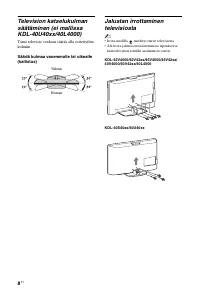
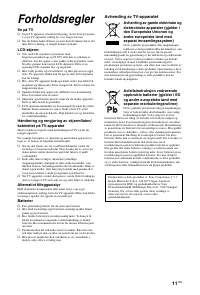
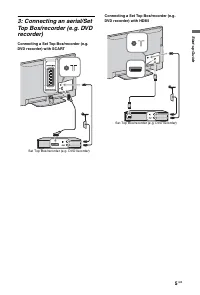
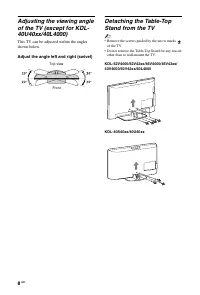
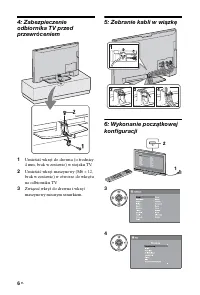
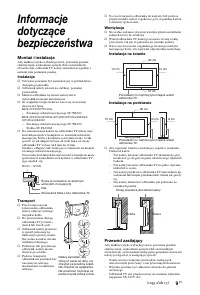
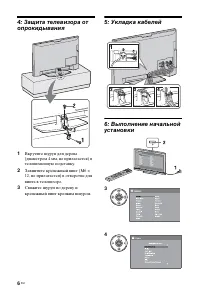
Transporting
s
Before transporting the TV set,
disconnect all cables.
s
Two or three people are needed
to transport a large TV set.
s
When transporting the TV set
by hand, hold it as shown on
the right. Do not put stress on
the LCD panel.
s
When lifting or moving the TV
set, hold it firmly from the
bottom.
s
When transporting the TV set,
do not subject it to jolts or
excessive vibration.
s
When transporting the TV set
for repairs or when moving,
pack it using the original
carton and packing material.
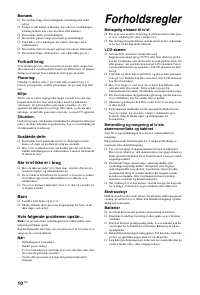
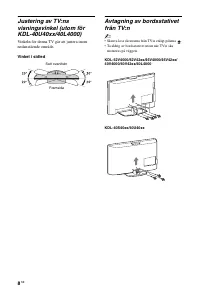
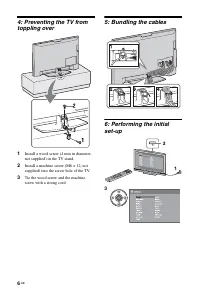
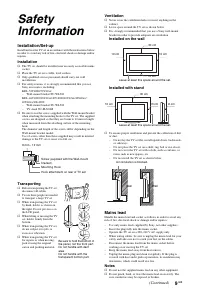
Ventilation
s
Never cover the ventilation holes or insert anything in the
cabinet.
s
Leave space around the TV set as shown below.
s
It is strongly recommended that you use a Sony wall-mount
bracket in order to provide adequate air-circulation.
Installed on the wall
Installed with stand
s
To ensure proper ventilation and prevent the collection of dirt
or dust:
– Do not lay the TV set flat, install upside down, backwards,
or sideways.
– Do not place the TV set on a shelf, rug, bed or in a closet.
– Do not cover the TV set with a cloth, such as curtains, or
items such as newspapers, etc.
– Do not install the TV set as shown below.
Mains lead
Handle the mains lead and socket as follows in order to avoid any
risk of fire, electrical shock or damage and/or injuries:
– Use only mains leads supplied by Sony, not other suppliers.
– Insert the plug fully into the mains socket.
– Operate the TV set on a 220–240 V AC supply only.
– When wiring cables, be sure to unplug the mains lead for your
safety and take care not to catch your feet on the cables.
– Disconnect the mains lead from the mains socket before
working on or moving the TV set.
– Keep the mains lead away from heat sources.
– Unplug the mains plug and clean it regularly. If the plug is
covered with dust and it picks up moisture, its insulation may
deteriorate, which could result in a fire.
Notes
s
Do not use the supplied mains lead on any other equipment.
s
Do not pinch, bend, or twist the mains lead excessively. The
core conductors may be exposed or broken.
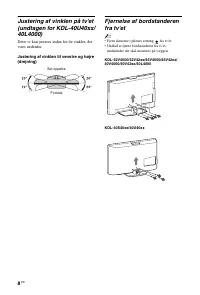
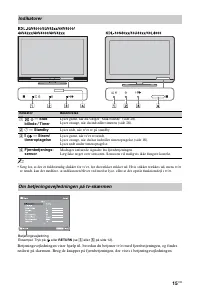
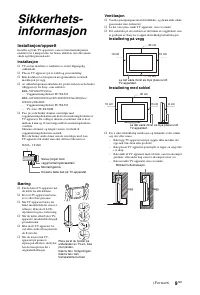
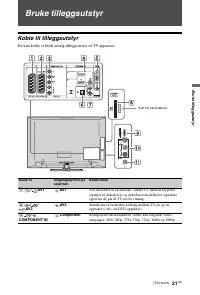
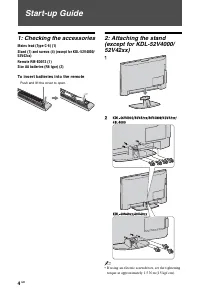
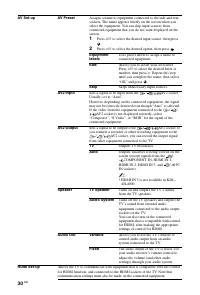
Mounting Hook
Hook attachment on rear of TV set
Screw (supplied with the Wall-mount
b
racket)
8 mm - 12 mm
Be sure to hold the
b
ottom of
the panel, not the front part.
Do not handle with dent
area.
Do not handle with the
transparent
b
ottom part.
30 cm
10 cm
10 cm
10 cm
Leave at least this space around the set.
30 cm
10 cm
10 cm
6 cm
Leave at least this space around the set.
Air circulation is
b
locked.
Wall
Wall
(Continued)
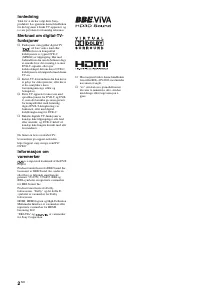
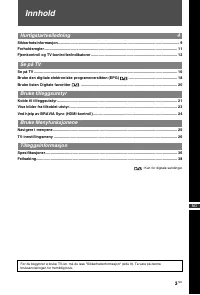
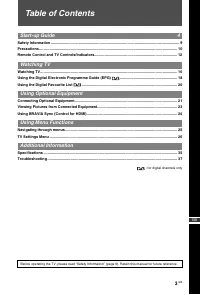
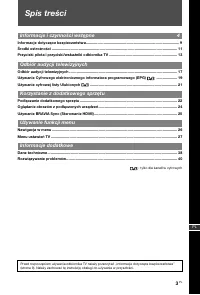
Содержание
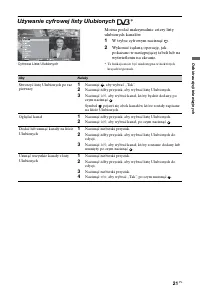
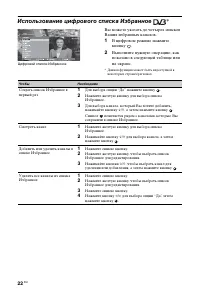
- 233 Содержание; Руководство по вводу в эксплуатацию; Использование цифрового списка Избранное; Использование дополнительного оборудования
- 234 Установка батареек в пульт ДУ; • В случае использования электрического
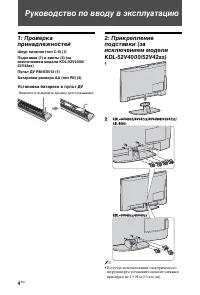
- 235 Руко
- 236 Завинтите крепежный винт (M6
- 237 • Не нажимайте никакие кнопки ни на
- 238 • Снимите винты, указанные на телевизоре
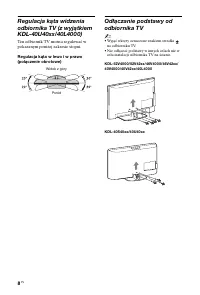
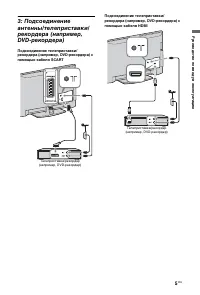
- 239 Установка и подключение; Установка; Перемещение
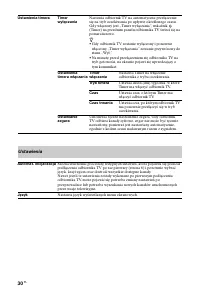
- 240 Кабель питания; Примечания; Запрещенные типы установки
- 241 Просмотр телевизора; Утилизация телевизора
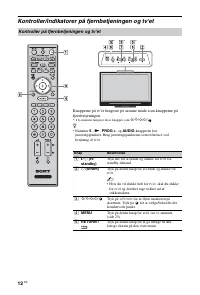
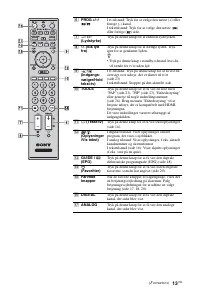
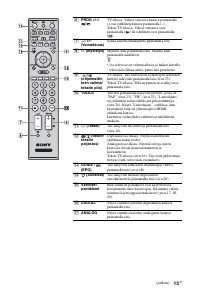
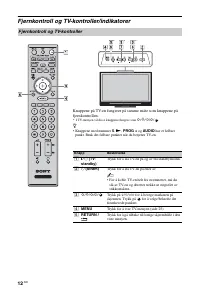
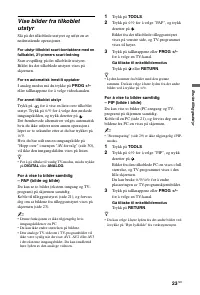
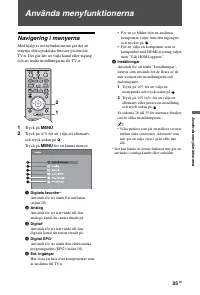
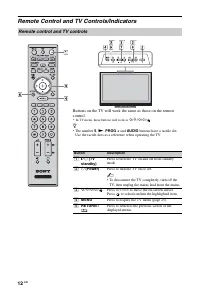
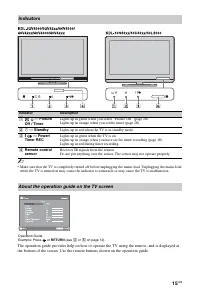
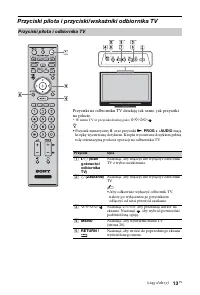
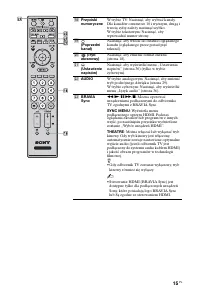
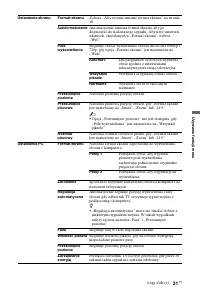
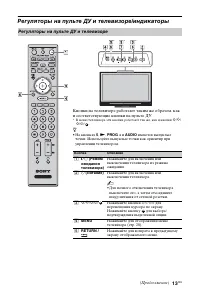
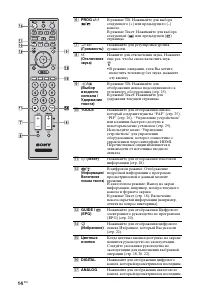
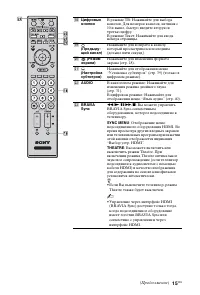
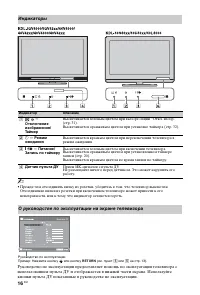
- 243 Регуляторы на пульте ДУ и телевизоре/индикаторы; Регуляторы на пульте ДУ и телевизоре
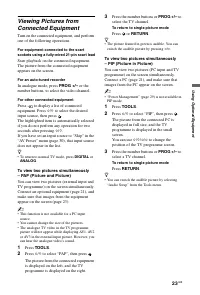
- 244 • В режиме ожидания, если Вы хотите
- 245 wd; : Вы можете включить или
- 246 Индикаторы; — Pежим; О руководстве по эксплуатации на экране телевизора
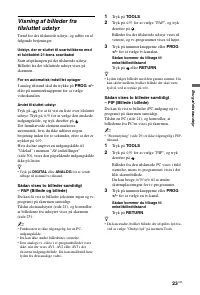
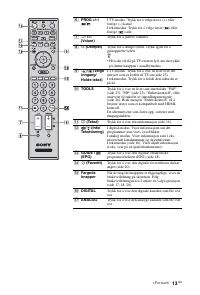
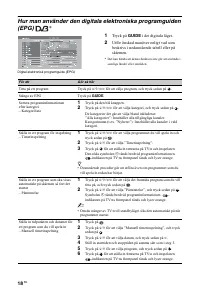
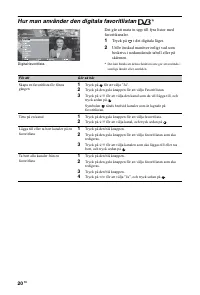
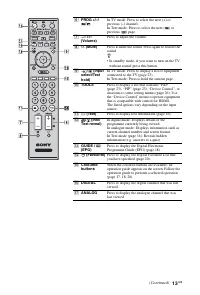
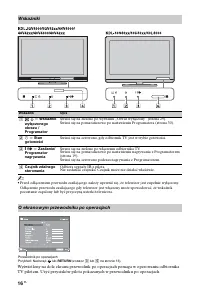
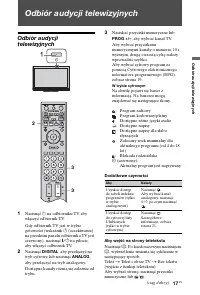
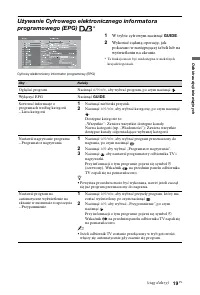
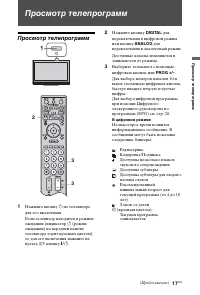
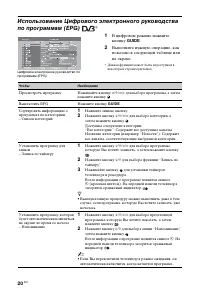
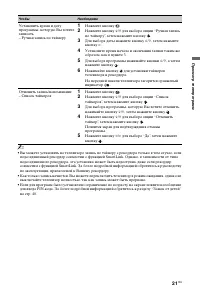
- 247 Про; Просмотр телепрограмм; В цифровом режиме
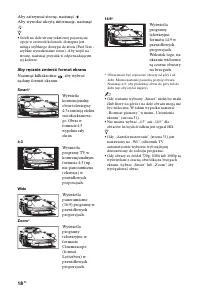
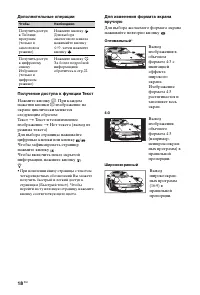
- 248 Дополнительные операции; • При появлении внизу страницы с текстом; Нажмите кнопку; Оптимальный
- 249 • При выборе режима “Оптимальный”; Увеличенный
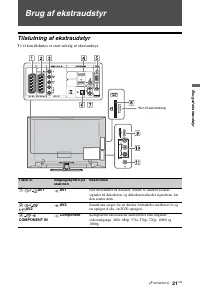
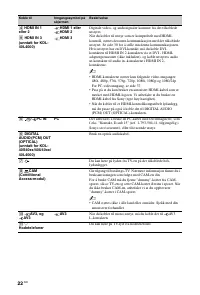
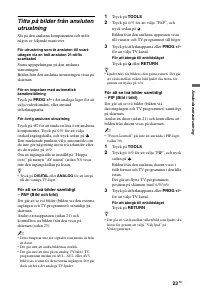
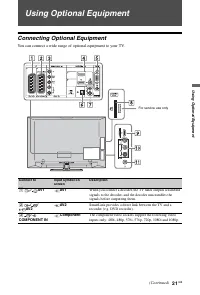
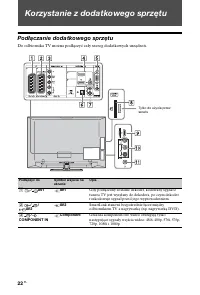
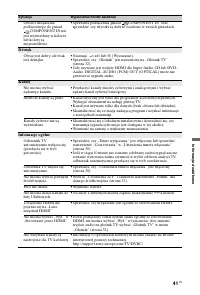
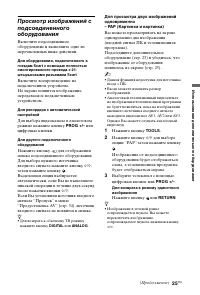
- 253 Подключение дополнительного оборудования
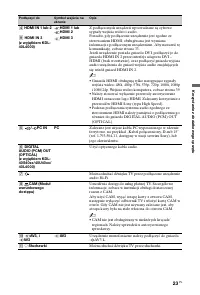
- 254 • Гнезда HDMI поддерживают только следующие
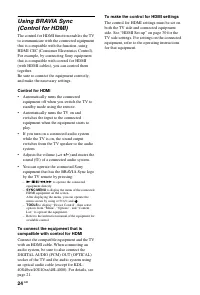
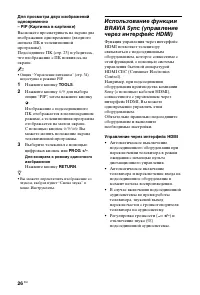
- 256 недоступна в режиме PIP.; • Вы можете переключить изображение со; Управление через интерфейс HDMI
- 257 • Вы можете управлять
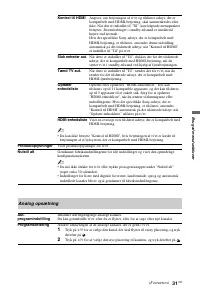
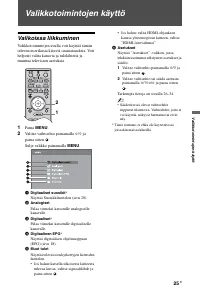
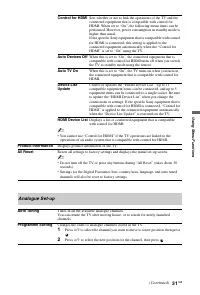
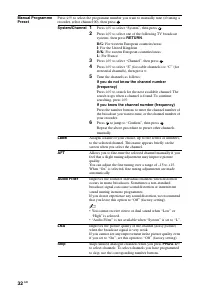
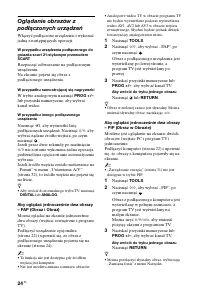
- 258 Использование функций меню; Нажимайте кнопку; Аналоговое ТВ
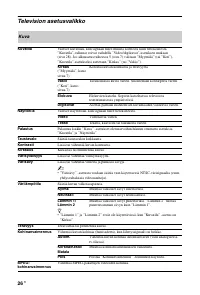
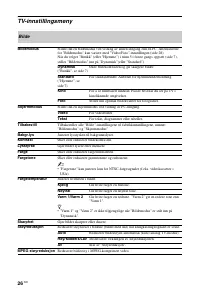
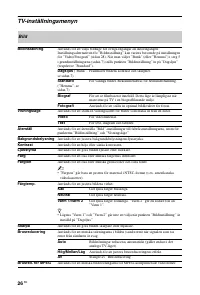
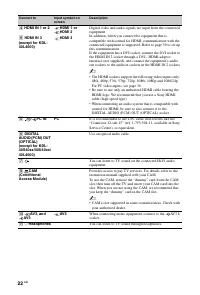
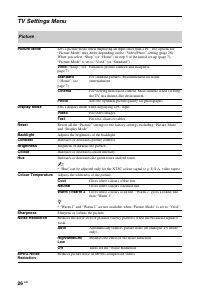
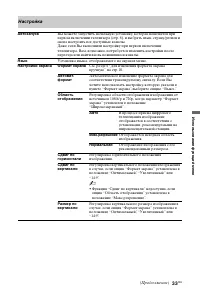
- 259 Испол; Меню настройки телевизора; Изображение
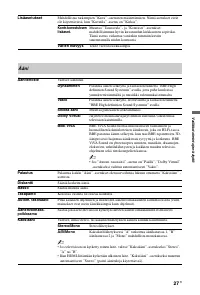
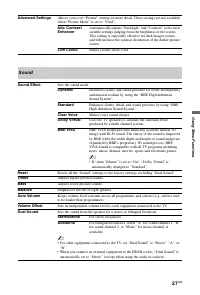
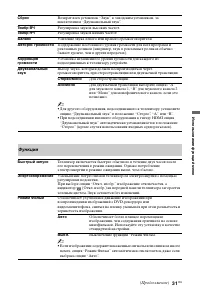
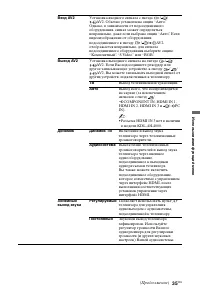
- 260 Звук
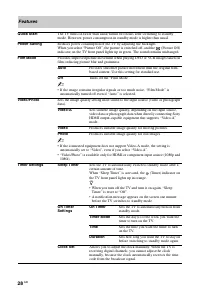
- 261 Функции
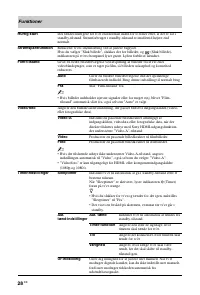
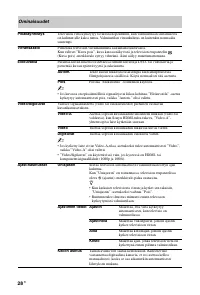
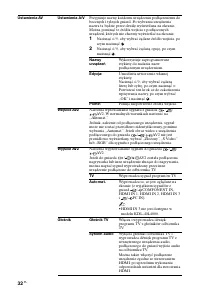
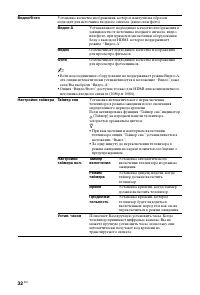
- 262 Видео; • Если подсоединенное оборудование не поддерживает режим Видео-A,; Настройки таймера Таймер сна; загорается оранжевым цветом.; Время
- 263 Настройка; Установка языка, отображаемого на экранах меню.
- 264 • Функция “Автоподстройка” может не работать
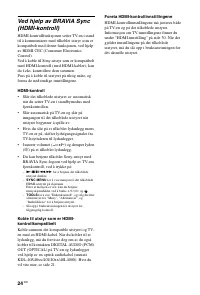
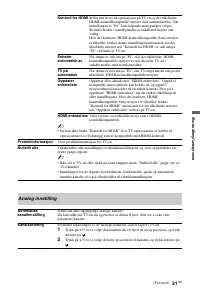
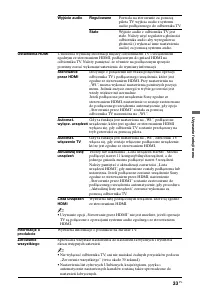
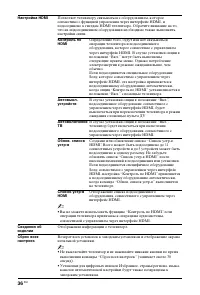
- 266 Настройка HDMI; • Вы не можете использовать функцию “Контроль по HDMI”, если
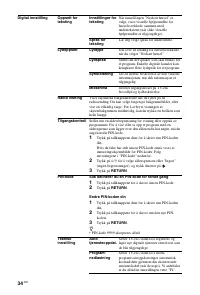
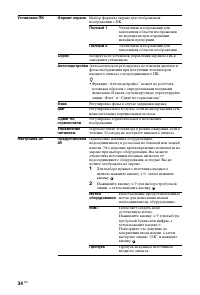
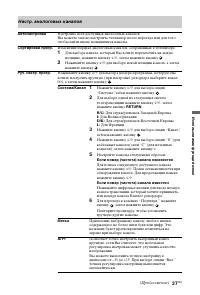
- 267 Настр. аналоговых каналов; Автонастройка
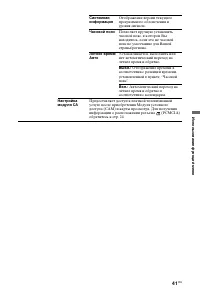
- 268 Аудиофильтр; • Вы не можете принимать стереофонические или; LNA; AV1 или
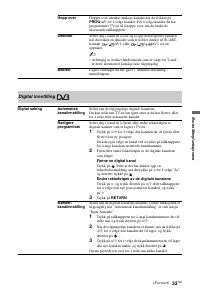
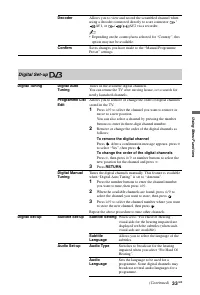
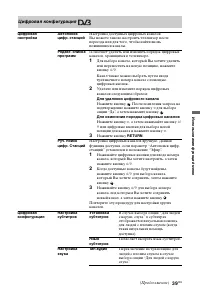
- 269 Цифровая конфигурация; Для удаления цифрового канала
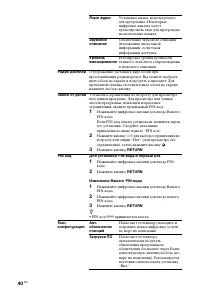
- 271 Отображение времени в
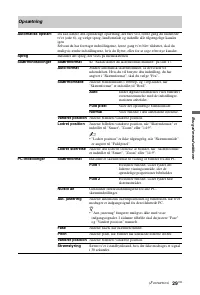
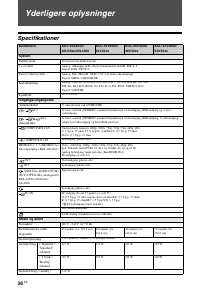
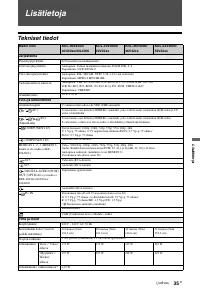
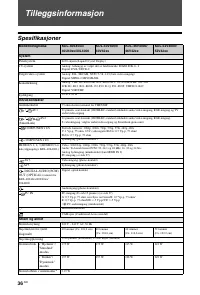
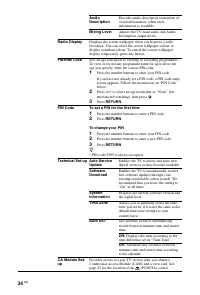
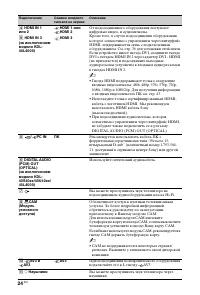
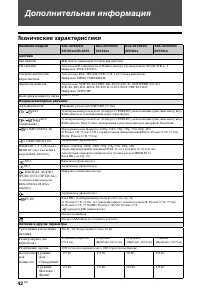
- 272 Дополнительная информация; Технические характеристики
- 273 Доп; композитную синхронизацию.
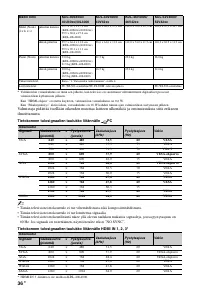
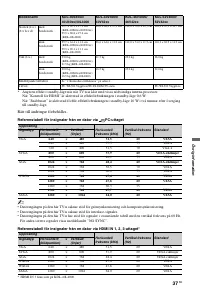
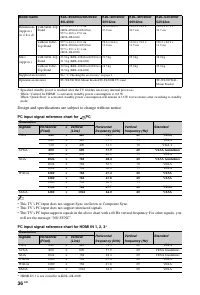
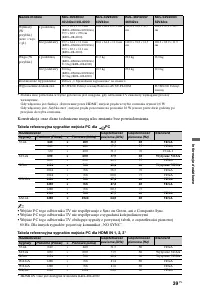
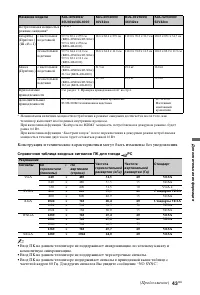
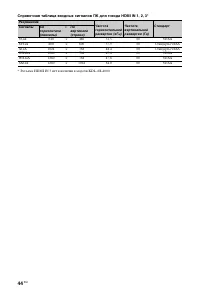
- 274 Справочная таблица входных сигналов ПК для гнезда HDMI IN 1, 2, 3*
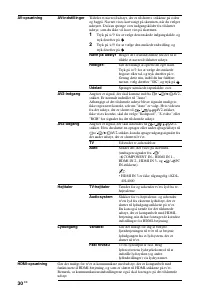
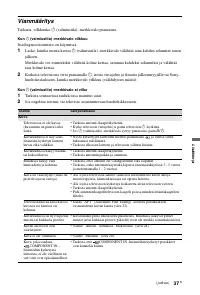
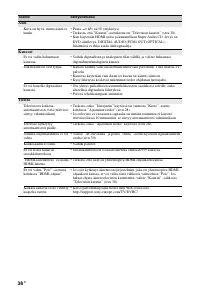
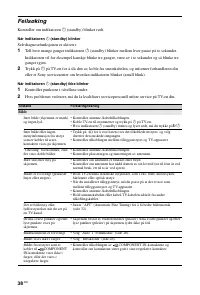
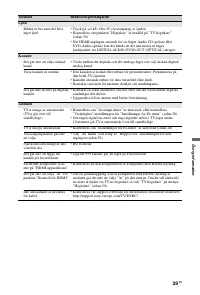
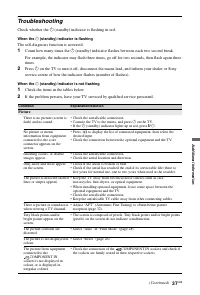
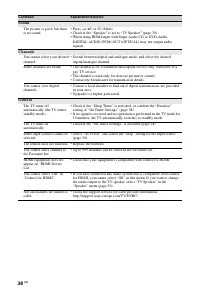
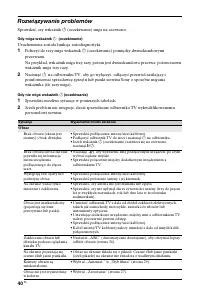
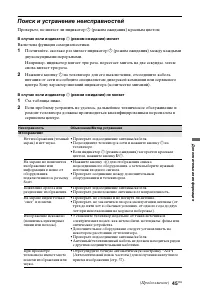
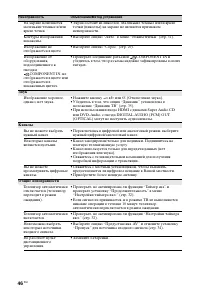
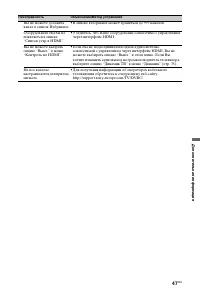
- 275 Поиск и устранение неисправностей; В случае если индикатор
- 277 • В списке Избранное может храниться до 999 каналов.


