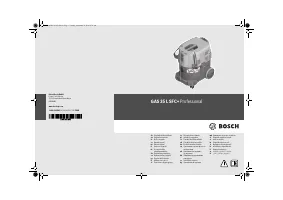
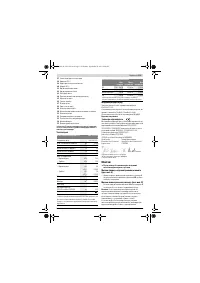
Строительные пылесосы Bosch GAS 35 L SFC - инструкция пользователя по применению, эксплуатации и установке на русском языке. Мы надеемся, она поможет вам решить возникшие у вас вопросы при эксплуатации техники.
Если остались вопросы, задайте их в комментариях после инструкции.
"Загружаем инструкцию", означает, что нужно подождать пока файл загрузится и можно будет его читать онлайн. Некоторые инструкции очень большие и время их появления зависит от вашей скорости интернета.


English |
19
Bosch Power Tools
1 609 92A 0XC | (29.9.14)
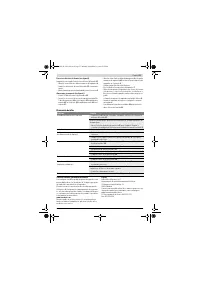
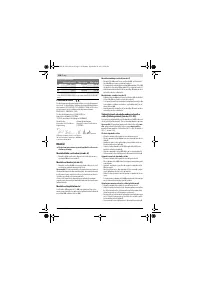
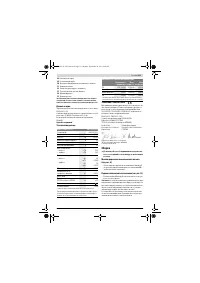
Technical Data
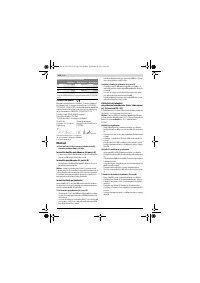
Declaration of Conformity
We declare under our sole responsibility that the product de-
scribed under “Technical Data” is in conformity with all rele-
vant provisions of the directives 2011/65/EU, 2014/30/EU,
2006/42/EC including their amendments and complies with
the following standards: EN 60335-1, EN 60335-2-69.
Technical file (2006/42/EC) at:
Robert Bosch GmbH, PT/ETM9,
70764 Leinfelden-Echterdingen, GERMANY
Robert Bosch GmbH, Power Tools Division
70764 Leinfelden-Echterdingen, GERMANY
Leinfelden, 30.09.2014
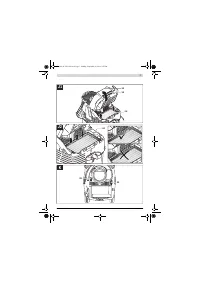
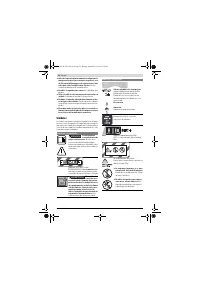
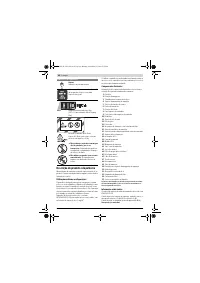
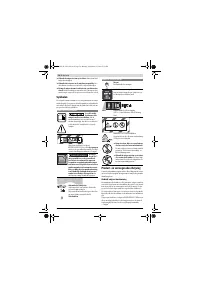
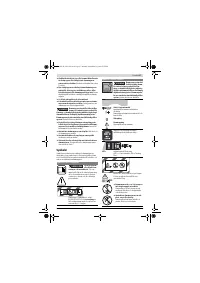
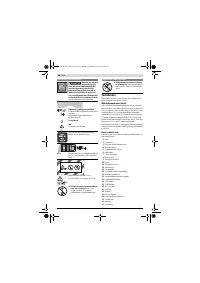
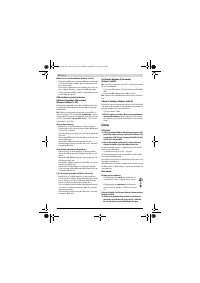
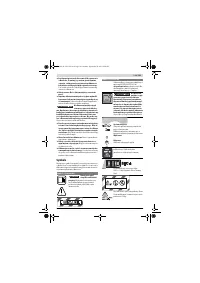
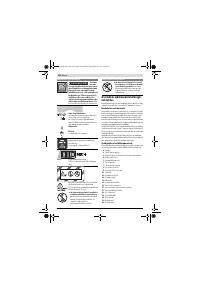
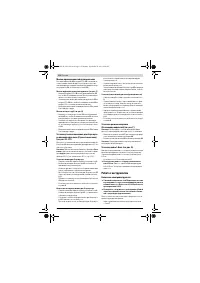
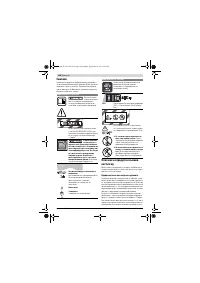
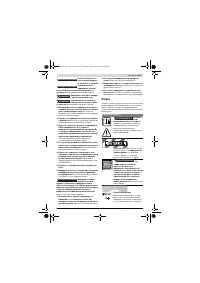
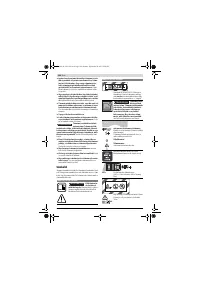
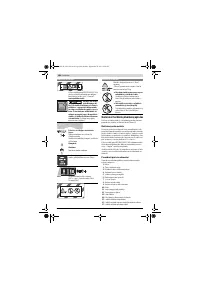
Assembly
Before any work on the vacuum cleaner itself, pull the
mains plug.
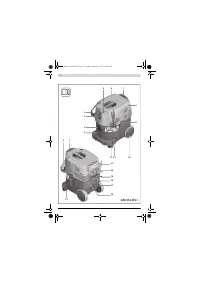
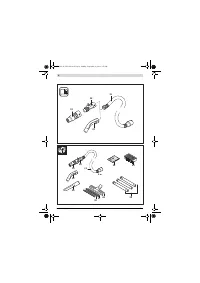
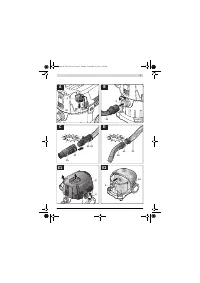
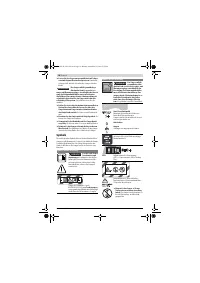
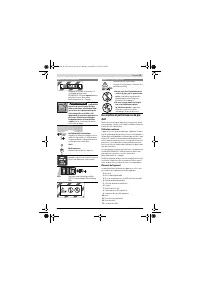
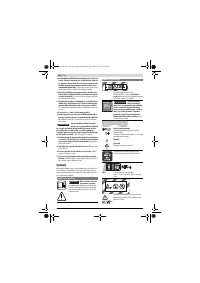
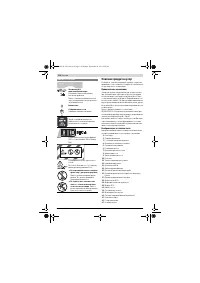
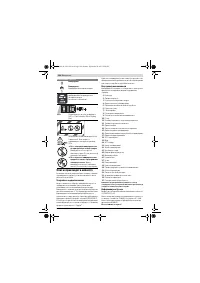
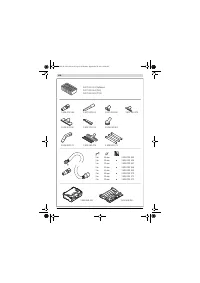
Mounting the Vacuum-hose Holder (see figure A)
– Slide the vacuum-hose holders
4
firmly from above into the
retainers
30
intended for this purpose, until they engage.
Mounting the Vacuum Hose (see figure B)
– Mount the vacuum hose
21
onto the hose connection
piece
2
and turn it in clockwise direction to the stop.
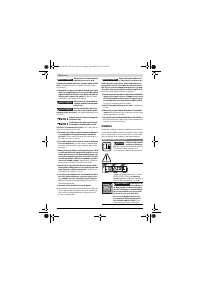
Note:
While vacuuming, an electrostatic charge develops in
the vacuum hose and accessories caused by the friction of the
dust, which the operator could experience in the form of stat-
ic discharging (dependent on environmental influences and
physical perception).
As a general rule, Bosch recommends using an anti-static vac-
uum hose (accessory) when vacuuming fine dusts and dry
materials.
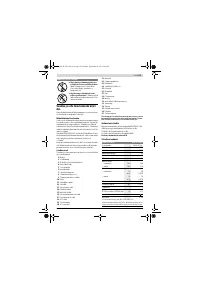
Mounting VAC Accessories
The vacuum hose
21
and the SFC+ module
20
are equipped
with a clip system, with which the VAC accessories (tool
sleeve
19
, elbow
22
) can be connected.
Mounting the Tool Sleeve (see figure C)
– Mount the SFC+ module
20
onto the vacuum hose
21
until
both snap-fasteners
31
of the vacuum hose can be heard
to engage.
– Afterwards, mount the tool sleeve
19
onto the SFC+ mod-
ule
20
until both snap-fasteners
31
of the SFC+ module
can be heard to engage.
– To disassemble, press both snap-fasteners
31
inward and
pull the components apart.
Mounting Nozzles and Tubes (see figure D)
– Mount the elbow
22
onto the vacuum hose
21
until both
snap-fasteners
31
of the vacuum hose can be heard to en-
gage.
– Afterwards, mount the desired VAC accessory (floor noz-
zle, crevice nozzle, vacuum tube, etc.) firmly onto the el-
bow
22
.
– To disassemble, press both snap-fasteners
31
inward and
pull the components apart.
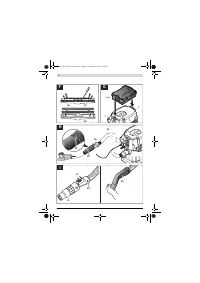
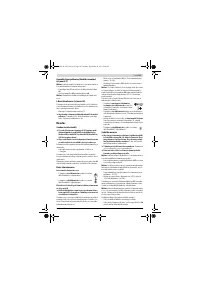
Inserting/Removing a Disposal Bag or Dust
Bag (Dry Vacuuming) (see figures E1 – E2)
For dry vacuuming, a disposal bag
23
or a dust bag (accesso-
ry) can be used. This makes the disposal of the dust easier.
Note:
When using a paper filter bag, the semi-automatic filter
cleaning (SFC+) (see “Deactivating the SFC+”, page 21),
must
, and when using a fleece filter bag,
should
be shut off.
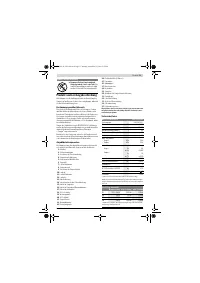
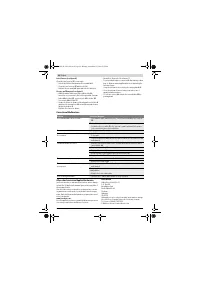
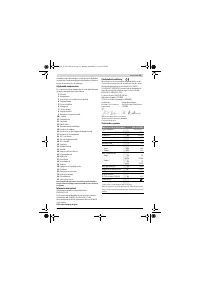
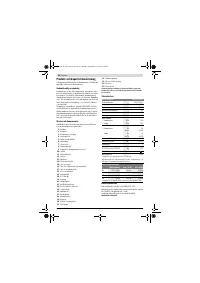
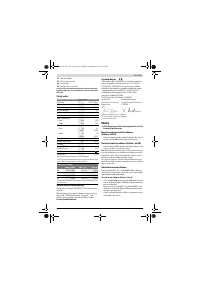
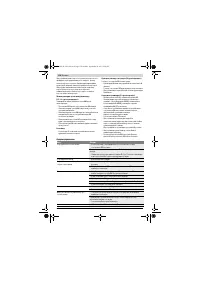
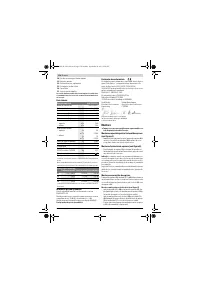
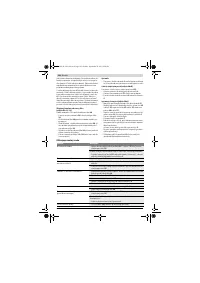
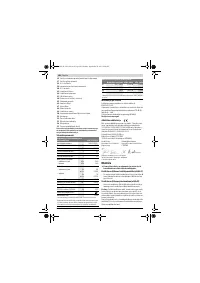
Wet/dry vacuum cleaner
GAS 35 L SFC+
Article number
3 601 JC3 0..
Rated power input
W
1 200
Frequency
Hz
50 / 60
Container volume (gross)
l
35
Net volume (for fluids)
l
19
Dust bag contents
l
19
Max. vacuum*
– Vacuum cleaner
– Turbine
hPa
hPa
230
254
Max. flow rate*
– Vacuum cleaner
– Turbine
l/s
m
3
/s
l/s
m
3
/s
36
0.036
74
0.074
Max. vacuum capacity
W
1380
Surface of flat-fold filter
m
2
0.615
Dust category
L
Weight according to
EPTA-Procedure 01/2003
kg
12.2
Protection class
/
I
Degree of protection
IP X4
* Measured with a Ø 35 mm and 3 m long vacuum hose
The values given are valid for nominal voltages [U] of 230 V. For lower
voltage and models for specific countries, these values can vary.
Automatic Start/Stop feature*
Rated voltage max. power output min. power output
EU
220 – 240 V
2200 W
100 W
UK
110 V
750 W
100 W
UK
240 V
1800 W
100 W
CH
230 V
1100 W
100 W
* Specification of the allowable load of the connected power tool (coun-
try-specific)
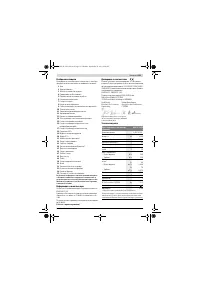
Henk Becker
Executive Vice President
Engineering
Helmut Heinzelmann
Head of Product Certification
PT/ETM9
OBJ_BUCH-1702-003.book Page 19 Monday, September 29, 2014 2:58 PM
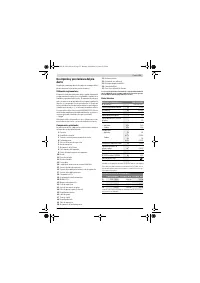
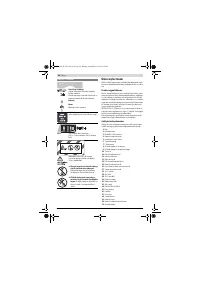
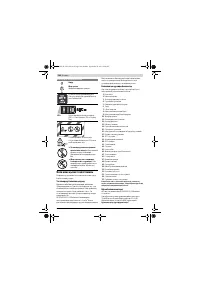
Содержание
- 129 Символы
- 130 Описание продукта и услуг; Применение по назначению
- 131 Данные о шуме; Сборка
- 132 Монтаж принадлежностей для всасывания; Работа с инструментом; Включение электроинструмента
- 133 Cухое отсасывание
- 134 Техобслуживание и сервис; Техобслуживание и очистка
- 135 Устранение неисправностей
- 136 Утилизация; Українська; Вказівки з техніки безпеки; Цей пилосмок не призначений; Діти не; Дітям дозволяється здійснювати
Характеристики

Остались вопросы?Не нашли свой ответ в руководстве или возникли другие проблемы? Задайте свой вопрос в форме ниже с подробным описанием вашей ситуации, чтобы другие люди и специалисты смогли дать на него ответ. Если вы знаете как решить проблему другого человека, пожалуйста, подскажите ему :)


