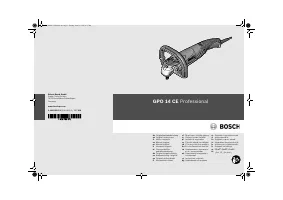
Шлифмашины Bosch GPO 14 CE - инструкция пользователя по применению, эксплуатации и установке на русском языке. Мы надеемся, она поможет вам решить возникшие у вас вопросы при эксплуатации техники.
Если остались вопросы, задайте их в комментариях после инструкции.
"Загружаем инструкцию", означает, что нужно подождать пока файл загрузится и можно будет его читать онлайн. Некоторые инструкции очень большие и время их появления зависит от вашей скорости интернета.


22
| English
1 619 P09 071 | (29.6.10)
Bosch Power Tools
Robert Bosch GmbH, Power Tools Division
D-70745 Leinfelden-Echterdingen
27.05.2010
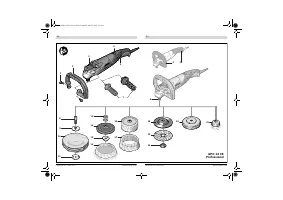
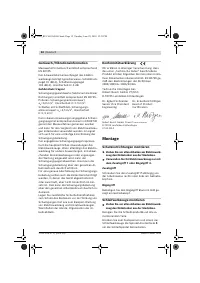
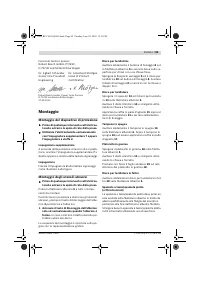
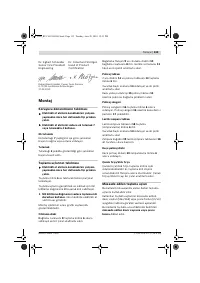
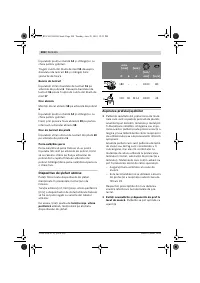
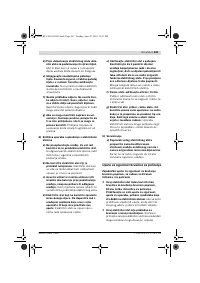
Assembly
Mounting the Protective Devices
f
Before any work on the machine itself, pull
the mains plug.
f
Operate your machine only with the auxilia-
ry handle 7 or bow handle 2.
Auxiliary Handle
Screw the auxiliary handle
7
on the right or left
of the machine head depending on the working
method.
Bow Handle
Fasten the bow handle
2
to the gear case as
shown in the figure.
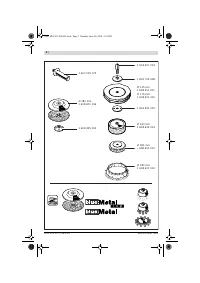
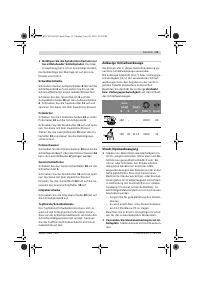
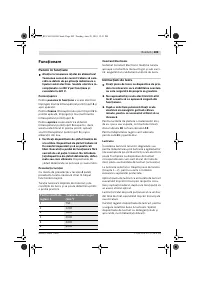
Mounting the Grinding Tools
f
Before any work on the machine itself, pull
the mains plug.
Clean the grinder spindle
6
and all parts to be
mounted.
For clamping and loosening the grinding tools,
lock the grinder spindle with the spindle lock
button
3
.
f
Actuate the spindle lock button only when
the grinder spindle is at a standstill.
Other-
wise, the machine may become damaged.
See graphics page for the mounting sequence.
Buffing Disc
Screw the clamping mandrel
8
firmly onto grind-
er spindle
6
and tighten it via the spanner sur-
faces with an open-end spanner.
Mount the clamping flange
9
and the buffing
disc
10
onto the clamping mandrel
8
. Screw on
the clamping nut
11
and tighten with the two-
pin spanner.
Polishing Plate
Mount the two spacer discs
12
and the polishing
plate
13
onto the spindle
6
.
Screw on the round nut
14
and tighten with the
two-pin spanner.
Pull the lamb’s wool bonnet
15
over the polish-
ing plate
13
and tighten the attachment strings.
Polishing Sponge
Screw the polishing sponge
16
firmly onto the
grinder spindle
6
. The lambskin polishing bon-
net
17
can be pulled over the polishing sponge
16
.
Rubber Sanding Plate
Place the rubber sanding plate
18
onto the
grinder spindle
6
.
Screw on the round nut
14
and tighten with the
two-pin spanner.
Firmly press the sanding sheet
19
onto the bot-
tom side of the rubber sanding plate
18
.
Felt Polishing Disc
Firmly screw the felt polishing disc
20
onto the
grinder spindle
6
.
Cup Brush/Disc Brush
The cup brush/disc brush must be able to be
screwed onto the grinder spindle until it rests
firmly against the grinder spindle flange at the
end of the grinder spindle threads. Tighten the
cup brush/disc brush with an open-end span-
ner.
Dr. Egbert Schneider
Senior Vice President
Engineering
Dr. Eckerhard Strötgen
Head of Product
Certification
OBJ_BUCH-1284-001.book Page 22 Tuesday, June 29, 2010 12:51 PM
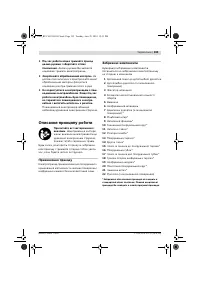
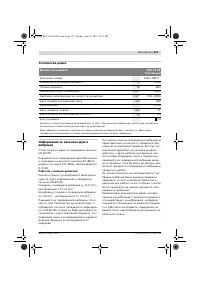
Содержание
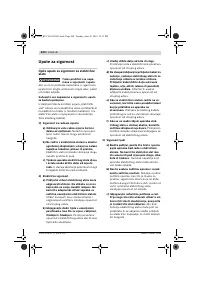
- 179 а) Ремонт Вашего электроинструмента
- 181 Используйте защитные очки.
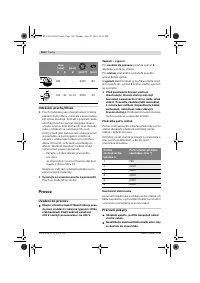
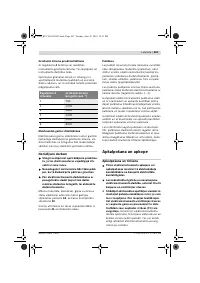
- 182 Закрепляйте заготовку.; Описание функции; Применение по назначению
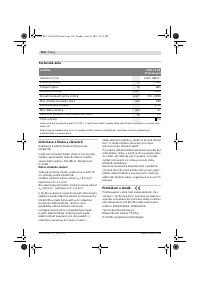
- 183 Технические данные; Применяйте средства защиты органов слуха!
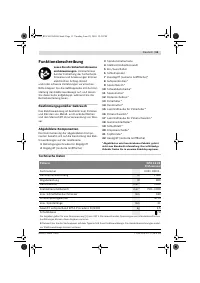
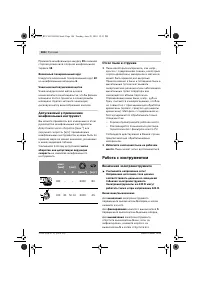
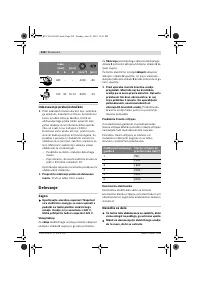
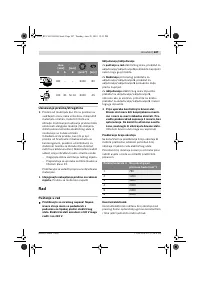
- 184 Заявление о соответствии; Сборка; Установка защитных устройств; Дополнительная рукоятка
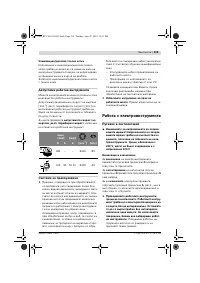
- 185 Отсос пыли и стружки; Работа с инструментом; Включение электроинструмента
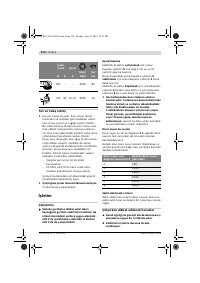
- 186 Выбор числа оборотов; Указания по применению; Полирование
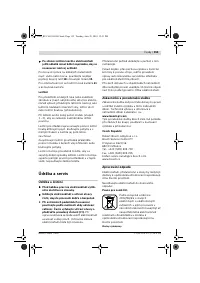
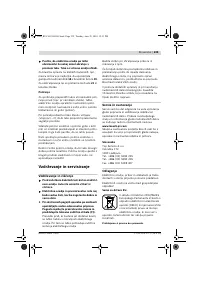
- 187 Техобслуживание и сервис; Техобслуживание и очистка; Россия
- 188 Казахстан; Утилизация


