
Роботы-пылесосы Philips FC8774/01 SmartPro Compact - инструкция пользователя по применению, эксплуатации и установке на русском языке. Мы надеемся, она поможет вам решить возникшие у вас вопросы при эксплуатации техники.
Если остались вопросы, задайте их в комментариях после инструкции.
"Загружаем инструкцию", означает, что нужно подождать пока файл загрузится и можно будет его читать онлайн. Некоторые инструкции очень большие и время их появления зависит от вашей скорости интернета.


3
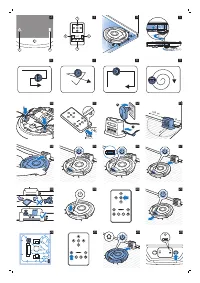
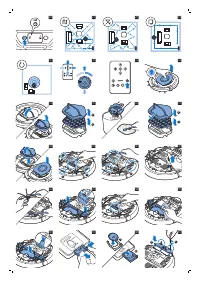
Use a brush with soft bristles (e.g. a toothbrush) to remove dust or fluff from the front wheel and
side wheels (Fig. 40).
4
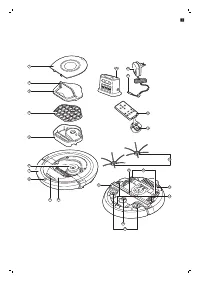
To clean the side brushes, grab them by the bristles and pull them off their shafts (Fig. 41).
5
Remove fluff, hairs and threads from the shaft and from the side brush with a soft brush (e.g. a
toothbrush) or a cloth (Fig. 42).
6
Check the side brushes and the bottom of the robot for any sharp objects that could damage your
floor.
7
After you have removed the side brushes from their shafts, undo the snap connections of the
TriActive XL nozzle by inserting your fingers at the places marked with arrows and pull the TriActive
nozzle off the robot (Fig. 43).
8
Clean the suction opening with a soft brush (e.g. a toothbrush) (Fig. 44).
9
Remove all visible dirt from the TriActive nozzle (Fig. 45).
10
Insert the snap hooks of the TriActive nozzle into the holes in the bottom of the robot (Fig. 46).
Push the TriActive nozzle back into position. Check if the nozzle can move a few millimeters up and
down freely.
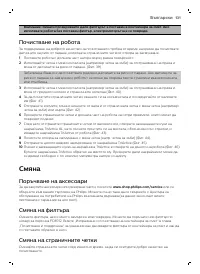
Replacement
Ordering accessories
To buy accessories or spare parts, visit
www.shop.philips.com/service
or go to your Philips dealer.
You can also contact the Philips Consumer Care Center in your country (see the international warranty
leaflet for contact details).
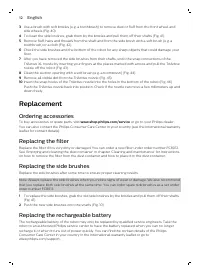
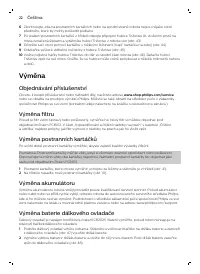
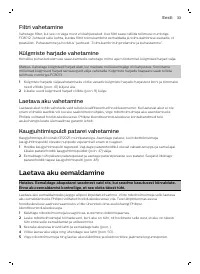
Replacing the filter
Replace the filter if it is very dirty or damaged. You can order a new filter under order number FC8012.
See 'Emptying and cleaning the dust container' in chapter 'Cleaning and maintenance' for instructions
on how to remove the filter from the dust container and how to place it in the dust container.
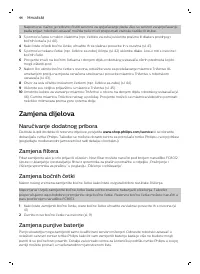
Replacing the side brushes
Replace the side brushes after some time to ensure proper cleaning results.
Note: Always replace the side brushes when you notice signs of wear or damage. We also recommend
that you replace both side brushes at the same time. You can order spare side brushes as a set under
order number FC8013.
1
To replace the side brushes, grab the old side brushes by the bristles and pull them off their shafts
(Fig. 41).
2
Push the new side brushes onto the shafts (Fig. 10).
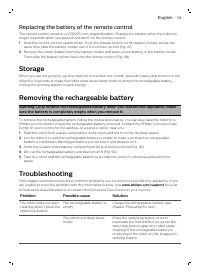
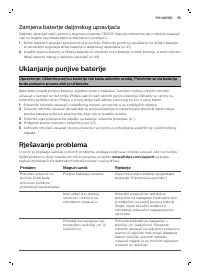
Replacing the rechargeable battery
The rechargeable battery of the robot may only be replaced by qualified service engineers. Take the
robot to an authorized Philips service center to have the battery replaced when you can no longer
recharge it or when it runs out of power quickly. You can find the contact details of the Philips
Consumer Care Center in your country in the international warranty leaflet or go to
www.philips.com/support.
12
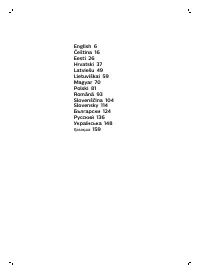
English
Содержание
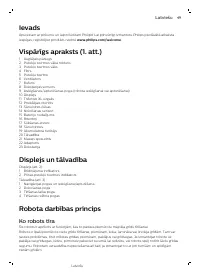
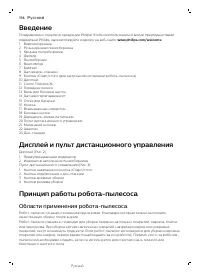
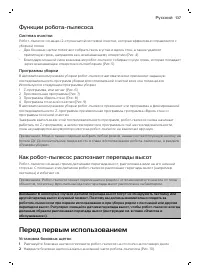
- 137 Функции робота-пылесоса; Как робот-пылесос распознает перепады высот; Перед первым использованием
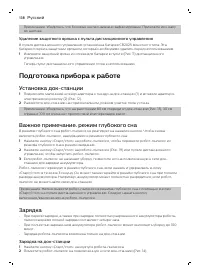
- 138 Подготовка прибора к работе; Установка док-станции
- 139 Подготовка помещения к уборке; Эксплуатация робота-пылесоса; Начало и окончание работы
- 140 Управление док-станцией; Ручное управление
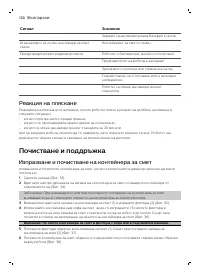
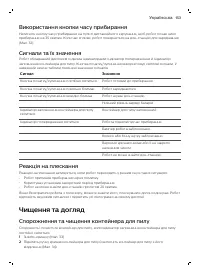
- 141 Управление с помощью хлопка; Очистка и уход; Удаление мусора и очистка пылесборника
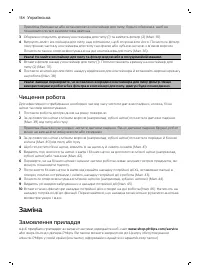
- 142 Очистка робота-пылесоса; Замена; Заказ аксессуаров
- 143 Хранение
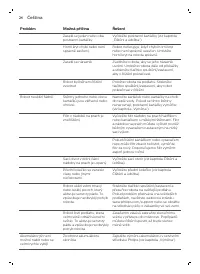
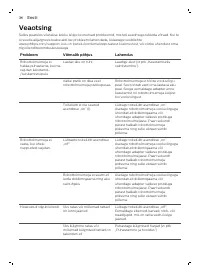
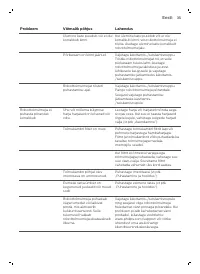
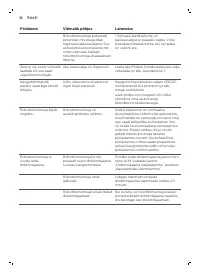
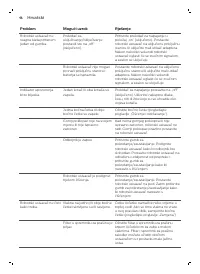
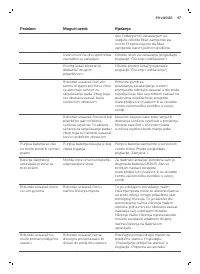
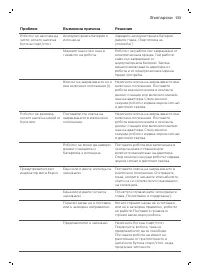
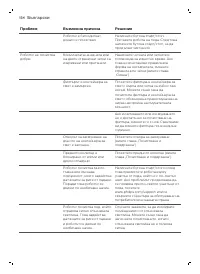
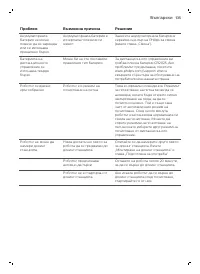
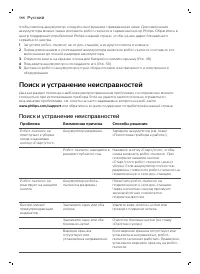
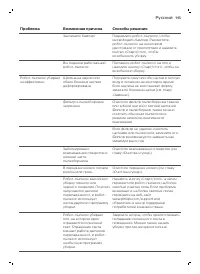
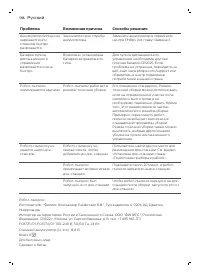
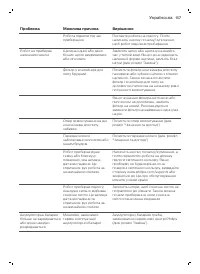
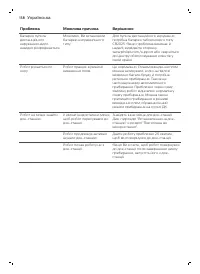
- 144 Поиск и устранение неисправностей


