Пылесос Philips FC9264_01_02 - инструкция пользователя по применению, эксплуатации и установке на русском языке. Мы надеемся, она поможет вам решить возникшие у вас вопросы при эксплуатации техники.
Если остались вопросы, задайте их в комментариях после инструкции.
"Загружаем инструкцию", означает, что нужно подождать пока файл загрузится и можно будет его читать онлайн. Некоторые инструкции очень большие и время их появления зависит от вашей скорости интернета.


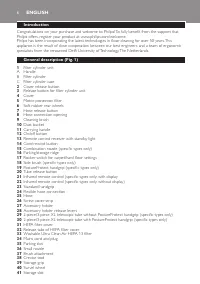
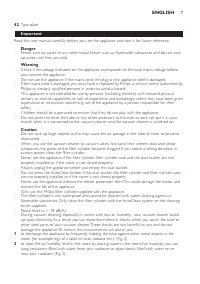


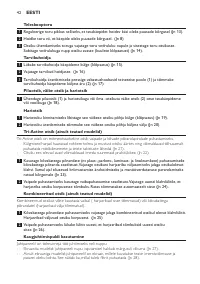


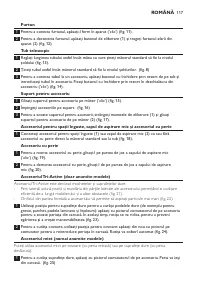


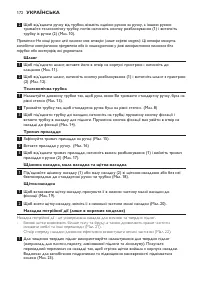


Note: This vacuum cleaner has been itted with holes (speciic types only) at the end of the handgrip.
These holes may prevent objects from getting stuck or damaged when you use your vacuum cleaner
without the tube or accessories supplied.
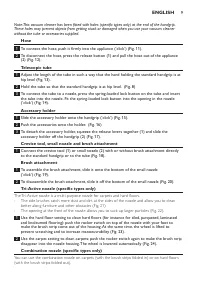
hose
1
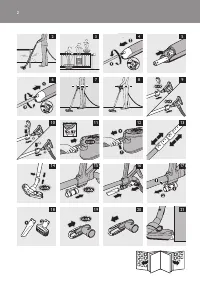
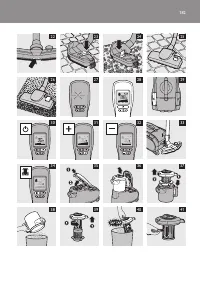
To connect the hose, push it irmly into the appliance (‘click’) (Fig. 11).
2
To disconnect the hose, press the release button (1) and pull the hose out of the appliance
(2) (Fig. 12).
telescopic tube
1
Adjust the length of the tube in such a way that the hand holding the standard handgrip is at
hip level (Fig. 13).
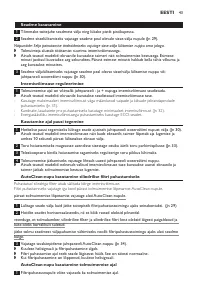
2
Hold the tube so that the standard handgrip is at hip level. (Fig. 8)
3
To connect the tube to a nozzle, press the spring-loaded lock button on the tube and insert
the tube into the nozzle. Fit the spring-loaded lock button into the opening in the nozzle
(‘click’) (Fig. 14).
accessory holder
1
Slide the accessory holder onto the handgrip (‘click’) (Fig. 15).
2
Push the accessories onto the holder. (Fig. 16)
3
To detach the accessory holder, squeeze the release levers together (1) and slide the
accessory holder off the handgrip (2) (Fig. 17).
Crevice tool, small nozzle and brush attachment
1
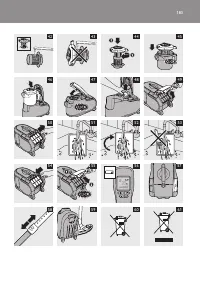
Connect the crevice tool (1) or small nozzle (2) with or without brush attachment directly
to the standard handgrip or to the tube (Fig. 18).
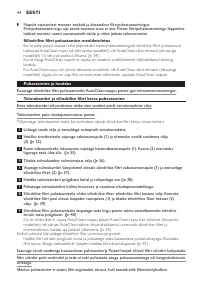
Brush attachment
1
To assemble the brush attachment, slide it onto the bottom of the small nozzle
(‘click’) (Fig. 19).
2
To disassemble the brush attachment, slide it off the bottom of the small nozzle (Fig. 20).
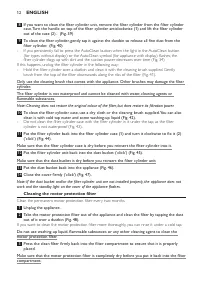
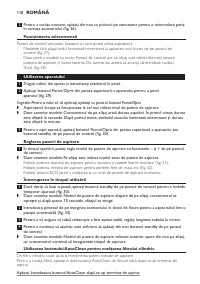
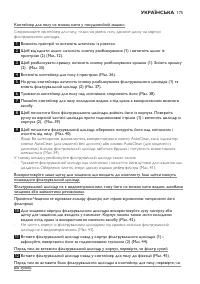
tri-active nozzle (speciic types only)
The Tri-Active nozzle is a multi-purpose nozzle for carpets and hard loors.
-
The side brushes catch more dust and dir t at the sides of the nozzle and allow you to clean
better along furniture and other obstacles (Fig. 21).
-
The opening at the front of the nozzle allows you to suck up larger par ticles (Fig. 22).
1
Use the hard loor setting to clean hard loors (for instance for tiled, parqueted, laminated
and linoleumed looring): push the rocker switch on top of the nozzle with your foot to
make the brush strip come out of the housing. At the same time, the wheel is lifted to
prevent scratching and to increase manoeuvrability (Fig. 23).
2
Use the carpet setting to clean carpets: push the rocker switch again to make the brush strip
disappear into the nozzle housing. The wheel is lowered automatically (Fig. 24).
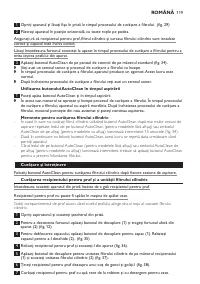
Combination nozzle (speciic types only)
You can use the combination nozzle on carpets (with the brush strips folded in) or on hard loors
(with the brush strips folded out).
English
9
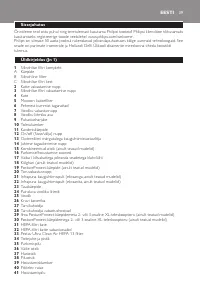
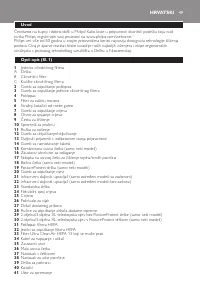
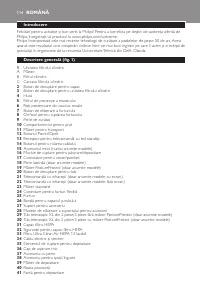
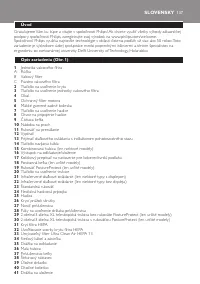
Содержание
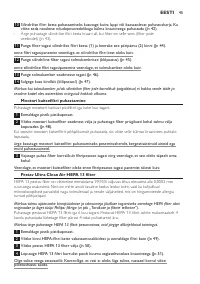
- 128 использовании пылесоса без трубки или насадки.
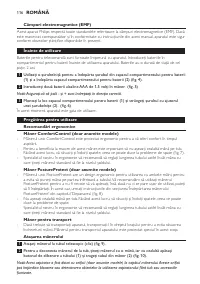
- 129 Пылесос начнет работать с максимальной мощностью всасывания.; регулировка мощности всасывания
- 130 при последующем включении прибора.
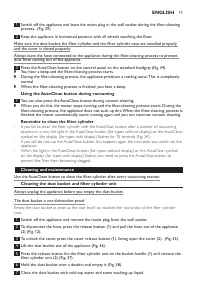
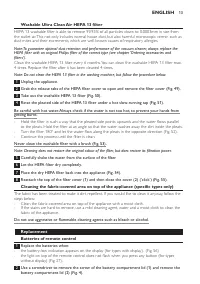
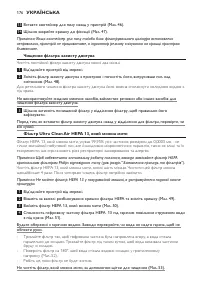
- 131 Пылесборник нельзя мыть в посудомоечной машине.
- 132 Очистка фильтра защиты электродвигателя; Фильтр защиты электродвигателя следует очищать раз в два месяца.; Моющийся фильтр ultra Clean air HePa 13; 3 можно не более 4 раз. Замените фильтр после 4 очисток.
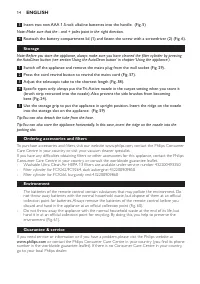
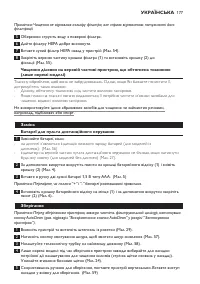
- 133 замена; Заменяйте батарейки в следующих случаях:
- 134 Хранение; ребро насадки в ячейку для закрепления трубки.; заказ принадлежностей и фильтров; стране или ознакомьтесь с гарантийным талоном.; защита окружающей среды; или обратитесь в Центр поддержки потребителей Philips в вашей
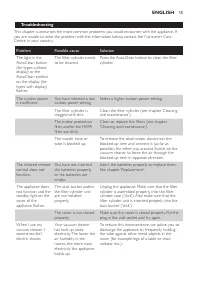
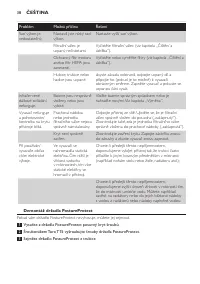
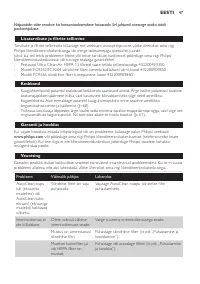
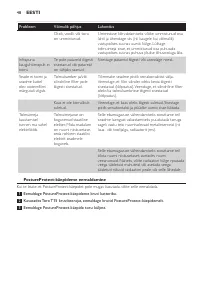
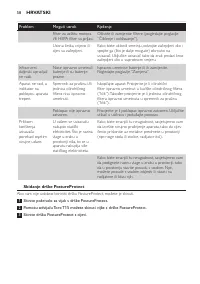
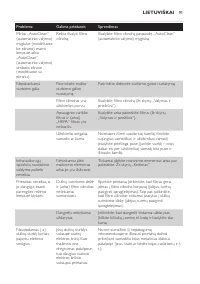
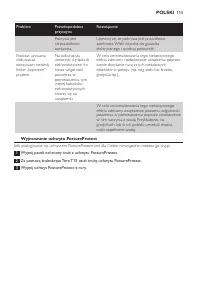
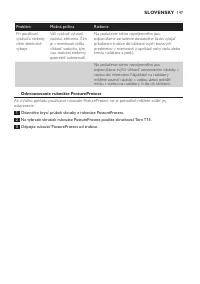
- 135 Поиск и устранение неисправностей; Проблема
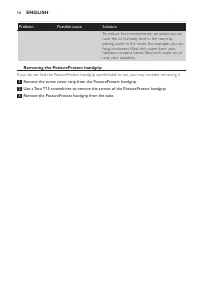
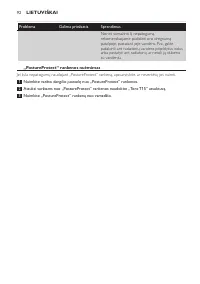
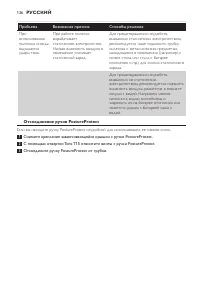
- 136 Отсоединение ручки PostureProtect; Отсоедините ручку PostureProtect от трубки.


