Пылесос Philips FC9264_01_02 - инструкция пользователя по применению, эксплуатации и установке на русском языке. Мы надеемся, она поможет вам решить возникшие у вас вопросы при эксплуатации техники.
Если остались вопросы, задайте их в комментариях после инструкции.
"Загружаем инструкцию", означает, что нужно подождать пока файл загрузится и можно будет его читать онлайн. Некоторые инструкции очень большие и время их появления зависит от вашей скорости интернета.


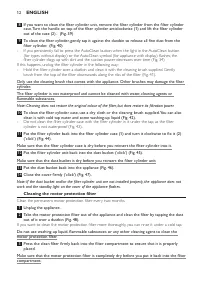


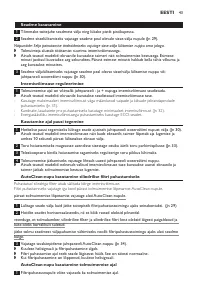


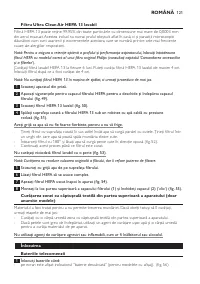


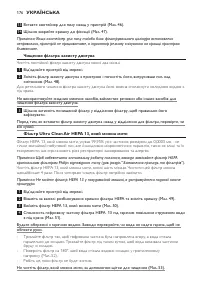


Washable ultra Clean air HePa 13 ilter
HEPA 13 washable ilter is able to remove 99.95% of all par ticles down to 0.0003mm in size from
the outlet air. This not only includes normal house dust, but also harmful microscopic vermin such as
dust mites and their excrements, which are well-known causes of respirator y allergies.
Note: To guarantee optimal dust retention and performance of the vacuum cleaner, always replace the
HEPA ilter with an original Philips ilter of the correct type (see chapter ‘Ordering accessories and
ilters’).
Clean the washable HEPA 13 ilter ever y 6 months. You can clean the washable HEPA 13 ilter max.
4 times. Replace the ilter after it has been cleaned 4 times.
Note: Do not clean the HEPA 13 ilter in the washing machine, but follow the procedure below.
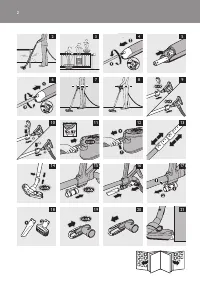
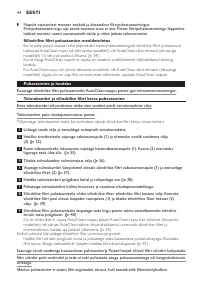
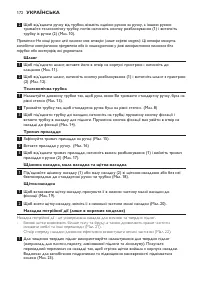
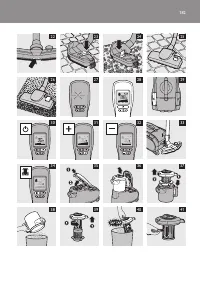
1
Unplug the appliance.
2
Grab the release tabs of the HEPA ilter cover to open and remove the ilter cover (Fig. 49).
3
Take out the washable HEPA 13 ilter (Fig. 50).
4
Rinse the pleated side of the HEPA 13 ilter under a hot slow-running tap (Fig. 51).
Be careful with hot water. Always check if the water is not too hot, to prevent your hands from
getting burnt.
-
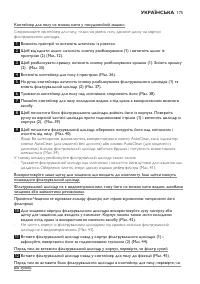
Hold the ilter in such a way that the pleated side points upwards and the water lows parallel
to the pleats. Hold the ilter at an angle so that the water washes away the dir t inside the pleats.
-
Turn the ilter 180° and let the water low along the pleats in the opposite direction (Fig. 52).
-
Continue this process until the ilter is clean.
Never clean the washable ilter with a brush (Fig. 53).
Note: Cleaning does not restore the original colour of the ilter, but does restore its iltration power.
5
Carefully shake the water from the surface of the ilter.
6
Let the HEPA ilter dry completely.
7
Place the dry HEPA ilter back into the appliance (Fig. 54).
8
Reattach the top of the ilter cover (1) and then close the cover (2) (‘click’) (Fig. 55).
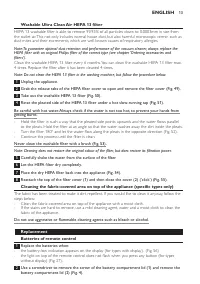
Cleaning the fabric-covered area on top of the appliance (speciic types only)
The fabric has been treated to make it dir t repellent. If you would like to clean it anyway, follow the
steps below:
-
Clean the fabric-covered area on top of the appliance with a moist cloth.
-
If the stains are hard to remove, use a mild cleaning agent, water and a moist cloth to clean the
fabric of the appliance.
Do not use aggressive or lammable cleaning agents such as bleach or alcohol.
Replacement
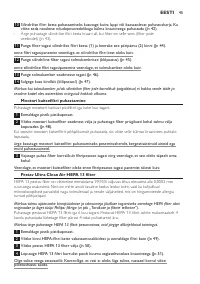
Batteries of remote control
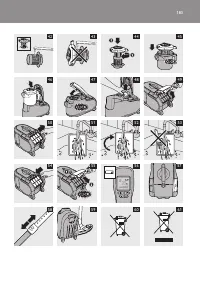
1
Replace the batteries when:
-
the batter y-low indication appears on the display (for types with display). (Fig. 56)
-
the light on top of the remote control does not lash when you press any button (for types
without display) (Fig. 27).
2
Use a screwdriver to remove the screw of the battery compartment lid (1) and remove the
battery compartment lid (2) (Fig. 4).
English
13
Содержание
- 128 использовании пылесоса без трубки или насадки.
- 129 Пылесос начнет работать с максимальной мощностью всасывания.; регулировка мощности всасывания
- 130 при последующем включении прибора.
- 131 Пылесборник нельзя мыть в посудомоечной машине.
- 132 Очистка фильтра защиты электродвигателя; Фильтр защиты электродвигателя следует очищать раз в два месяца.; Моющийся фильтр ultra Clean air HePa 13; 3 можно не более 4 раз. Замените фильтр после 4 очисток.
- 133 замена; Заменяйте батарейки в следующих случаях:
- 134 Хранение; ребро насадки в ячейку для закрепления трубки.; заказ принадлежностей и фильтров; стране или ознакомьтесь с гарантийным талоном.; защита окружающей среды; или обратитесь в Центр поддержки потребителей Philips в вашей
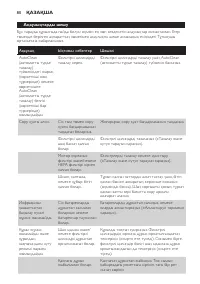
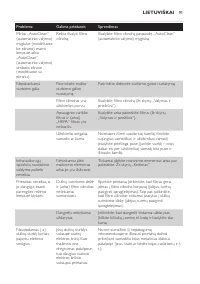
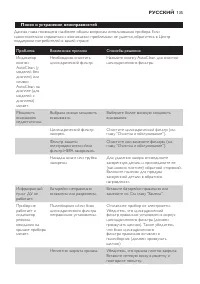
- 135 Поиск и устранение неисправностей; Проблема
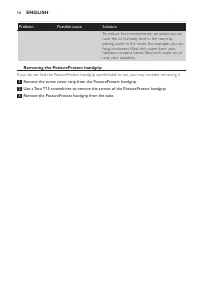
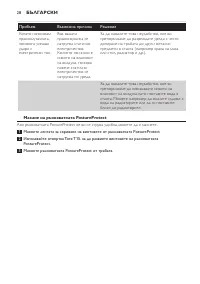
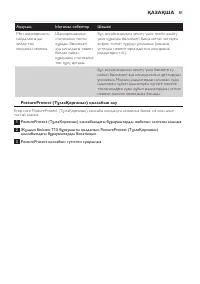
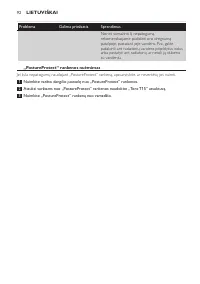
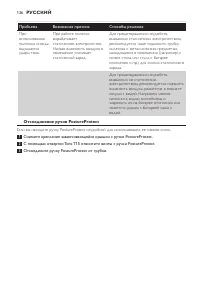
- 136 Отсоединение ручки PostureProtect; Отсоедините ручку PostureProtect от трубки.


