Пылесос Bosch BCH 65POWER - инструкция пользователя по применению, эксплуатации и установке на русском языке. Мы надеемся, она поможет вам решить возникшие у вас вопросы при эксплуатации техники.
Если остались вопросы, задайте их в комментариях после инструкции.
"Загружаем инструкцию", означает, что нужно подождать пока файл загрузится и можно будет его читать онлайн. Некоторые инструкции очень большие и время их появления зависит от вашей скорости интернета.


38
Congratulations on your purchase of the Bosch
BBH5 /
BBH6 / BCH6
vacuum cleaner.
This instruction manual describes various
BBH5 / BBH6
/ BCH6
models, which means that some of the equip-
ment features and functions described may not apply
to your model. You should only use original Bosch ac-
cessories, which have been specially developed for
your vacuum cleaner, in order to achieve the best pos-
sible vacuuming results.
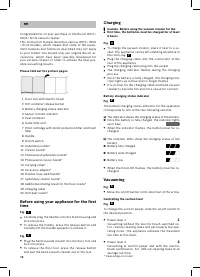
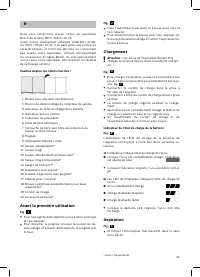
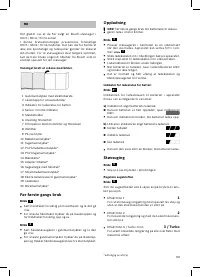
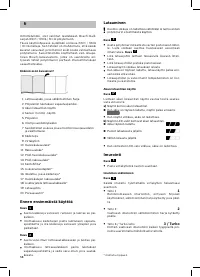
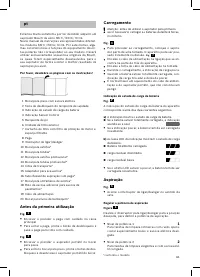
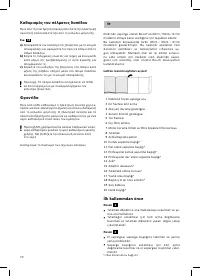
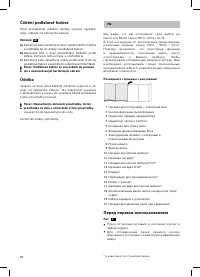
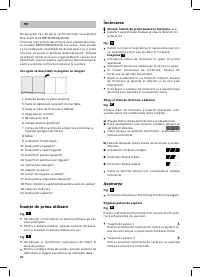
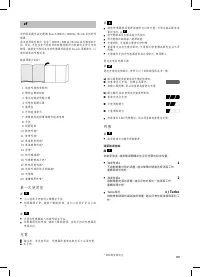
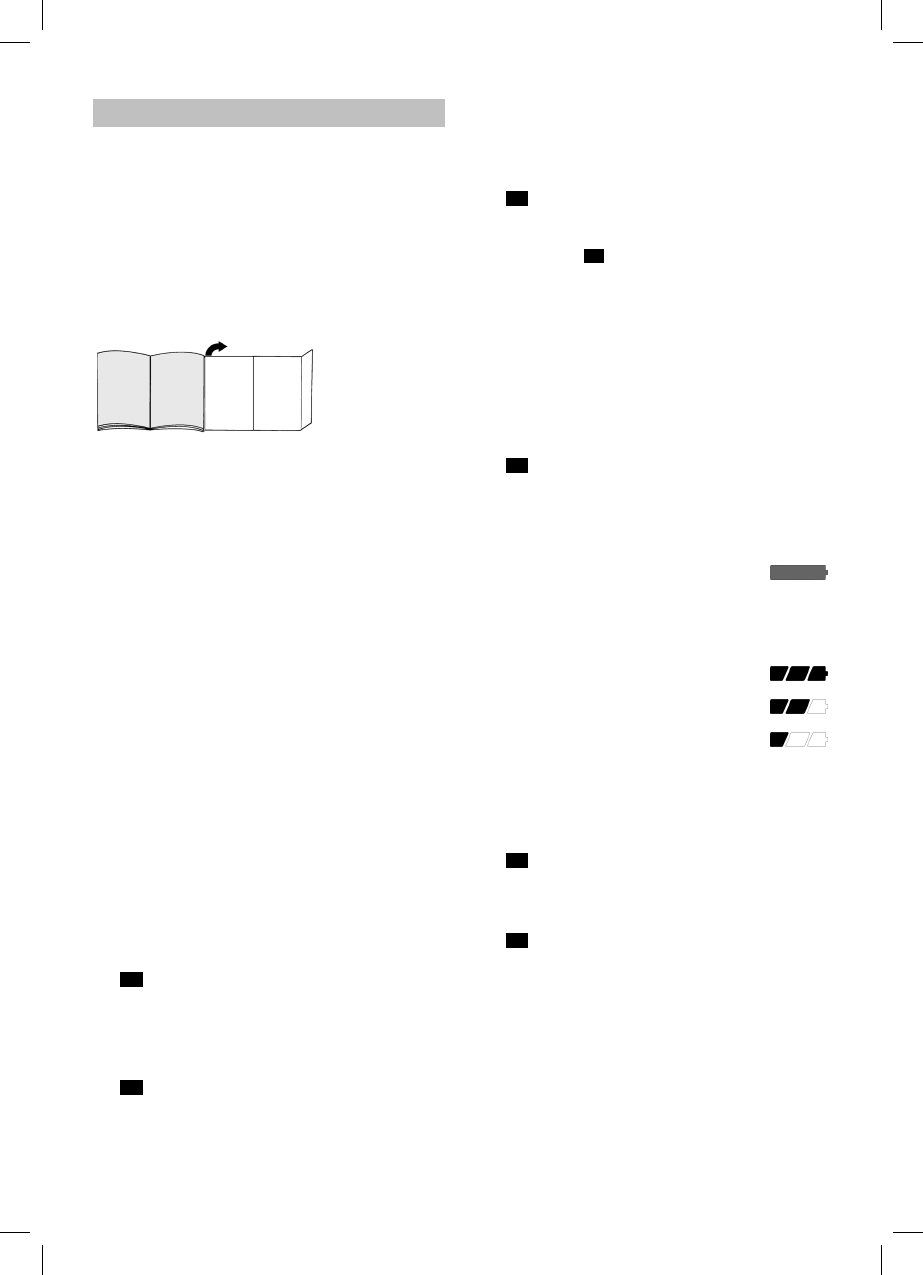
Please fold out the picture pages.
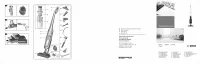
1 Floor tool with electric brush
2 Dirt container release button
3 Battery charging status indicator
4 Sensor Control indicator
5 Dust container
6 Outer ilter unit
7 Filter cartridge with motor protection ilter and foam
ilter
8 Handle
9 On/off switch
10 Upholstery nozzle*
11 Crevice nozzle*
12 Professional upholstery nozzle*
13 Professional crevice nozzle*
14 Carrying strap*
15 Accessory adapter*
16 Flexible hose with handle*
17 Upholstery crevice nozzle*
18 Additional rotating brush for the loor nozzle*
19 Charging cable
20 Drill dust nozzle*
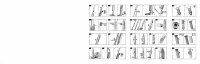
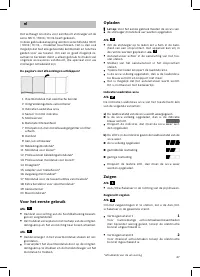
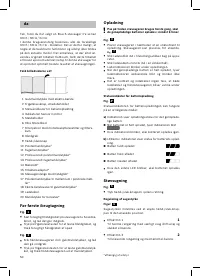
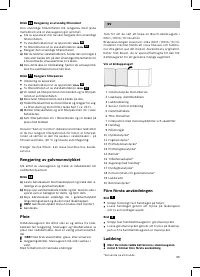
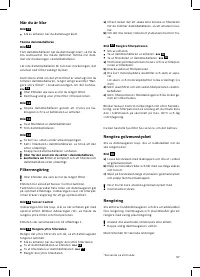
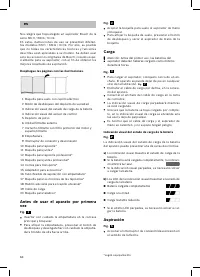
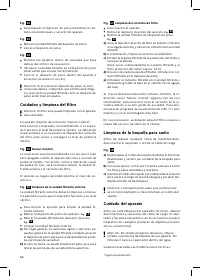
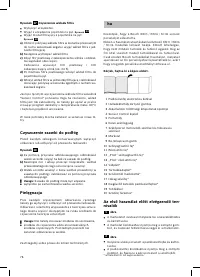
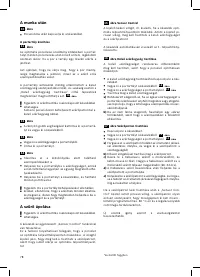
Before using your appliance for the irst
time
Fig.
1
•
Carefully plug the handle onto the main housing and
lock into place.
•
To release the handle, press the release button and
carefully lift the handle upwards to remove it.
Fig.
2
•
Plug the hand vacuum cleaner into the loor tool and
lock into place.
•
To release the loor tool, press the release button
and pull the hand vacuum cleaner out of the tool.
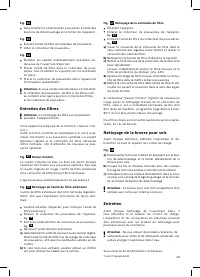
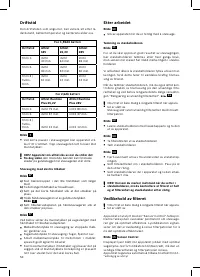
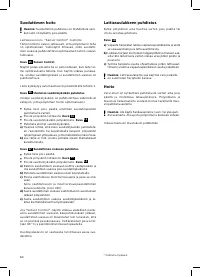
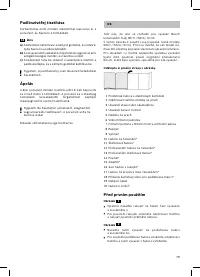
Charging
!
Caution: Before using the vacuum cleaner for the
irst time, the batteries must be charged for at least
6 hours
.
Fig.
3
•
To charge the vacuum cleaner, place it near to a so-
cket. The appliance can be left standing anywhere in
the room.
Fig.
7
•
Plug the charging cable into the connection at the
rear of the appliance.
•
Plug the charging cable plug into the socket.
•
The charging indicator lashes during the charging
process.
•
Once the batter y is fully charged, the charging indi-
cator lights up in blue and no longer lashes.
•
It is normal for the charging cable and hand vacuum
cleaner to become hot and not a cause for concern.
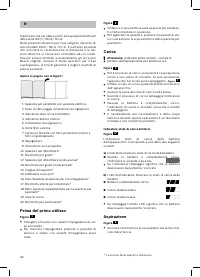
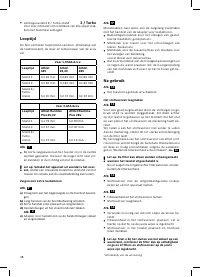
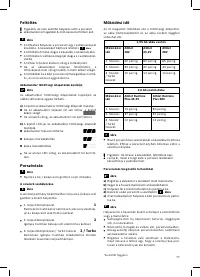
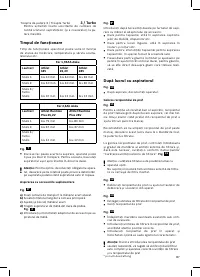
Battery charging status indicator
Fig.
4*
The batter y charging status indicator for the appliance
corresponds to one of the two following variants:
a)
The indicator shows the charging status of the battery.
Once the battery is fully charged, the indicator lights
up in blue.
•
When the indicator lashes, the batter y must be re-
charged.
b)
The indicator LEDs show the charging status of the
battery.
Battery fully charged
Battery semi-charged
Battery low
•
When the inal LED lashes, the batter y must be re-
charged.
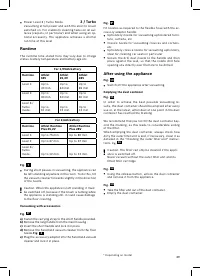
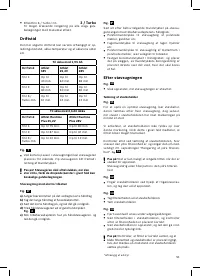
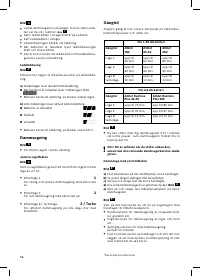
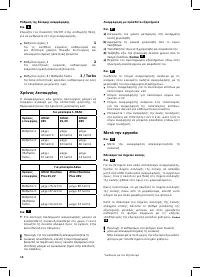
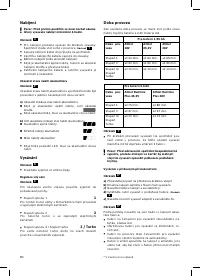
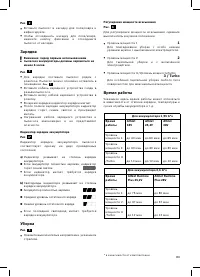
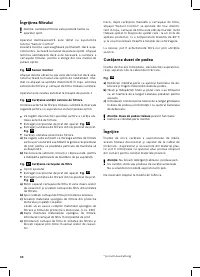
Vacuuming
Fig.
5
•
Move the on/off button in the direction of the arrow.
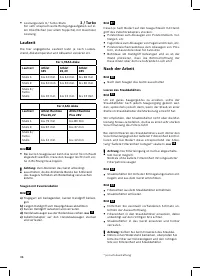
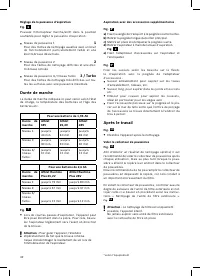
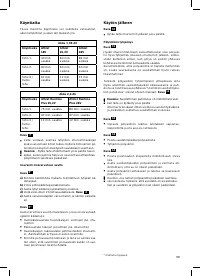
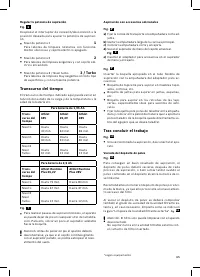
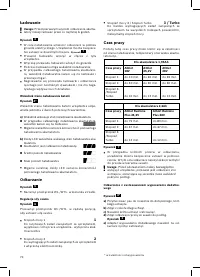
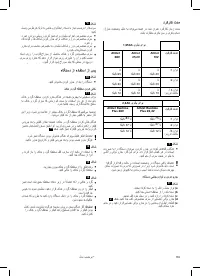
Controlling the suction level
Fig.
6
To change the suction power, slide the on/off switch to
the desired position:
•
Power level 1
1
Vacuuming without the electric brush switched on.
For routine cleaning tasks and particularly low ope-
rating noise. The appliance achieves the maximum
run time at this level.
•
Power level 2
2
Vacuuming at normal power and with the electric
brush switched on. For dificult cleaning tasks at an
average run time.
en
* Depending on model


