Плита Gorenje G51101FWC - инструкция пользователя по применению, эксплуатации и установке на русском языке. Мы надеемся, она поможет вам решить возникшие у вас вопросы при эксплуатации техники.
Если остались вопросы, задайте их в комментариях после инструкции.
"Загружаем инструкцию", означает, что нужно подождать пока файл загрузится и можно будет его читать онлайн. Некоторые инструкции очень большие и время их появления зависит от вашей скорости интернета.

11
CONNECTION TO GAS SUPPLY
G AS S U P P L Y
The appliance may be connected to gas supply by only by the authorized personnel.
Connection must comply with the local standards and requirements. The gas supply
pipe must be fitted with the accessible gas shut-off cock, located before the coupling
with the cooker.
,
.
W AR N I N G :
In handling the gas line (e.g. connection to the gas distribution system or flexible gas
hose) always use a wrench to hold the gas line terminal, in order to avoid
deformations.
!
,
.
C O N N E C TI O N TO TH E N AT U R AL G AS N E TW O R K
Connection must be made in accordance with standing local regulations. In case of
excessive gas pressure use pressure regulator.
,
.
C O N N E C TI O N TO TH E L P G N E TW O R K
Special LPG coupling must be installed at the 1/2" pipe connection.
-
1/2”.
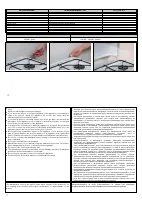
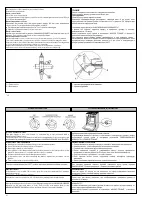
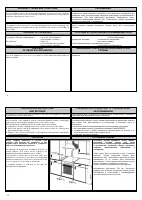
F L E X I B L E H O S E C O N N E C TI O N
For safety reasons use only the certified hose
complying with local standards and with recommended
length of 1000 - 1500mm.
Heat resistance of the
МШЧЧОМЭТШЧ СШЬО ЬСШЮХН ЛО КЭ ХОКЬЭ 100° C.
Each hose must contain instructions regarding the
method of connection, allowed heating, inspections,
service life, etc. These instructions must be
unconditionally adhered to.
1 - Connection ending
2 - Knee
3 - Connection hose (connection from the right)
4 - Connection hose (connection from the left)
5 - Fixing clamp
6 - Back cover of the cooker
3
2
1
5
6
4
,
.
К 1000
- 1500
.
100°
.
,
.
,
-
1 -
2
–
3 -
(
)
4 -
(
)
5 -
6 -
I M P O R T AN T P R E C AU TI O N :
In case of left side connection (seen from the front) the hose must be connected by
means of a clamp fixed in the back cover opening. You will find the fixing clamp in the
accessory kit.
!
,
.
8
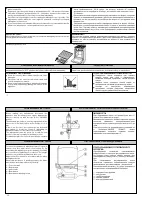
H O B G R I D
Remove the cooking grid from the hob and wash it separately or place it into the
dishwasher. After washing replace it to fit the appropriate groves in the hob.
Remove burner parts (cover, distributor) from the hob and soak them in warm
water with added detergent for 10 minutes.
After washing dry the burner parts carefully and check whether all burner notches
are clean, then return them back to their position.
-
.
10
.
,
,
.
N O TI C E :
Since the burner distributor caps are made of aluminum alloy, we discourage you
from cleaning them in a washing machine.
,
,
.
O V E N
Clean the oven walls with a damp sponge and detergent.
To clean stubborn stains burned into the oven wall use a special detergent for
enamel.
After cleaning carefully wipe the oven dry.
Clean the oven only when it is completely cold.
Never use abrasive agents, because they will scratch enameled surface.
Wash the oven utensils with a sponge and detergent or put them in the dishwasher
(grid, pan, etc.). You can also use special detergents to remove rough stains or
burns.
,
.
,
.
-
,
, ,
,
.
.
,
.
(
,
. .)
-
.
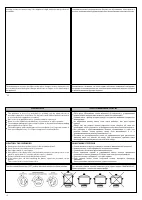
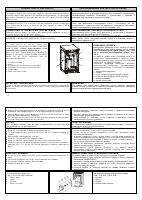
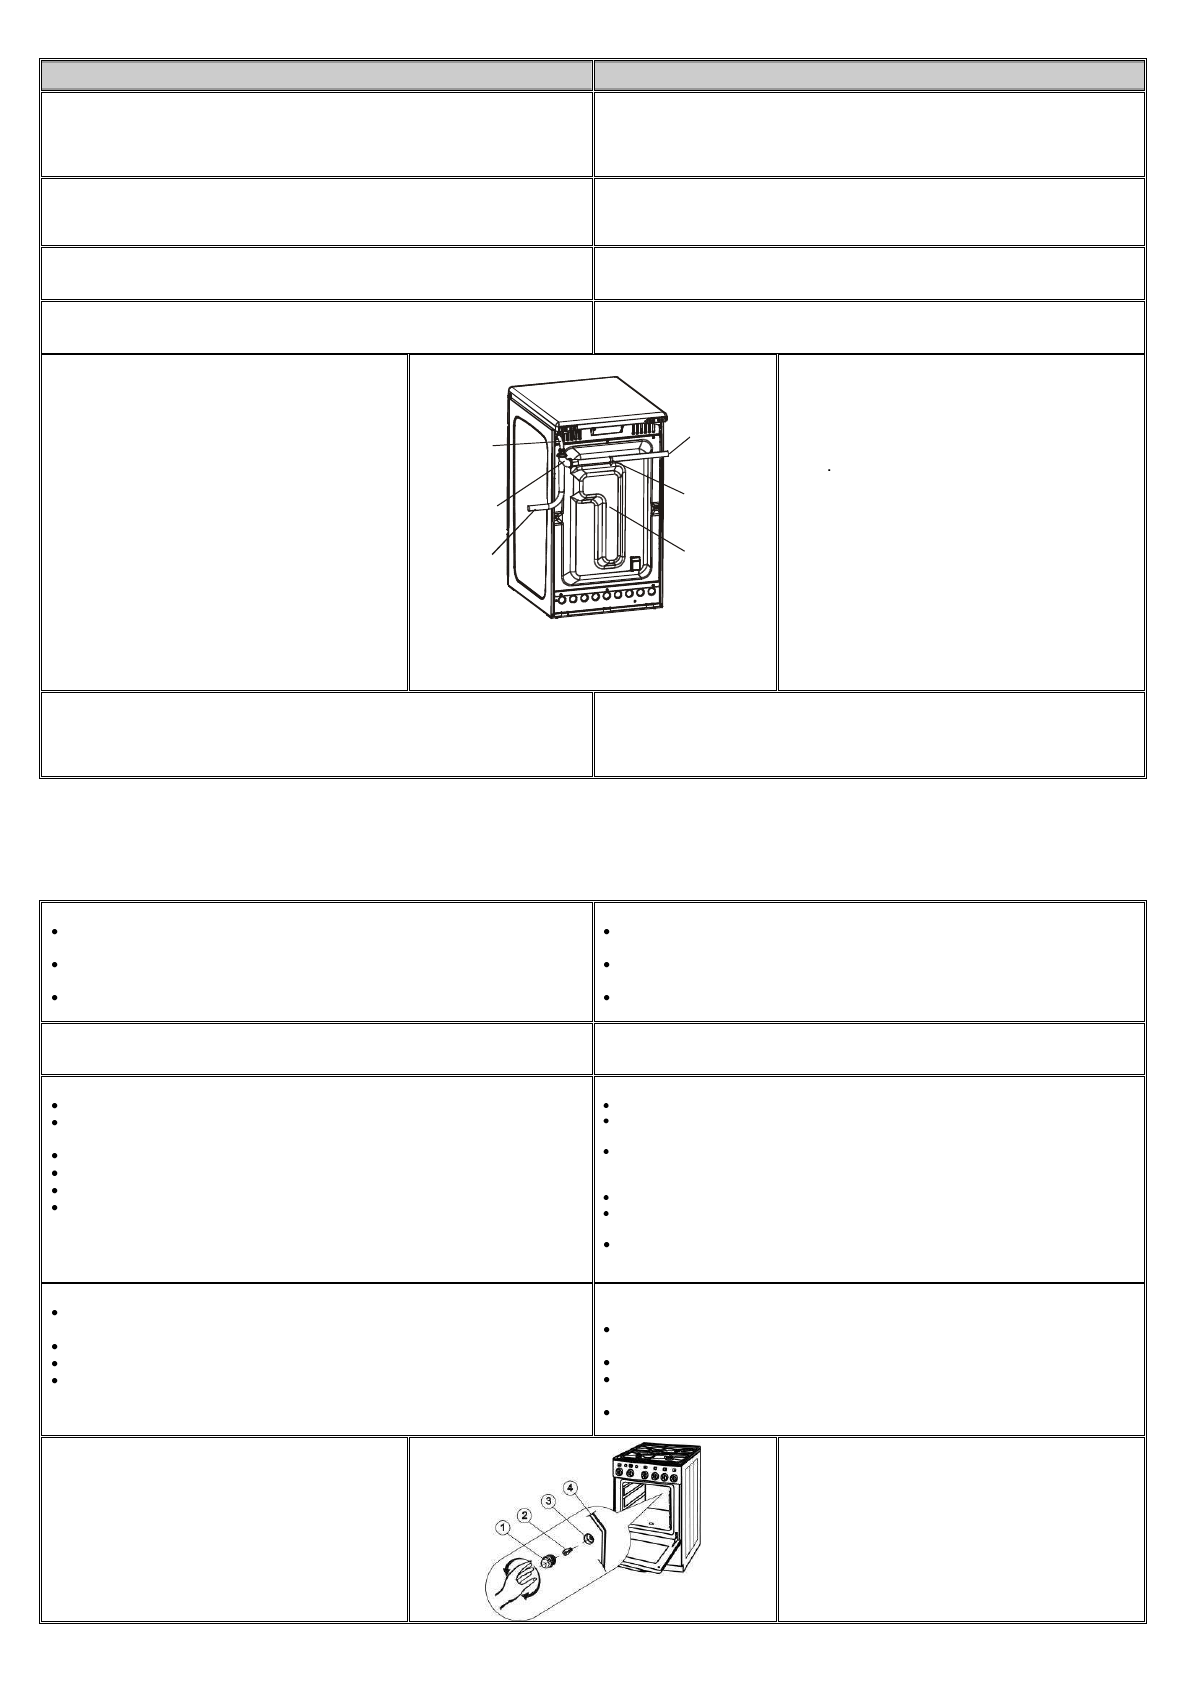
B U L B R E P L AC E M E N T
Set all the control knobs to the OFF position and disconnect the range from the
mains.
Unscrew the bulb glass cover in the oven by turning it anti-clockwise.
Unscrew the bulb and replace it with a new bulb.
Replace the bulb glass cover.
:
,
“
”,
,
,
,
,
,
,
.
N O TE :
For oven illumination always use
T 300° C, E14, 230
-240V, 25W bulb.
1 .
G l a s s c o v e r
2 .
L a m p
3 .
S l e e v e
4 .
O v e n r e a r w a l l
:
T 300°, E14, 230
-
240 B, 25 B .
1.
2.
3.
4.


