Перфораторы Bosch GBH 36 VF LI Plus - инструкция пользователя по применению, эксплуатации и установке на русском языке. Мы надеемся, она поможет вам решить возникшие у вас вопросы при эксплуатации техники.
Если остались вопросы, задайте их в комментариях после инструкции.
"Загружаем инструкцию", означает, что нужно подождать пока файл загрузится и можно будет его читать онлайн. Некоторые инструкции очень большие и время их появления зависит от вашей скорости интернета.


18
| English
1 609 92A 0JA | (22.6.15)
Bosch Power Tools
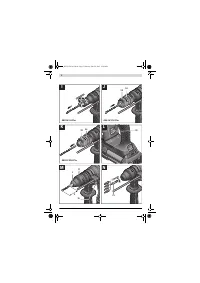
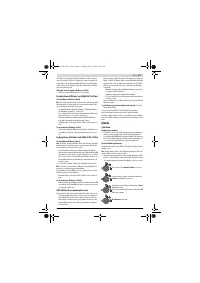
Assembly
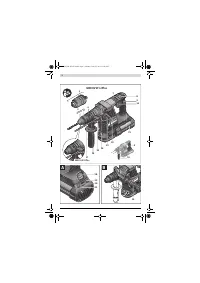
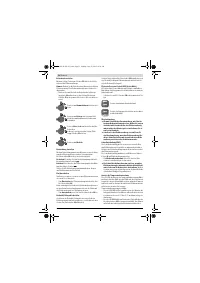
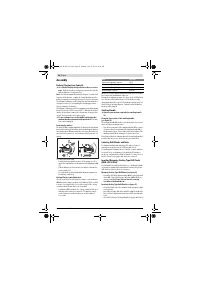
Battery Charging (see figure A)
Use only the battery chargers listed on the accessories
page.
Only these battery chargers are matched to the lith-
ium-ion battery of your power tool.
Note:
The battery supplied is partially charged. To ensure full
capacity of the battery, completely charge the battery in the
battery charger before using your power tool for the first time.
The lithium-ion battery can be charged at any time without re-
ducing its service life. Interrupting the charging procedure
does not damage the battery.
The lithium-ion battery is protected against deep discharging
by the “Electronic Cell Protection (ECP)”. When the battery is
empty, the machine is switched off by means of a protective
circuit: The inserted tool no longer rotates.
Do not continue to press the On/Off switch after the
machine has been automatically switched off.
The bat-
tery can be damaged.
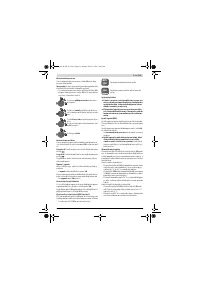
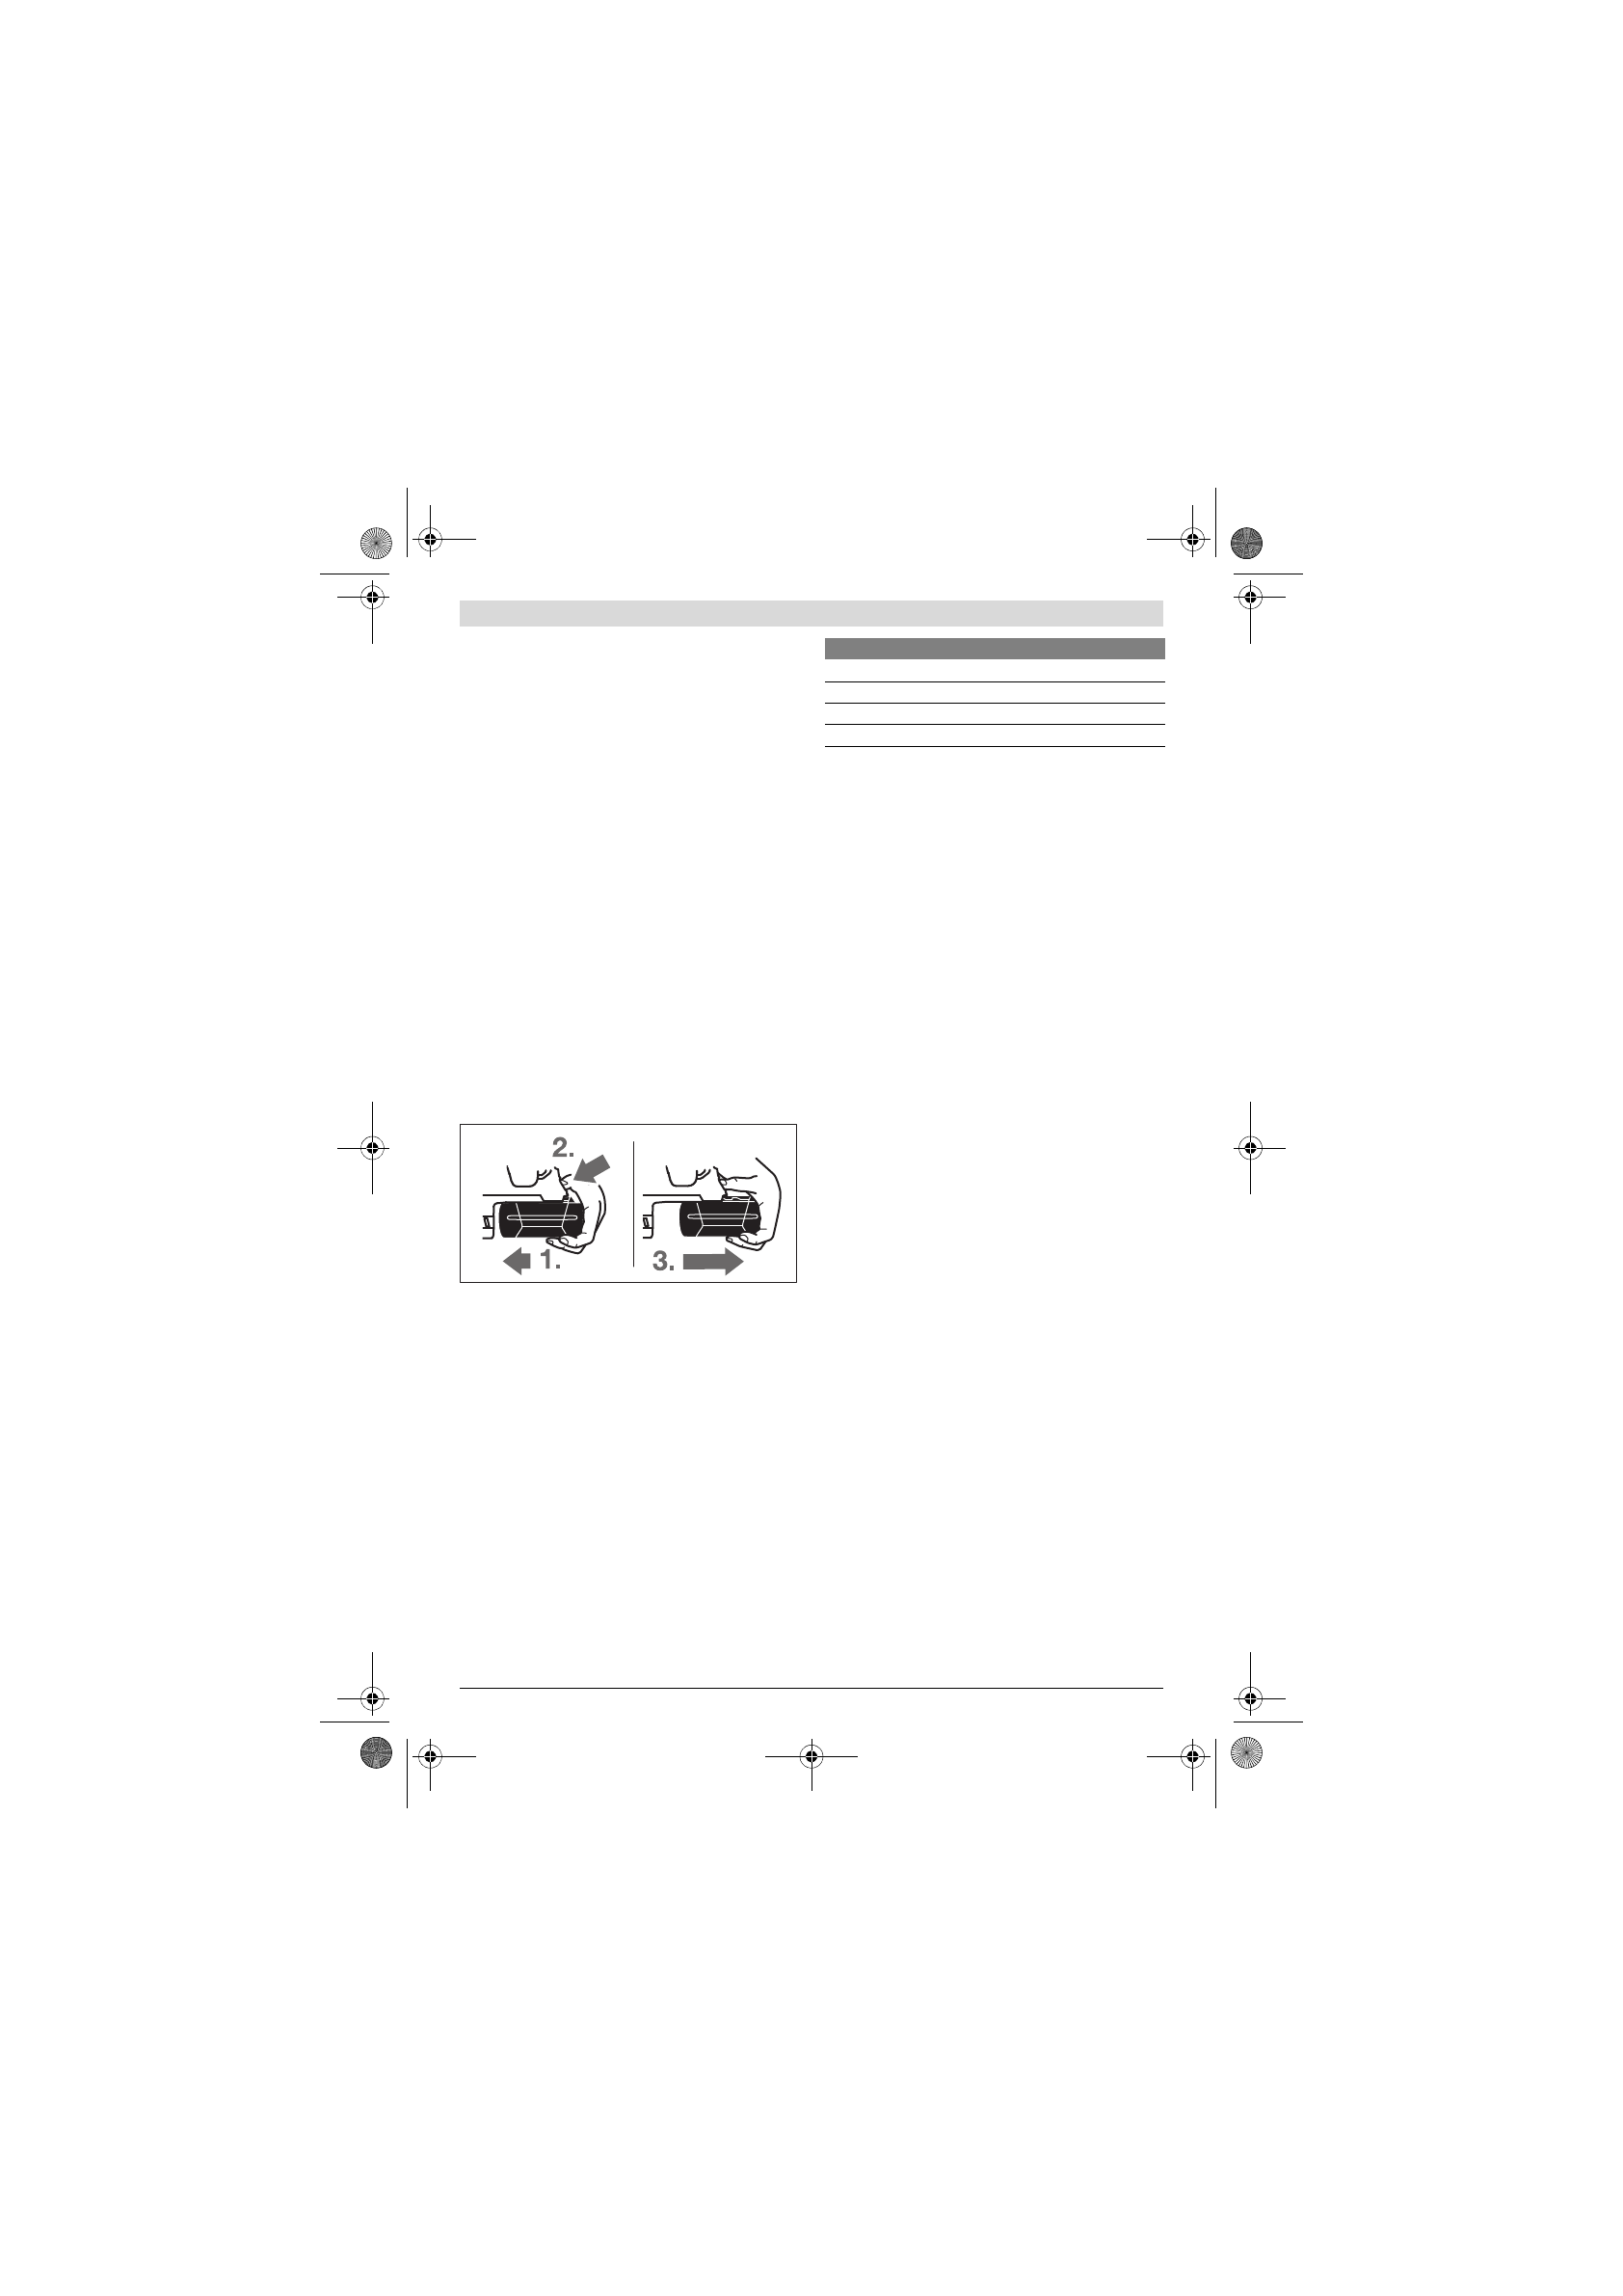
Removing the battery
The battery
11
is equipped with two locking levels that should
prevent the battery from falling out when pushing the battery
unlocking button
18
unintentionally. As long as the battery is
inserted in the power tool, it is held in position by means of a
spring.
To remove the battery
11
:
– Push the battery against the base of the power tool (1.)
and at the same time press the battery unlocking button
18
(2.).
– Pull the battery out of the power tool until a red stripe be-
comes visible (3.).
– Press the battery unlocking button
18
again and pull out
the battery completely.
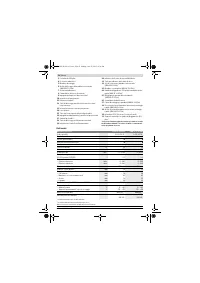
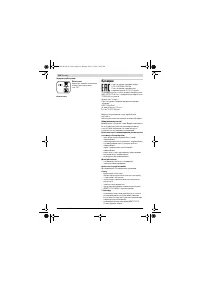
Battery Charge-control Indication
The three green LEDs of the battery charge-control indicator
20
indicate the charge condition of the battery
11
. For safety
reasons, it is only possible to check the status of the charge
condition when the machine is at a standstill.
– Push button
21
to indicate the charge condition (also pos-
sible when the battery is removed). The battery charge-
control indicator automatically goes out after approx.
5 seconds.
When no LED lights up after pushing button
21
, then the bat-
tery is defective and must be replaced.
During the charging procedure, the three green LEDs light up
one after the other and briefly go out. The battery is fully
charged when the three green LEDs light up continuously. The
three LEDs go out again approx. 5 minutes after the battery
has been fully charged.
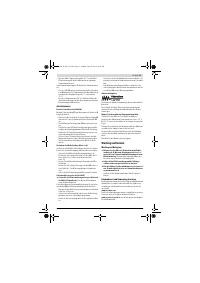
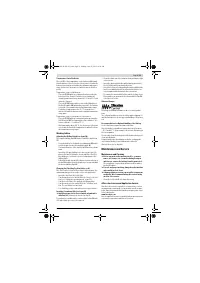
Auxiliary Handle
Operate your machine only with the auxiliary handle
16.
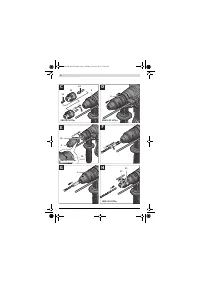
Changing the position of the auxiliary handle
(see figure B)
The auxiliary handle
16
can be set to any position for a secure
and low-fatigue working posture.
– Turn the bottom part of the auxiliary handle
16
in counter-
clockwise direction and swivel the auxiliary handle
16
to
the desired position. Then retighten the bottom part of the
auxiliary handle
16
by turning in clockwise direction.
Pay attention that the clamping band of the auxiliary handle is
positioned in the groove on the housing as intended for.
Selecting Drill Chucks and Tools
For hammer drilling and chiselling, SDS-plus tools are re-
quired that are inserted in the SDS-plus drill chuck.
For drilling without impact in wood, metal, ceramic and plas-
tic as well as for screwdriving, tools without SDS-plus are
used (e. g., drill bits with cylindrical shank). For these tools, a
keyless chuck or a key type drill chuck are required.
Inserting/Removing the Key Type Drill Chuck
(GBH 36 V-LI Plus)
To work with tools without SDS-plus (e. g., drills with cylindri-
cal shank), a suitable drill chuck must be mounted (key type
drill chuck or keyless chuck, accessories).
Mounting the Key Type Drill Chuck (see figure C)
– Screw the SDS-plus adapter shank
24
into a key type drill
chuck
23
. Secure the key type drill chuck
23
with the se-
curing screw
22
.
Please observe that the securing
screw has a left-hand thread.
Inserting the Key Type Drill Chuck (see figure C)
– Clean the shank end of the adapter shank and apply a light
coat of grease.
– Insert the key type drill chuck with the adapter shank into
the tool holder with a turning motion until it automatically
locks.
– Check the locking effect by pulling the key type drill chuck.
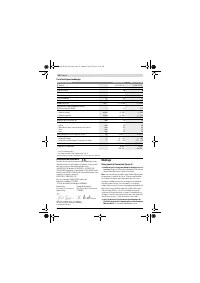
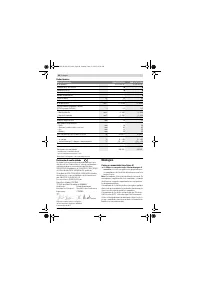
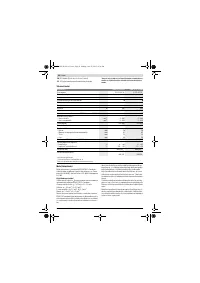
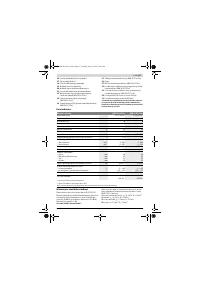
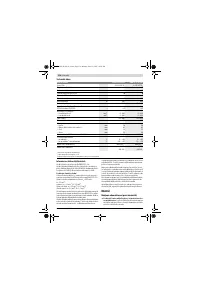
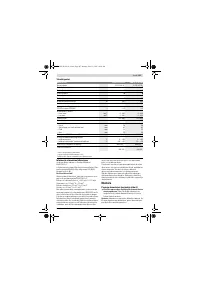
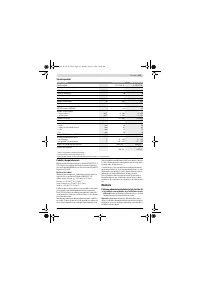
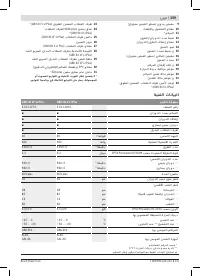
LED
Capacity
Continuous lighting 3 x green
≥
2/3
Continuous lighting 2 x green
≥
1/3
Continuous lighting 1 x green
< 1/3
Flashing light 1 x green
Reserve
OBJ_BUCH-283-012.book Page 18 Monday, June 22, 2015 10:28 AM
Содержание
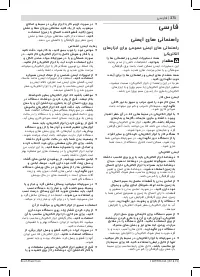
- 150 или подвижных частей электроинструмента.
- 151 Сервис; Описание продукта и услуг; Применение по назначению
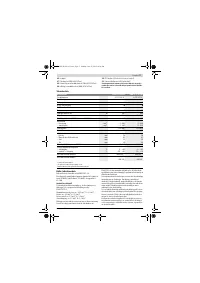
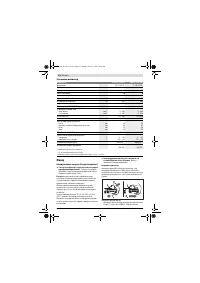
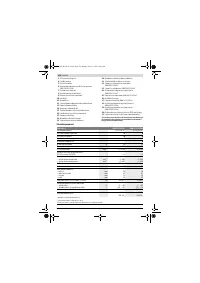
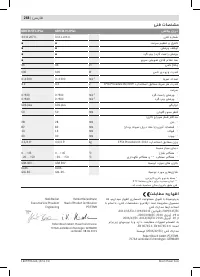
- 152 Технические данные; Перфоратор
- 153 Заявление о соответствии; Сборка; Извлечение аккумулятора
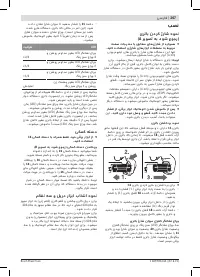
- 154 Дополнительная рукоятка; ный винт имеет левую резьбу.; Замена рабочего инструмента; СИД
- 155 Избегайте скопления пыли на рабочем месте.
- 156 Работа с инструментом; Включение электроинструмента
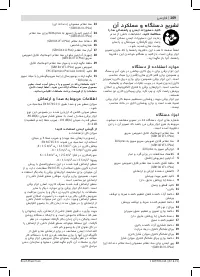
- 157 Индикатор контроля температуры; Указания по применению; Демпфер вибрации; Техобслуживание и сервис; Техобслуживание и очистка
- 158 Россия; Беларусь; Транспортировка


