Перфораторы Bosch GBH 2 26 DBR - инструкция пользователя по применению, эксплуатации и установке на русском языке. Мы надеемся, она поможет вам решить возникшие у вас вопросы при эксплуатации техники.
Если остались вопросы, задайте их в комментариях после инструкции.
"Загружаем инструкцию", означает, что нужно подождать пока файл загрузится и можно будет его читать онлайн. Некоторые инструкции очень большие и время их появления зависит от вашей скорости интернета.


English |
17
1 619 929 787 • 4.5.07
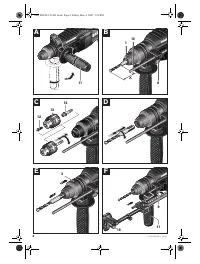
Dust Extraction with the Dust
Extraction Attachment (Accessory)
Mounting the Dust Extraction Attachment
(see figure F)
For dust extraction, the dust extraction attachment
(accessory) is required. When drilling, the dust extrac-
tion attachment retracts so that the attachment head
is always close to the surface at the drill hole.
Press the button for depth stop adjustment
9
and
remove the depth stop
10
. Press button
9
again and
insert the dust extraction attachment into the auxiliary
handle
11
from the front.
Connect an extraction hose (diameter 19 mm, acces-
sory) to the extraction sleeve
15
of the dust extraction
attachment.
The vacuum cleaner must be suitable for the material
being worked.
When vacuuming dry dust that is especially detrimen-
tal to health or carcinogenic, use a special vacuum
cleaner.
Adjusting the Drilling Depth on the Dust Extrac-
tion Attachment (see figure H)
The required drilling depth
X
can also be adjusted
when the dust extraction attachment is mounted.
Insert the SDS-plus drilling tool to the stop into the
SDS-plus tool holder
1
. Otherwise, the movability of
the SDS-plus drilling tool can lead to incorrect adjust-
ment of the drilling depth.
Loosen the wing bolt
19
on the dust extraction attach-
ment.
Without switching the power tool on, apply it firmly to
the drilling location. The SDS-plus drilling tool must
face against the surface.
Position the the guide pipe
20
of the dust extraction
attachment in its holding fixture in such a manner that
the head of the dust extraction attachment faces
against the surface to be drilled. Do not slide the
guide pipe
20
further over the telescopic pipe
18
of
the dust extraction attachment than required, so that
as much as possible of the scale
18
on the telescopic
pipe remains visible.
Retighten the wing bolt
19
again. Loosen the clamp-
ing screw
16
on the depth stop of the dust extraction
attachment.
Move the depth stop
17
on the telescopic pipe
18
in
such a manner that the clearance
X
shown in the fig-
ure corresponds with the required drilling depth.
Tighten the clamping screw
16
in this position.
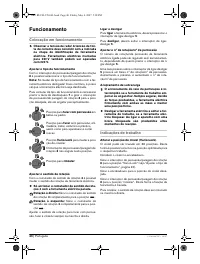
Operation
Starting Operation
¢
Observe correct mains voltage! The voltage
of the power source must agree with the
voltage specified on the nameplate of the
machine. Power tools marked with 230 V can
also be operated with 220 V.
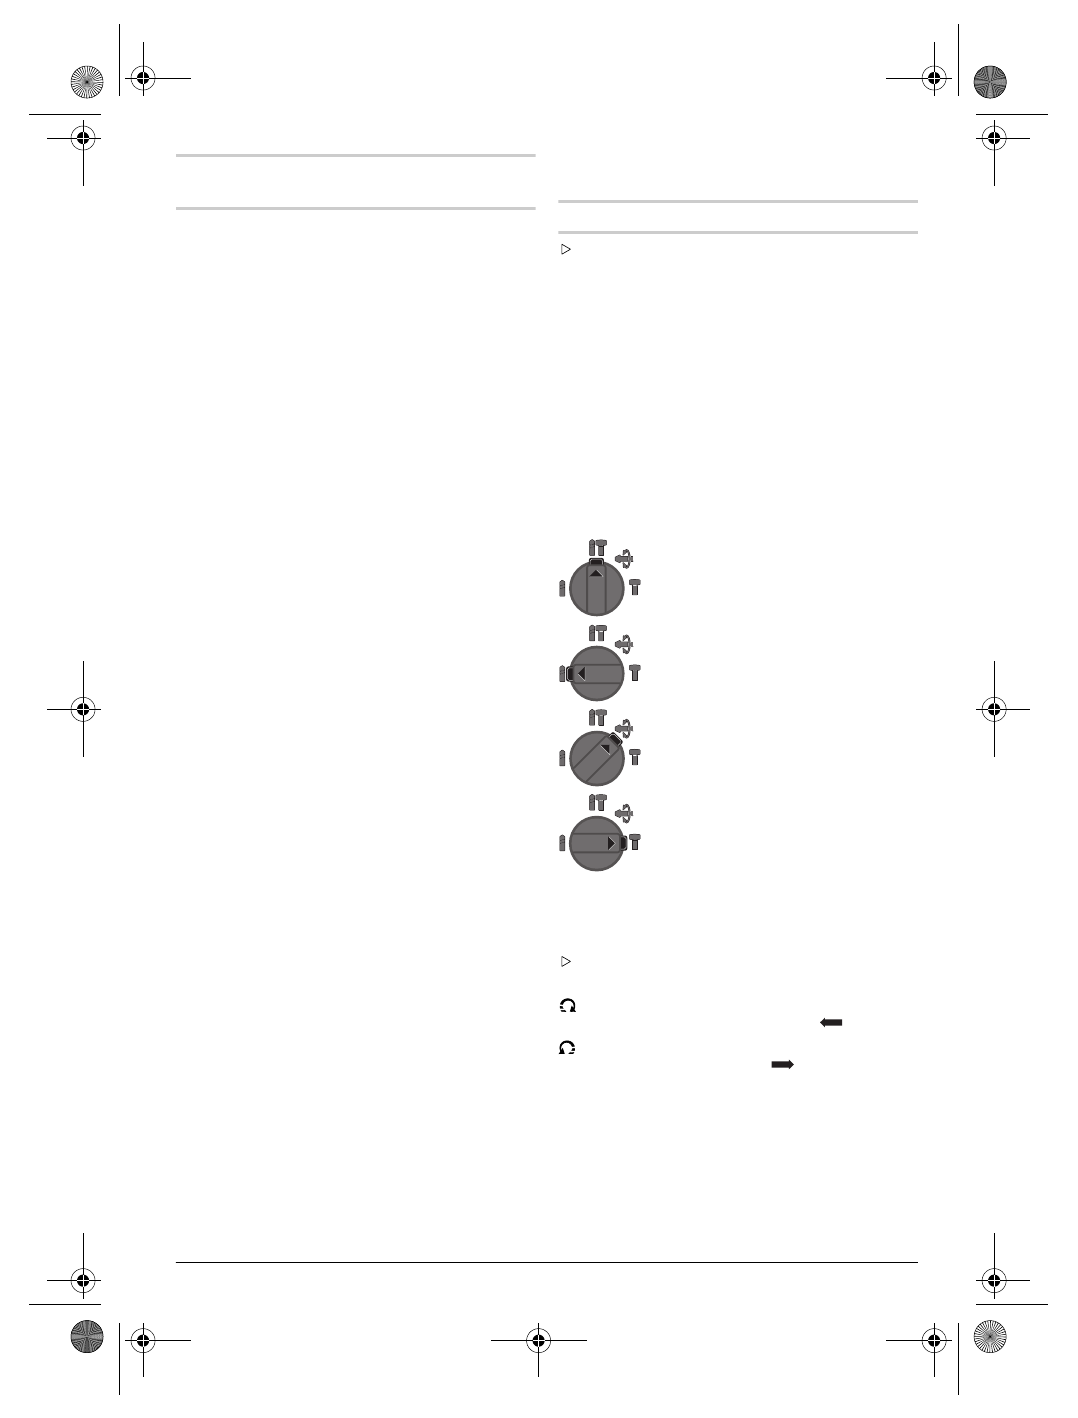
Setting the Operating Mode
The operating mode of the power tool is selected with
the mode selector switch
8
.
Note:
Change the operating mode only when the
machine is switched off! Otherwise, the machine can
be damaged.
To change the operating mode, push the release but-
ton
7
and turn the mode selector switch
8
to the
requested position until it can be heard to latch.
Reversing the Rotational Direction
The rotational direction switch
4
is used to reverse the
rotational direction of the machine.
¢
Actuate the rotational direction switch 4 only
when the machine is at a standstill.
Right rotation:
Turn the rotational direction
switch
4
to the stop in the position
.
Left rotation:
Turn the rotational direction switch
4
to the stop in the position
.
Set the direction of rotation for hammer drilling, drilling
and chiselling always to right rotation.
Switching On and Off
To
start
the machine, press the On/Off switch
5
.
To
switch off
the machine, release the On/Off
switch
5
.
Position for
hammer drilling
in con-
crete or stone
Position for
drilling
without impact in
wood, metal, ceramic and plastic as well
as for screwdriving and thread cutting.
Vario-Lock
position for adjustment of
the chiselling position
The mode selector switch
8
does not
latch in this position.
Position for
chiselling
OBJ_BUCH-370-001.book Page 17 Friday, May 4, 2007 5:30 PM


