
Мультиметры TOPEX 94W102 - инструкция пользователя по применению, эксплуатации и установке на русском языке. Мы надеемся, она поможет вам решить возникшие у вас вопросы при эксплуатации техники.
Если остались вопросы, задайте их в комментариях после инструкции.
"Загружаем инструкцию", означает, что нужно подождать пока файл загрузится и можно будет его читать онлайн. Некоторые инструкции очень большие и время их появления зависит от вашей скорости интернета.


15
TOPEX.PL
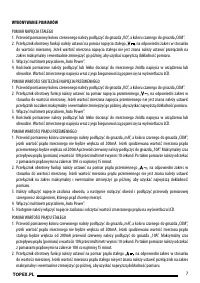
Set the dial function selector to AC voltage „
2.
„ and correct range corresponding to measured value. If you do
not know range of AC voltage set the selector switch to maximum range and then reduce it gradually for the best
measurement accuracy.
Switch the multimeter with “Auto Power” button.
3.
Connect or press test probes to measurement spots in the device or circuit. Measured voltage value and its polarity
4.
will be shown on the LCD display.
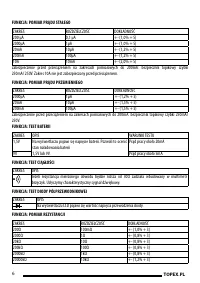
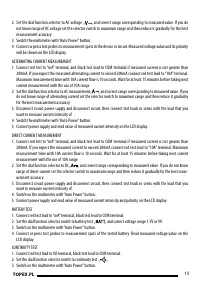
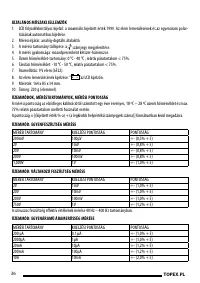
ALTERNATING CURRENT MEASUREMENT
Connect red test to “mA” terminal, and black test lead to COM terminal if measured current is not greater than
1.
200mA. If you expect the measured alternating current to exceed 200mA connect red test lead to “10A” terminal.
Maximum measurement time with 10A current low is 10 seconds. Wait for at least 15 minutes before taking next
current measurement with the use of 10A range.
Set the dial function selector to AC measurement „
2.
„ and correct range corresponding to measured value. If you
do not know range of alternating current set the selector switch to maximum range and then reduce it gradually
for the best measurement accuracy.
Disconnect circuit power supply and disconnect circuit, then connect test leads in series with the load that you
3.
want to measure current intensity of.
Switch the multimeter with “Auto Power” button.
4.
Connect power supply and read value of measured current intensity on the LCD display.
5.
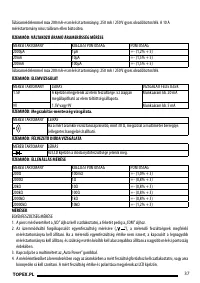
DIRECT CURRENT MEASUREMENT
Connect red test to “mA” terminal, and black test lead to COM terminal if measured current is not greater than
1.
200mA. If you expect the measured current to exceed 200mA connect red test lead to “10A” terminal. Maximum
measurement time with 10A current low is 10 seconds. Wait for at least 15 minutes before taking next current
measurement with the use of 10A range.
Set the dial function selector to DC „
2.
„ and correct range corresponding to measured value. If you do not know
range of direct current set the selector switch to maximum range and then reduce it gradually for the best meas-
urement accuracy.
Disconnect circuit power supply and disconnect circuit, then connect test leads in series with the load that you
3.
want to measure current intensity of.
Switch on the multimeter with “Auto Power” button.
4.
Connect power supply and read value of measured current intensity and polarity on the LCD display.
5.
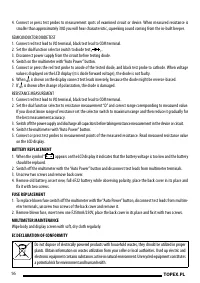
BATTERY TEST
Connect red test lead to “mA” terminal, black test lead to COM terminal.
1.
Set the dial function selector switch to battery test „
2.
„ and correct voltage range 1.5V or 9V.
Switch on the multimeter with “Auto Power” button.
3.
Connect or press test probes to measurement spots of the tested battery. Read measured voltage value on the
4.
LCD display.
CONTINUITY TEST
Connect red test lead to VΩ terminal, black test lead to COM terminal.
1.
Set the dial function selector switch to continuity test „
2.
„.
Switch on the multimeter with “Auto Power” button.
3.
Содержание
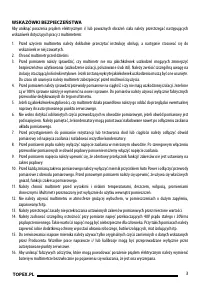
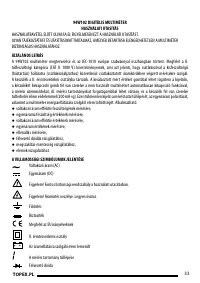
- 18 УКАЗАНИЯ ПО ТЕХНИКЕ БЕЗОПАСНОСТИ
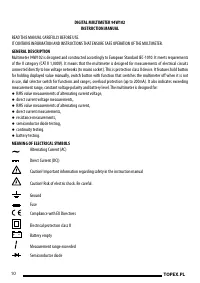
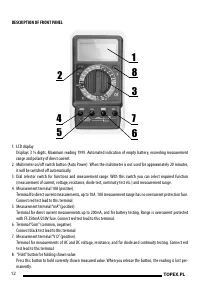
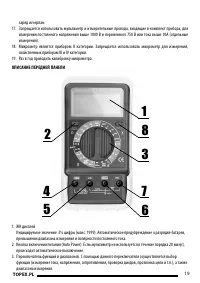
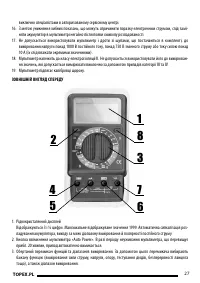
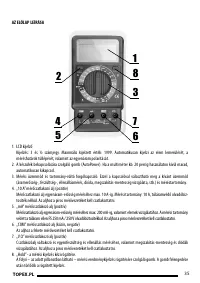
- 19 ОПИСАНИЕ ПЕРЕДНЕЙ ПАНЕЛИ; ЖК дисплей
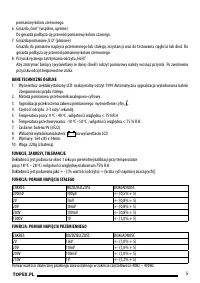
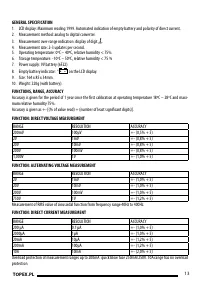
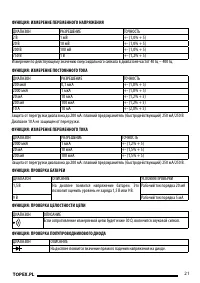
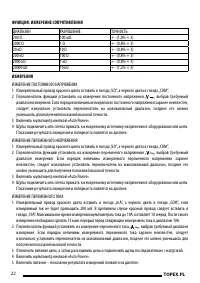
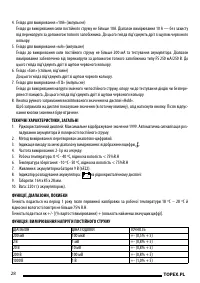
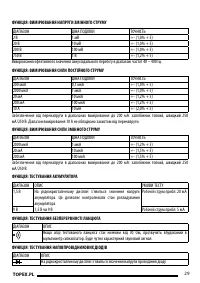
- 20 ОБЩИЕ ТЕХНИЧЕСКИЕ ДАННЫ; Индикация превышения диапазона: цифра „; ФУНКЦИЯ: ИЗМЕРЕНИЕ ПОСТОЯННОГО НАПРЯЖЕНИЯ; ДИАПАЗОН
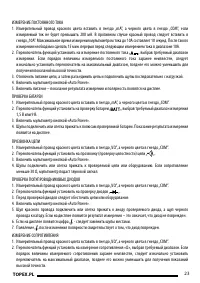
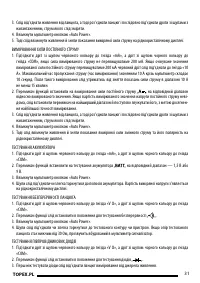
- 24 ЗАМЕНА БАТАРЕИ; Появление на дисплее значка “; ЗАМЕНА ПРЕДОХРАНИТЕЛЯ; Периодически протирать корпус и дисплей сухой мягкой тряпочкой.


