Метеостанции VITEK VT-6400 - инструкция пользователя по применению, эксплуатации и установке на русском языке. Мы надеемся, она поможет вам решить возникшие у вас вопросы при эксплуатации техники.
Если остались вопросы, задайте их в комментариях после инструкции.
"Загружаем инструкцию", означает, что нужно подождать пока файл загрузится и можно будет его читать онлайн. Некоторые инструкции очень большие и время их появления зависит от вашей скорости интернета.


ENGLISH
4
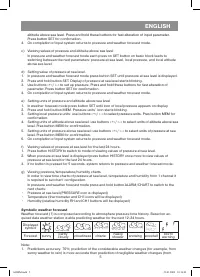
Before you begin
For undisturbed operation:
1. Install batteries first into remote sensor, and
afterwards into basic block.
2. Install remote sensor within the range
of effective data transfer, as close to
basic block as possible. Locate basic
and remote sensors at places where the
interference is minimal to provide the
best data transmission. Take into account
that data transfer range of remote sensor
(usually equal to 60 meters) depends upon
constructional material of partition walls
and their number in the room. Try several
variants of installation. In spite of the fact
that remote sensor is protected against
negative weather it is required to install
it thus to avoid exposure to direct sun
radiation, rain or snow.
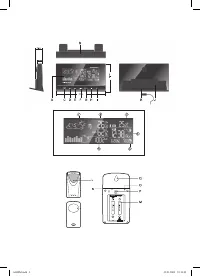
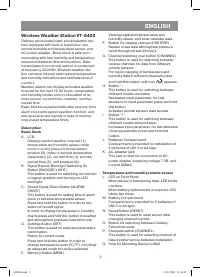
Installation of batteries into remote sensor
1. Turn off the screws on the batteries
compartment.
2. Select data transfer channel by channels
switcher CHANNEL.
. Install 2 batteries (of UM- or АА type,
1.5 V), following polarity.
4. Close battery compartment lid and turn up
the screws.
Connecting AC-power adapter to basic block/
Installation of batteries into basic block
1. Connect AC-power adapter (7,5V; 200mA)
to basic block through the jack for an
external power source located below the
batteries compartment,
or:
2. Open the lid of batteries compartment.
. Install four batteries (of UM- or АА type,
1.5 V) following polarity.
4. Close battery compartment lid and turn up
the screws.
Note:
1. In order to provide reliable performance
under any conditions self-calibration is
undertaken for 1 second, immediately after
power switching on. Therefore, do not press
sensor buttons immediately after switching
on power.
2. Basic block is intended for power supply
from external source, batteries are used as
reserve power source.
Replacing Batteries
On appearance of adequate icon (
) near
temperature and humidity indications displaying
that the batteries are down or in case of unsta-
ble operation replace remote sensor batteries.
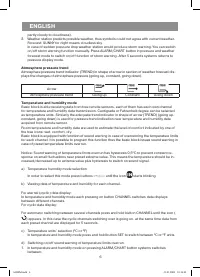
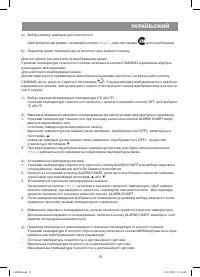
Get Started
Display of basic block is divided into several
sections, in each of them the particular informa-
tion is indicated. Use button “+” for moving be-
tween sections (moving clockwise) or button “-“
(moving anticlockwise). After you have chosen
the section by buttons “+”/”-“, the icon of se-
lected section starts blinking. You cannot select
section of sensed temperature.
Pressure and weather forecast mode
In this display section current pressure at sea
level, weather forecast and pressure trend is
displayed. In this mode you can view statisti-
cal data as pressure at sea level for the last 24
hours and time charts of pressure/temperature/
humidity.
Pressure can be indicated in mercury inches,
hecto-Pa, millibars, mercury millimeters. Al-
titude above sea level is indicated in feet or
meters.
a) Selecting Mode
In order to select this mode press buttons
«+»/ «-» on basic block until icon (
) starts
blinking.
b) Setting pressure parameters by switching
on the unit first time.
By connections of basic block to power
supply line all functions of pressure and
weather forecast display incorrect values
until pressure parameters are set up.
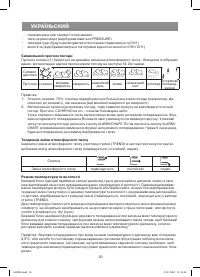
1. Selecting pressure units:
After connecting basic block to power
supply line pressure units’ icon «hPa/mBar»
starts blinking. Use buttons
«+»/«-» to select
pressure units:
inHg (mercury inches),
hPa/mBar (hecto-Pa, millibars) or mmHg
(mercury millimeters).
Press button SET for
confirmation.
2. Selecting sea level altitude units:
Use buttons
«+»/«-» to select the units of
altitude above sea level: feet or meters.
Press button SET for confirmation.
. Setting altitude above sea level:
Use buttons
«+»/«-» to set the value of
ENGLISH
6400IM.indd 4
23.01.2009 10:14:42
Содержание
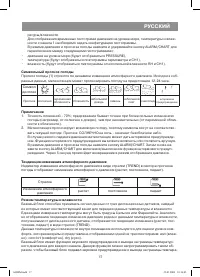
- 14 РУССКИЙ; соответствующий режим.
- 15 ПЕРЕД НАЧАЛОМ РАБОТЫ; Используя гнездо; Замена батареек; b) Установка параметров давления при на-
- 16 Для подтверждения выбранных
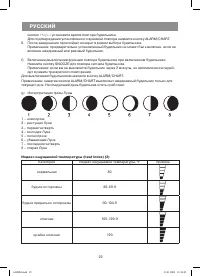
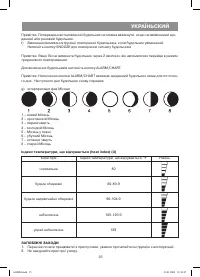
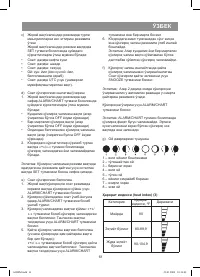
- 17 Символьный прогноз погоды; Символ; Примечание
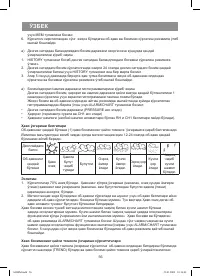
- 18 кнопку
- 19 Символы дисплея; расстояние между базовым блоком и дистанционным датчиком.; Режим восхода и заката; заката
- 20 . Нажмите кнопку MEM или SET для возврата в режим восхода/заката.; Режим текущего времени и будильника; a) Выбор режима текущего времени и будильника
- 22 Нажмите кнопку SNOOZE для повтора сигнала будильника.
- 23 МЕРЫ ПРЕДОСТОРОЖНОСТИ
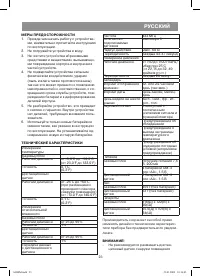
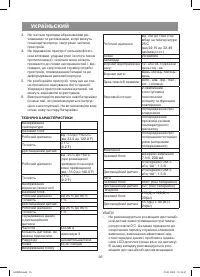
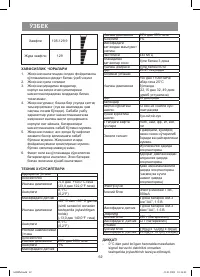
- 24 - Содержание этой инструкции не может; Срок службы прибора не менее 3-х лет
- 26 Обозначения DST
- 66 RUS; жасалғанын білдіреді.; UZ


