Кофемашина Krups Arabica EA811810 - инструкция пользователя по применению, эксплуатации и установке на русском языке. Мы надеемся, она поможет вам решить возникшие у вас вопросы при эксплуатации техники.
Если остались вопросы, задайте их в комментариях после инструкции.
"Загружаем инструкцию", означает, что нужно подождать пока файл загрузится и можно будет его читать онлайн. Некоторые инструкции очень большие и время их появления зависит от вашей скорости интернета.

16
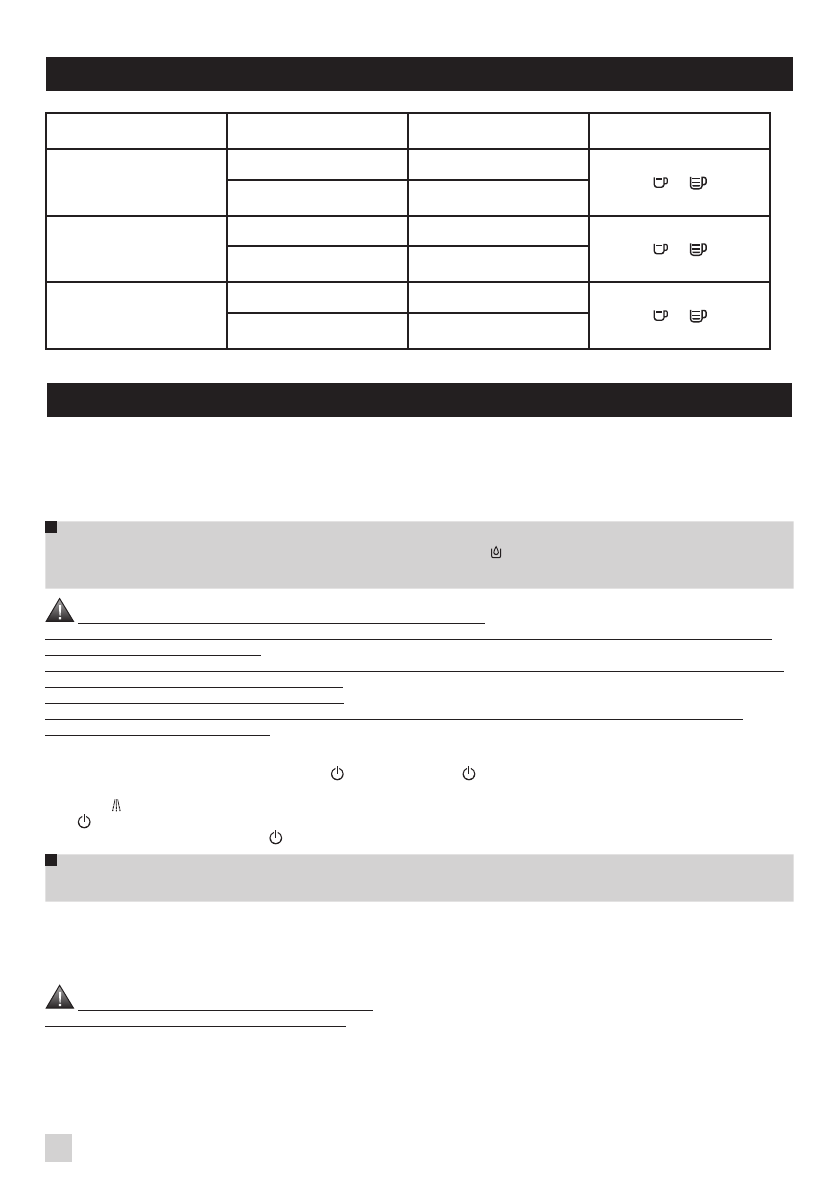
BEVERAGE PREPARATION
TYPES OF
COFFEE
Number of cups
possible
Possible volume
settings (ml)
Possible strength
settings
RISTRETTO
1
20 to 30 ml
or
2 x 1
2 x 20 to 30 ml
in two cycles
ESPRESSO
1
30 to 70 ml
or
2 x 1
2 x 30 to 70 ml
in two cycles
COFFEE or LUNGO
1
80 to 220 ml
or
2 x 1
2 x 80 to 220 ml
in two cycles
BEFORE FIRST USE
Preparing the appliance
Pull out and fill the water tank -
Fig. 1 and 2
.
Put it back in place by pressing firmly and close the lid again -
Fig. 3
.
Open the coffee bean container lid. Add the coffee beans -
Fig. 4
.
Close the coffee bean container lid again.
Do not fill the water tank with hot water, milk or any other liquid.
If you turn on the appliance when the water
tank is not in place or not correctly filled (under the “min.” level,), the
light will come on and making an espresso
or a cup of coffee will be made impossible.
NEVER PUT GROUND COFFEE IN THE COFFEE CONTAINER.
It is recommended that you do not use oily, caramelised or flavoured coffee beans for this appliance. These kinds of
beans may damage the appliance.
Check that the coffee beans do not contain any foreign particles such as grit, as any damage caused by the presence
of foreign particles will invalidate the guarantee.
Do not put water into the coffee bean container.
Remember to fit the drip tray to avoid waste water flowing onto the work surface and staining it or scalding you.
Check that your water tank is clean.
Initialisation cycle - total duration: around 3 minutes
Turn on the appliance by pressing the button
-
Fig. 5
. The light
is constant.
Put a container with a minimum capacity of 0.6 litres underneath the two coffee outlets and steam nozzle.
Press the
-
Fig. 6
button: the appliance starts the initialisation cycle for rinsing of the steam and coffee circuits. The
light
flashes.
The cycle is finished when the light
becomes constant. The appliance is now ready to use.
It is preferable to rinse the 2 circuits out at least once after the appliance has not been used for several days. Each
time you plug your appliance in, it will carry out an initialisation cycle.
Preparing the grinder
You can choose the strength of your coffee by setting the coffee bean grinding fineness. The finer the grinding setting,
the stronger and creamier the coffee should be. Set the desired fineness for grinding by turning the ‘Grinding fineness
setting’ knob.Turn to the left for finer grind. Turn to the right for coarser grind.
CHANGE THE SETTING DURING GRINDING.
Never force the grinding fineness setting button.
Содержание
- 93 ПРИГОТОВЛЕНИЕ НАПИТКОВ; ПЕРЕД ПЕРВЫМ ИСПОЛЬЗОВАНИЕМ; Подготовка прибора; Цикл инициализации – общая длительность: приблизительно 3 минуты
- 94 ПРИГОТОВЛЕНИЕ ЭСПРЕССО И КОФЕ; Запуск приготовления эспрессо или кофе; ПРИГОТОВЛЕНИЕ С ПАРОМ
- 95 Молочная пена; Автокапучинатор XS 6000 (продается отдельно); УХОД ЗА ПРИБОРОМ; Опустошите контейнер для отработанного кофе и поддона для сбора; Промывка систем
- 96 Программа чистки — полная длительность: приблизительно 13 минут; Программа удаления накипи — полная длительность: приблизительно
- 97 минуты; ДРУГИЕ ФУНКЦИИ; Выключение устройства
- 98 Настройка; Установка температуры кофе
- 99 Регулировка механизма автоматического отключения питания; НЕИСПРАВНОСТИ И ДЕЙСТВИЯ ПО ИХ УСТРАНЕНИЮ


При очистке вода выходит только из парового сопла. Процесс очистки идёт, но горит только кнопка включения