
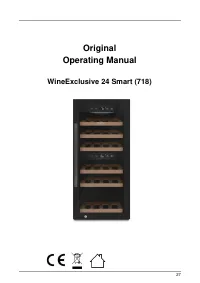
Холодильник Caso WineExclusive 24 Smart - инструкция пользователя по применению, эксплуатации и установке на русском языке. Мы надеемся, она поможет вам решить возникшие у вас вопросы при эксплуатации техники.
Если остались вопросы, задайте их в комментариях после инструкции.
"Загружаем инструкцию", означает, что нужно подождать пока файл загрузится и можно будет его читать онлайн. Некоторые инструкции очень большие и время их появления зависит от вашей скорости интернета.


35
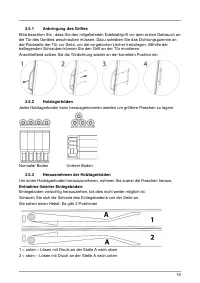
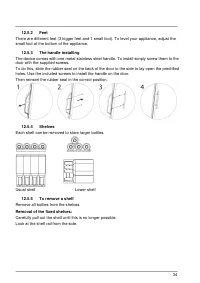
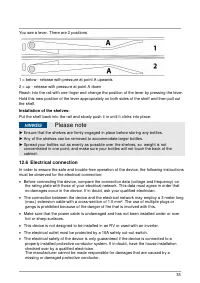
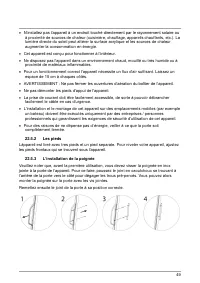
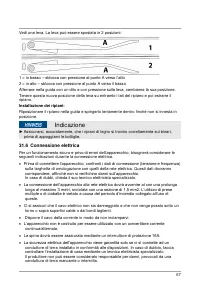
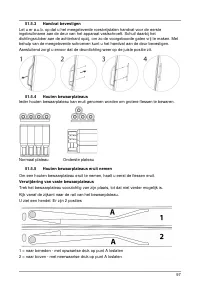
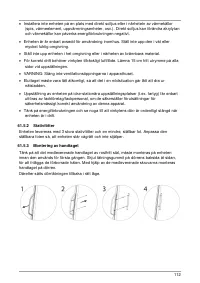
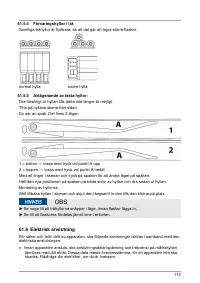
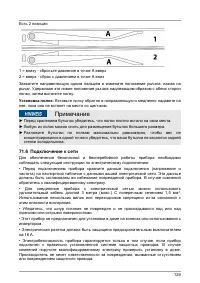
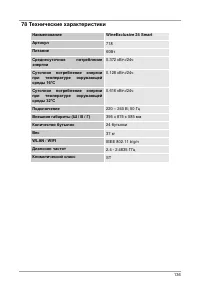
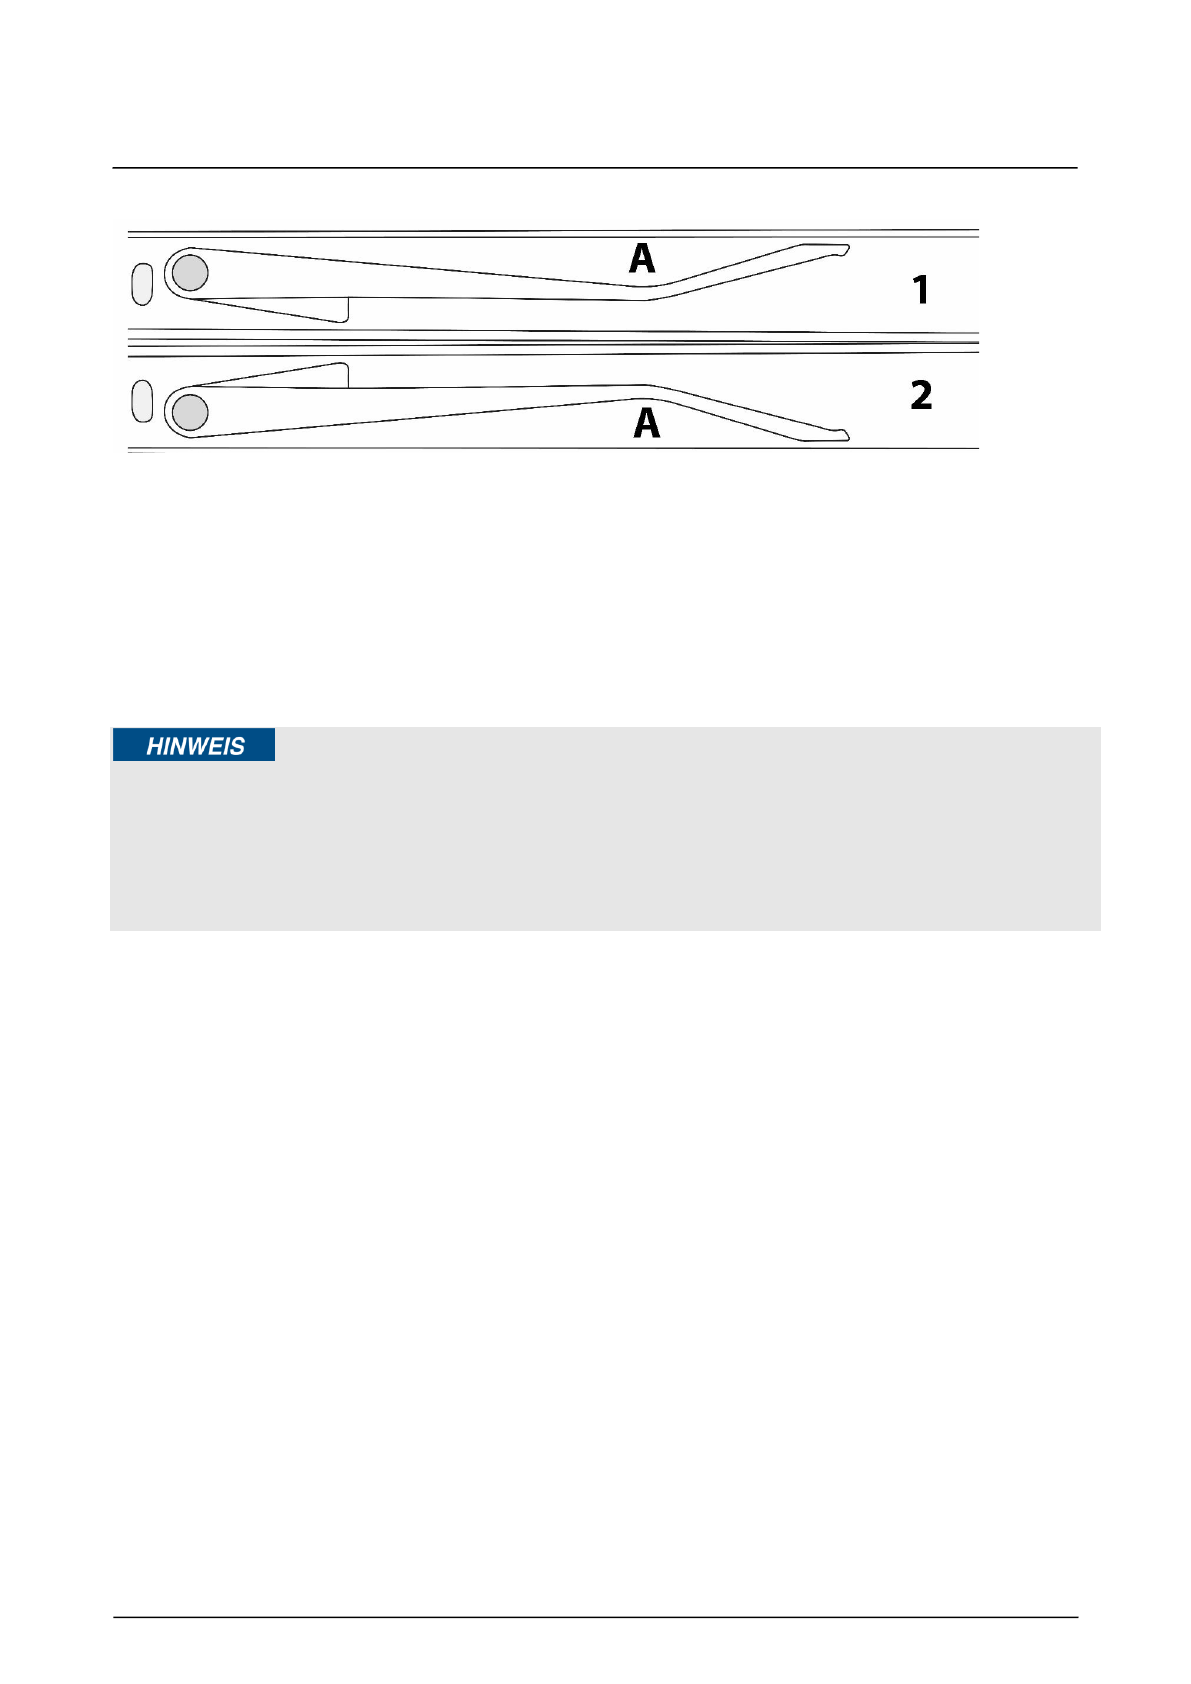
You see a lever. There are 2 positions
1 = below - release with pressure at point A upwards
2 = up - release with pressure at point A down
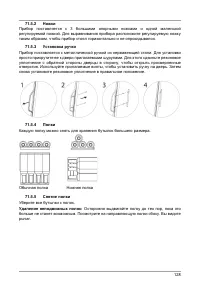
Reach into the rail with one finger and change the position of the lever by pressing the lever.
Hold this new position of the lever appropriately on both sides of the shelf and then pull out
the shelf.
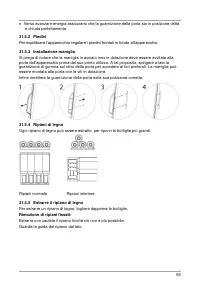
Installation of the shelves:
Put the shelf back into the rail and slowly push it in until it clicks into place.
Please note
► Ensure that the shelves are firmly engaged in place before storing any bottles.
► Any of the shelves can be removed to accommodate larger bottles.
► Spread your bottles out as evenly as possible over the shelves, so weight is not
concentrated in one point; and make sure your bottles will not touch the back of the
cabinet.
12.6 Electrical connection
In order to ensure the safe and trouble-free operation of the device, the following instructions
must be observed for the electrical connection:
•
Before connecting the device, compare the connection data (voltage and frequency) on
the rating plate with those of your electrical network. This data must agree in order that
no damages occur in the device. If in doubt, ask your qualified electrician.
•
The connection between the device and the electrical network may employ a 3 meter long
(max.) extension cable with a cross-section of 1.5 mm². The use of multiple plugs or
gangs is prohibited because of the danger of fire that is involved with this.
•
Make sure that the power cable is undamaged and has not been installed under or over
hot or sharp surfaces.
•
This device is not designed to be installed in an RV or used with an inverter.
•
The electrical outlet must be protected by a 16A safety cut-out switch.
•
The electrical safety of the device is only guaranteed if the device is connected to a
properly installed protective conductor system. If in doubt, have the house installation
checked over by a qualified electrician.
The manufacturer cannot be made responsible for damages that are caused by a
missing or damaged protective conductor.
Содержание
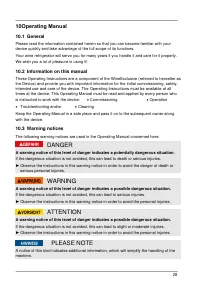
- 121 Руководство по эксплуатации; Общие указания; ОПАСНОСТЬ
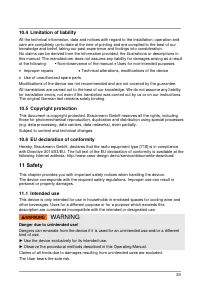
- 122 ПРИМЕЧАНИЕ; Ограничение ответственности; Защита авторского права; Декларация соответствия ЕС; Безопасность
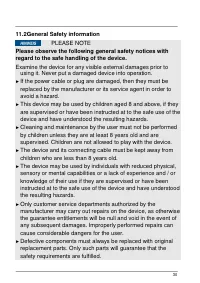
- 123 Использование по назначению; ПРЕДУПРЕЖДЕНИЕ; Общие указания по безопасности; следуйте; безопасном
- 125 Опасность поражения электрическим током; Опасность; Прикосновение к токоведущим проводам или
- 126 Ввод в эксплуатацию; Указания по безопасности; Объем поставки и транспортный осмотр; Примечание; Распаковка
- 127 Утилизация упаковки; Установка
- 129 Подключение к сети
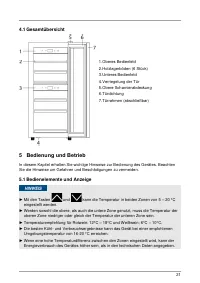
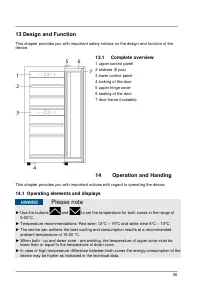
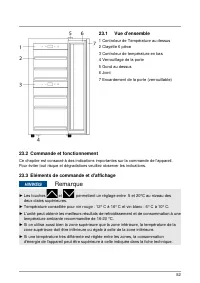
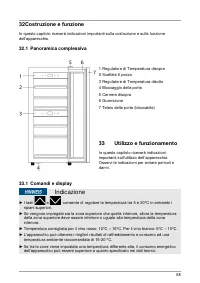
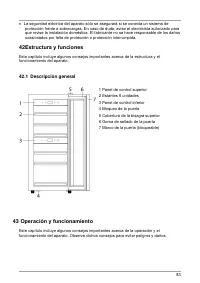
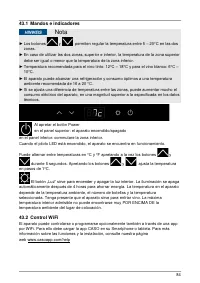
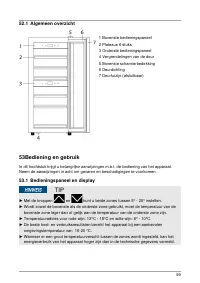
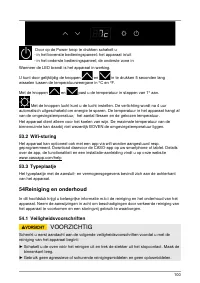
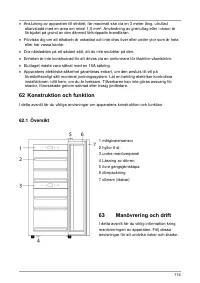
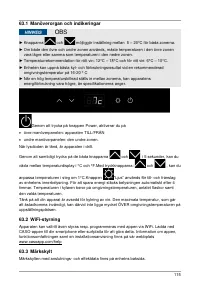
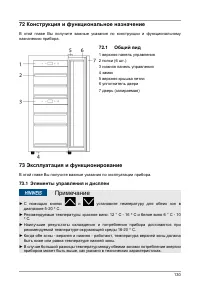
- 130 Конструкция и функциональное назначение; Общий вид; Эксплуатация и функционирование; Элементы управления и дисплеи
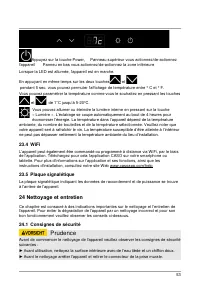
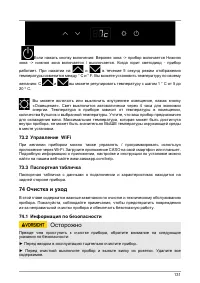
- 131 Управление WiFi; Очистка и уход; Информация по безопасности; Осторожно
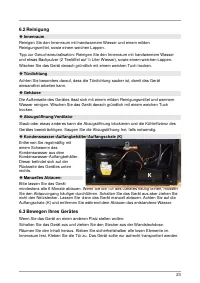
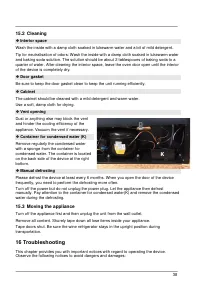
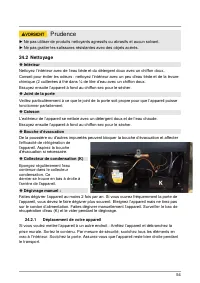
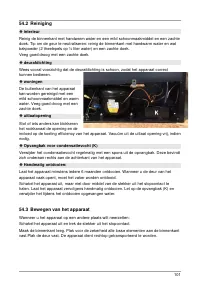
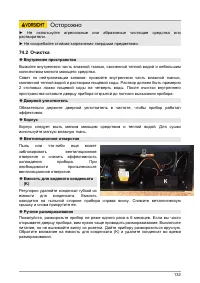
- 132 Очистка
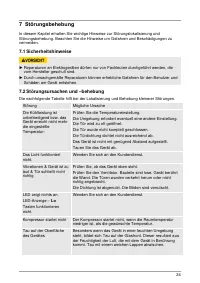
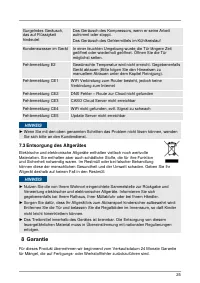
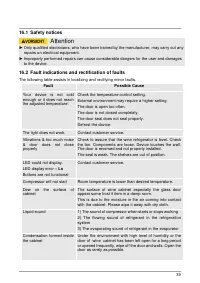
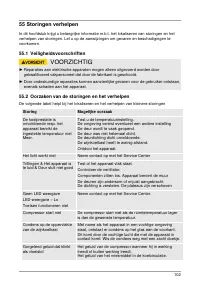
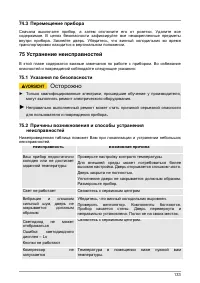
- 133 Перемещение прибора; Устранение неисправностей; Причины возникновения и способы устранения
- 134 Утилизация отслужившего прибора
- 135 Гарантия
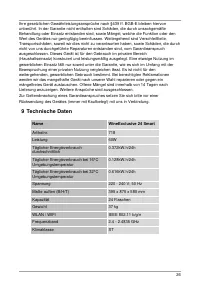
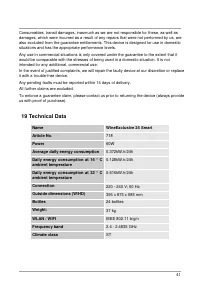
- 136 Технические характеристики


