
Газонокосилки STIHL RM-4.0 RTP 63830113422 - инструкция пользователя по применению, эксплуатации и установке на русском языке. Мы надеемся, она поможет вам решить возникшие у вас вопросы при эксплуатации техники.
Если остались вопросы, задайте их в комментариях после инструкции.
"Загружаем инструкцию", означает, что нужно подождать пока файл загрузится и можно будет его читать онлайн. Некоторые инструкции очень большие и время их появления зависит от вашей скорости интернета.


–
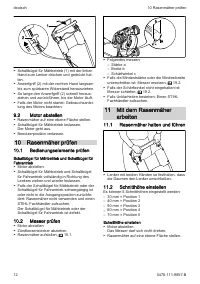
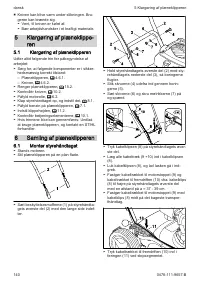
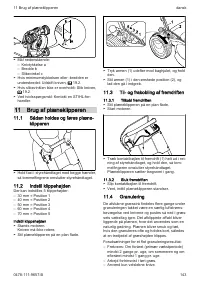
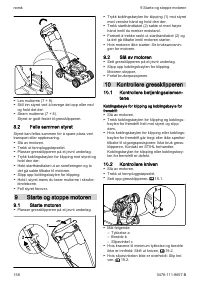
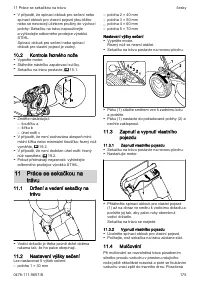
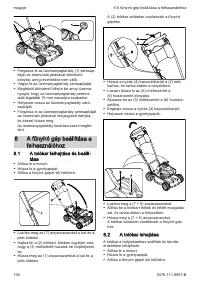
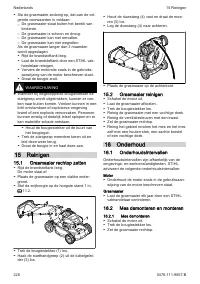
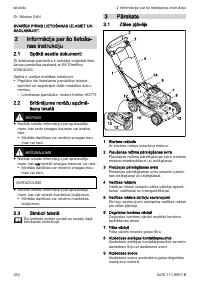
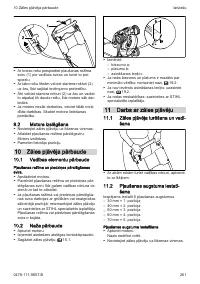
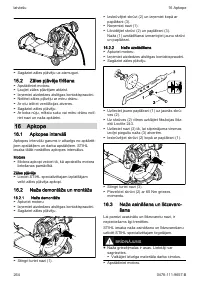
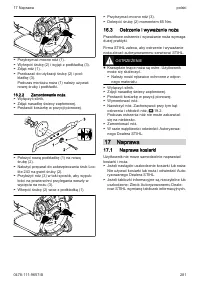
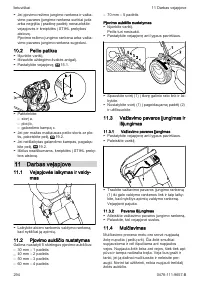
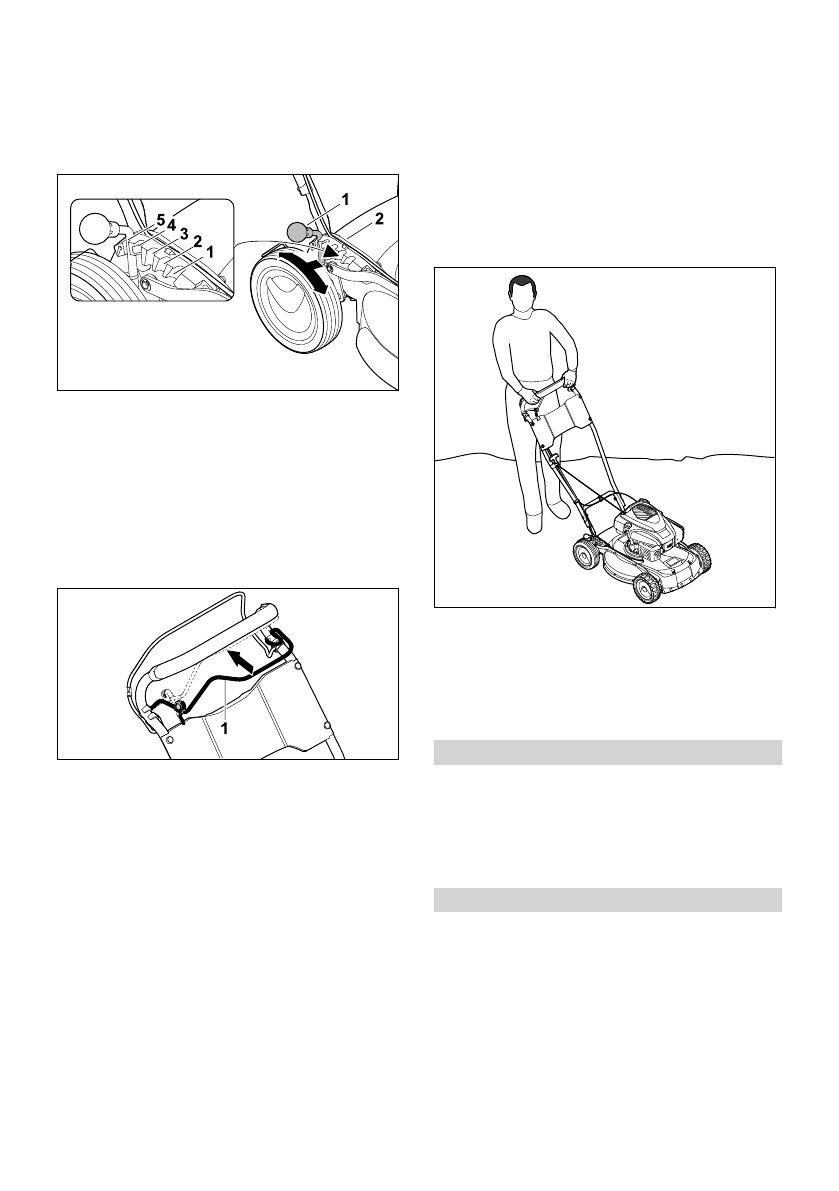
70 mm = position 5
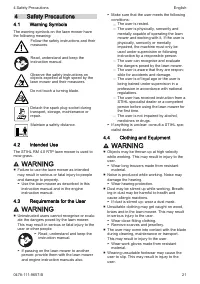
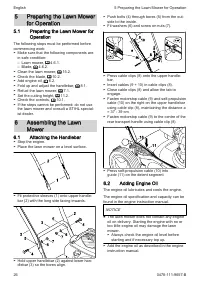
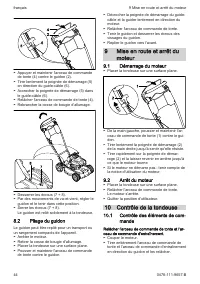
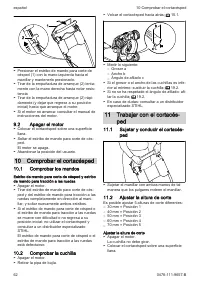
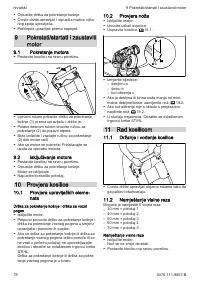
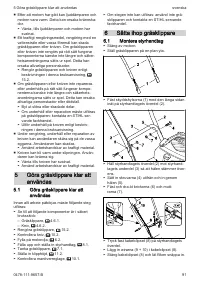
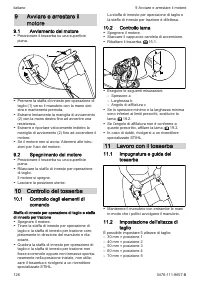
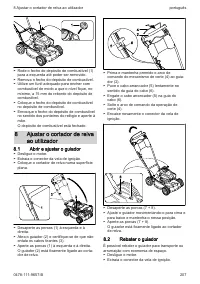
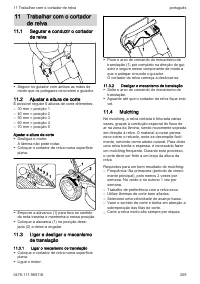
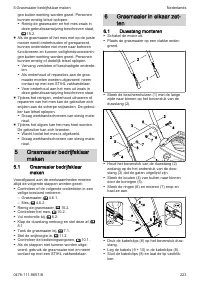
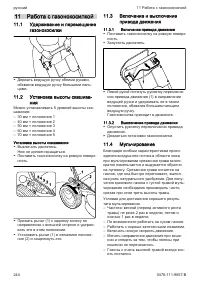
Setting the cutting height
► Stop the engine.
The blade must not be turning.
► Place the lawn mower on a level surface.
► Press lever (1) outwards towards the rear
wheel and hold in position.
► Move lever (1) to the desired position (2) and
allow it to engage.
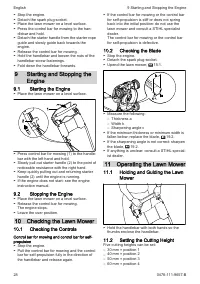
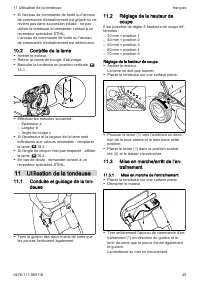
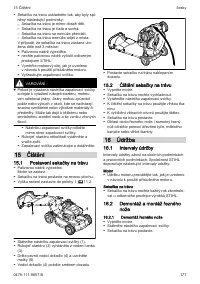
11.3
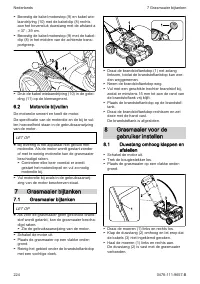
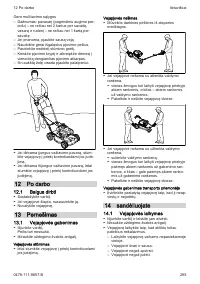
Switching the Drive On and Off
11.3.1
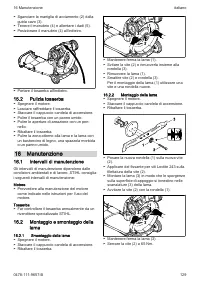
Engaging Self-propulsion
► Place the lawn mower on a level surface.
► Start the engine.
► Pull control bar for self-propulsion (1) fully in
the direction of the handlebar and hold so the
thumb encloses the handlebar.
The lawn mower starts moving.
11.3.2
Disengaging Self-propulsion
► Release the control bar for self-propulsion.
► Wait until the lawn mower comes to a stand‐
still.
11.4
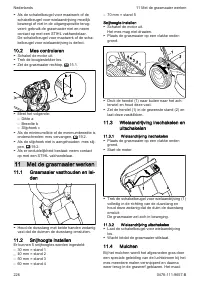
Mulching
During mulching, the cut grass is chopped up
several times through a special air flow guidance
system in the mower blade area and then blown
back into the turf. The clippings remain on the
lawn surface where they partially decompose
and serve as a natural fertiliser. To ensure a per‐
fect, thick lawn, mulch regularly, removing one
third of the grass height.
Requirements for good mulching results:
–
Frequency: at least twice a week in the spring
(main period of growth) and once a week in
the summer and autumn.
–
Mow the lawn when dry if possible.
–
Use well-sharpened cutting blades.
–
Select a low rate of feed.
–
Vary the mowing direction and ensure that the
mowing strips overlap.
–
Always mow very tall grass in stages.
► If working with self-propulsion engaged: drive
the lawn mower forwards in a controlled man‐
ner.
► If working with self-propulsion disengaged:
push the lawn mower forwards slowly and in a
controlled manner.
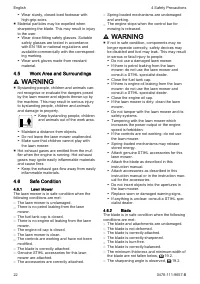
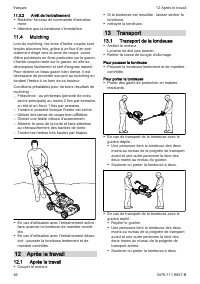
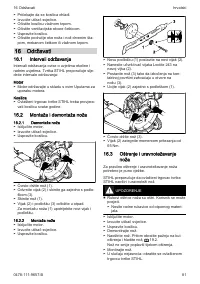
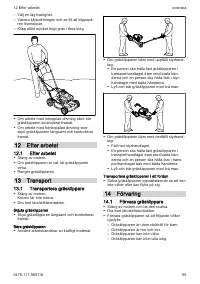
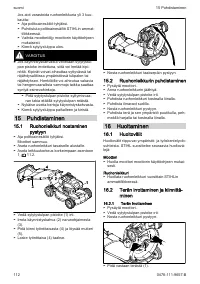
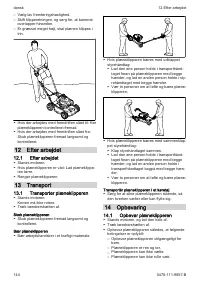
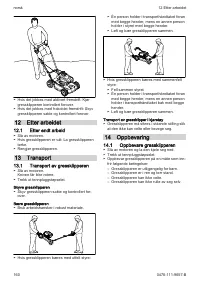
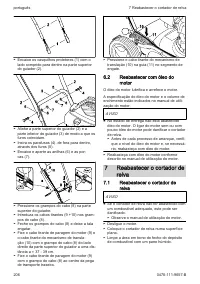
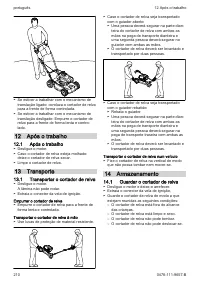
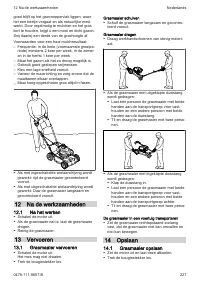
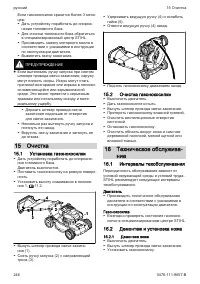
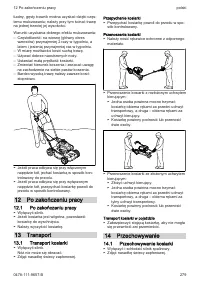
12 After Finishing Work
12.1
After Finishing Work
► Stop the engine.
► If the lawn mower is wet: allow the lawn
mower to dry.
► Clean the lawn mower.
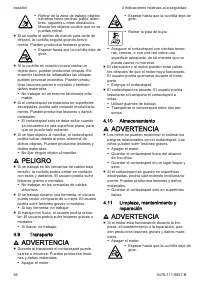
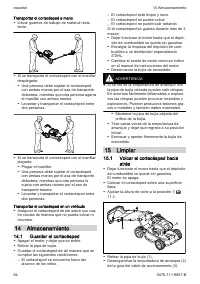
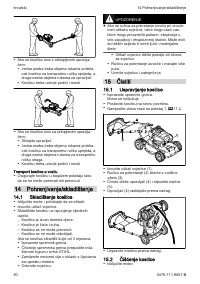
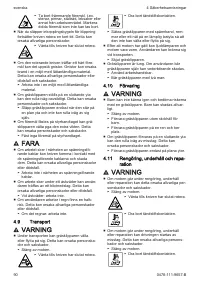
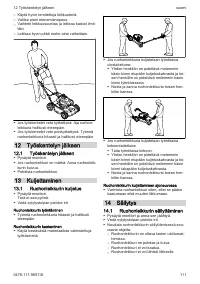
13 Transporting
13.1
Transporting the Lawn Mower
► Stop the engine.
The blade must not be turning.
► Detach the spark plug socket.
Pushing the lawn mower
► Push the lawn mower forwards slowly and in a
controlled manner.
12 After Finishing Work
English
0478-111-9657-B
29
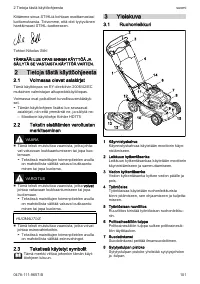
Содержание
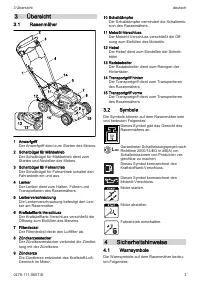
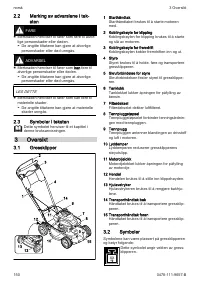
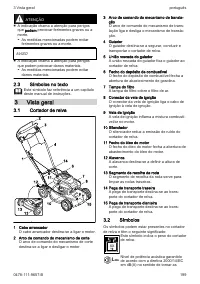
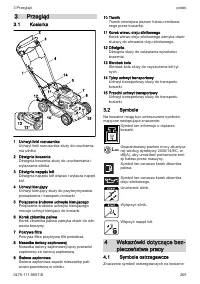
- 233 Применяемые документы; Символы в тексте; Обзор; Газонокосилка
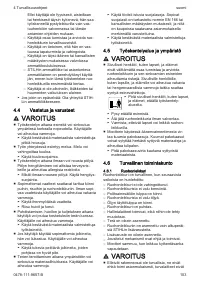
- 234 Символы; Указания по технике без‐; Предупредительные сим‐
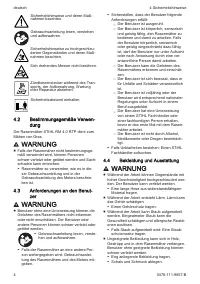
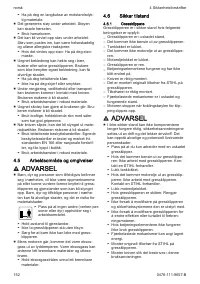
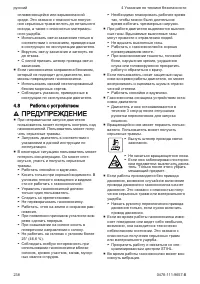
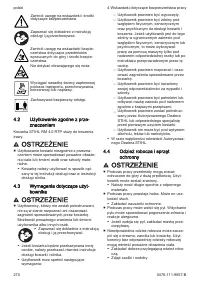
- 235 Требования к пользователю; ПРЕДУПРЕЖДЕНИЕ; Рабочая одежда и оснаще‐; ПРЕДУПРЕЖДЕНИЕ
- 236 Безопасное состояние
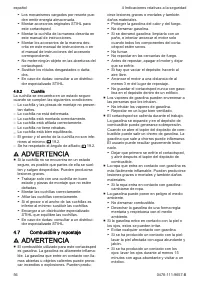
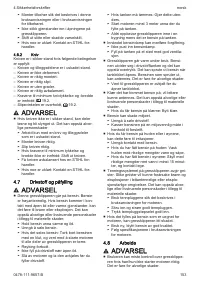
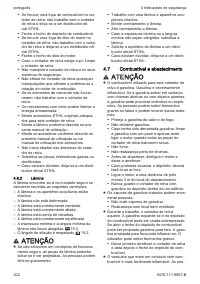
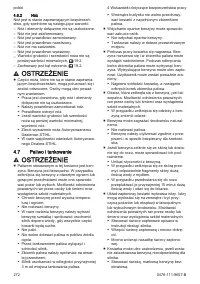
- 237 Топливо и заправка
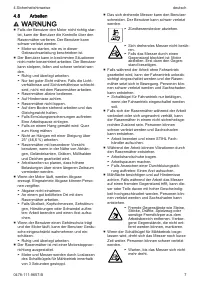
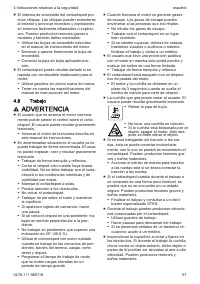
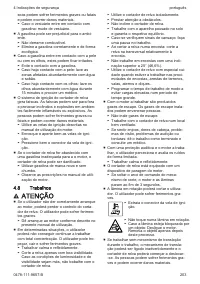
- 238 Работа с устройством
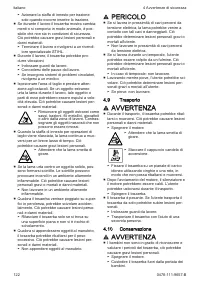
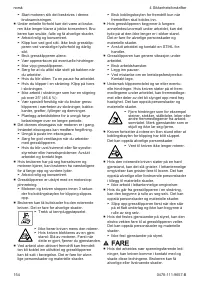
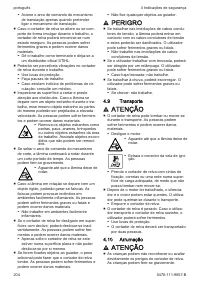
- 239 Транспортировка; Хранение
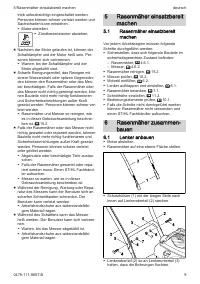
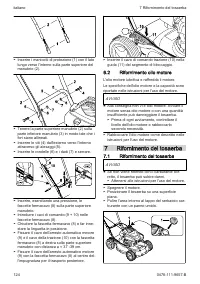
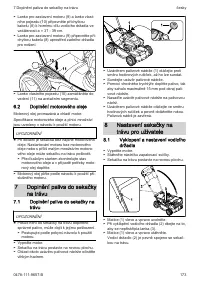
- 240 Подготовка газоноко‐; Подготовка газонокосилки к
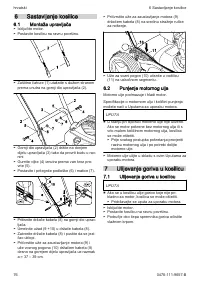
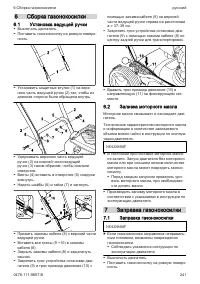
- 241 Сборка газонокосилки; Установка ведущей ручки; Заправка газонокосилки
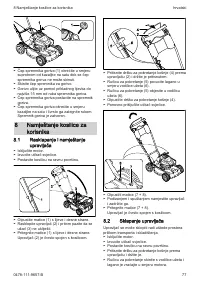
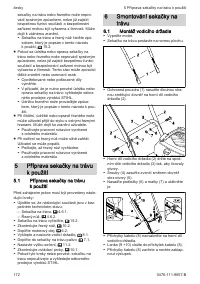
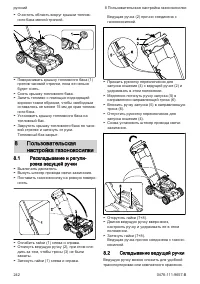
- 242 Раскладывание и регули‐
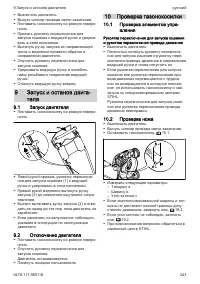
- 243 Запуск двигателя; 0 Проверка газонокосилки; Проверка элементов упра‐
- 244 1 Работа с газонокосилкой
- 245 2 После работы; После работы; 3 Транспортировка; Транспортировка газоноко‐
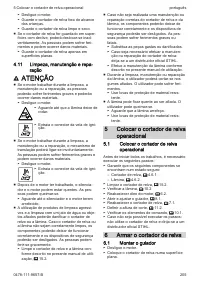
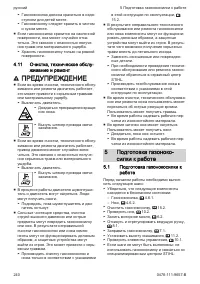
- 246 Установка газонокосилки; 6 Техническое обслужива‐; Интервалы техобслуживания
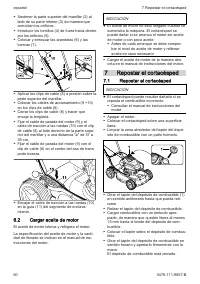
- 247 Ремонт газонокосилки
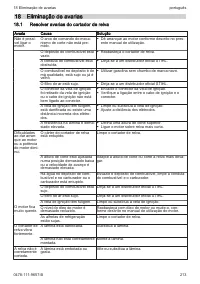
- 248 8 Устранение неисправностей; Устранение неисправностей газонокосилки
- 249 9 Технические данные; 0 Запасные части и при‐


