
Газонокосилки Alpina BL 380E 223525 - инструкция пользователя по применению, эксплуатации и установке на русском языке. Мы надеемся, она поможет вам решить возникшие у вас вопросы при эксплуатации техники.
Если остались вопросы, задайте их в комментариях после инструкции.
"Загружаем инструкцию", означает, что нужно подождать пока файл загрузится и можно будет его читать онлайн. Некоторые инструкции очень большие и время их появления зависит от вашей скорости интернета.


4
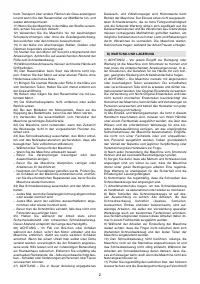
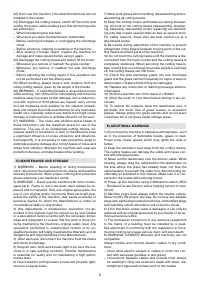
to write the identiication numbers (3 – 4 – 5) in the spaces
on the last page of the manual.
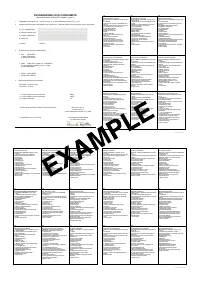
The example of the Declaration of Conformity is provided
on the penultimate page of the owner’s manual.
Do not dispose of electrical equipment with house
-
hold waste material. In observance of European
Directive 2012/19/EU on electrical and electronic
equipment waste and its implementation in accord
-
ance with national regulations, electrical equipment that
has reached the end of its product life must be collected
separately and recycled in an ecologically compatible way.
If electrical equipment is disposed of in dumps or in land
-
ills, hazardous substances can leak into the groundwater
and contaminate the food chain, damaging your health and
well-being. For further information on the disposal of this
product, contact your dealer or a domestic waste collection
ser vice.
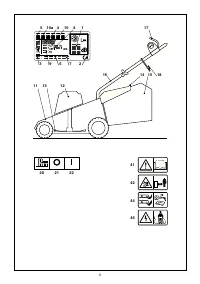
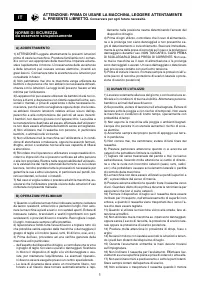
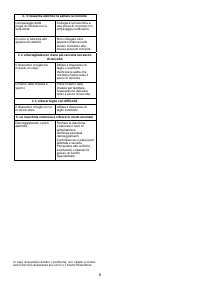
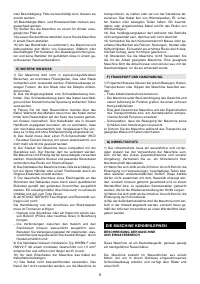
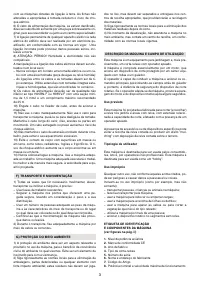
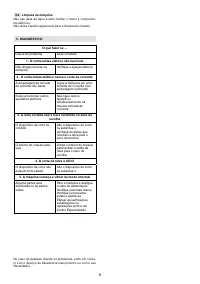
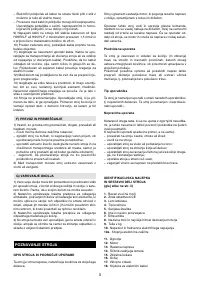
DESCRIPTION OF SYMBOLS
ON CONTROLS (where applicable)
20.
WARNING – Ignition of the motor simultaneously en
-
gages the cutting means.
21.
Stop
22.
Run
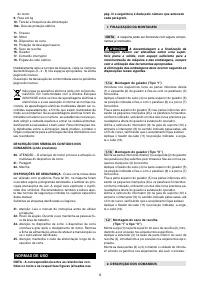
SAFET Y REQUIREMENTS
– Your lawnmower should be
used with due care and attention. Therefore, igured labels
have been placed on various parts of the machine to re
-
mind you of the main precautions to be taken. Their mean
-
ing is explained below. You are also asked to carefully read
the safety regulations in the speciic chapter of this manual.
Replace damaged or illegible labels.
41.
Warning: Read the instruction handbook before using
the machine.
42.
Risk of thrown objects. Keep all persons away from the
work area whilst mowing.
44.
Be careful when using the sharp cutting means: the
cutting means continues to rotate even after the motor
has been switched of. Disconnect the plug from the
mains before commencing maintenance work or if the
power cable is damaged.
45.
Warning: keep the power cable away from the cut
-
ting means.
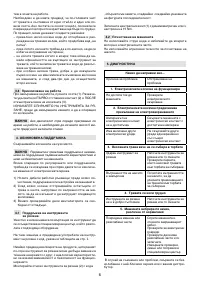
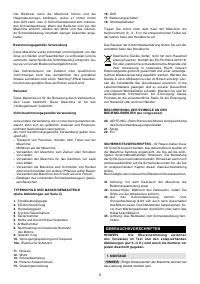
OPERATING INSTRUCTIONS
NOTE – The number which precedes each paragraph
links the references in the text to the respective illus
-
trations (listed on page iii and following pages).
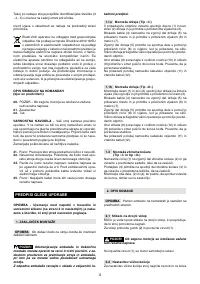
1. COMPLETING ASSEMBLY
NOTE
The machine can be supplied with some parts
already assembled.
WARNING!
Unpacking and completing the assem-
bly should be done on a flat and stable surface, with
enough space for moving the machine and its packag-
ing, always making use of suitable equipment.
Disposal of the packaging should be done in accord-
ance with the local regulations in force.
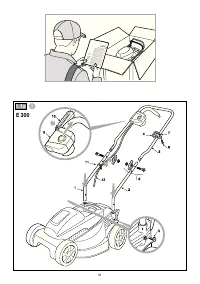
1.1a Handle assembly (Type“I”)
Insert the lower right (1) and left (2) parts of the handle into
the respective holes and fasten them in place with the sup
-
plied screws (3) and the washers (4).
Apply the cable fastener (4) to the top of the handle (5) in
the indicated position and fasten it with the supplied screw
(6) and bolt (7).
Fasten the top of the handle (5) to the bottom parts using
the knobs (8) and the supplied nuts and bolts as shown, us
-
ing one of the two holes provided for adjusting the height of
the handle to the operator’s stature.
Align the slot on the switch (9) to the support guide (10) and
push the switch (9) in the direction indicated by the arrows
as far as possible, making sure it its securely.
Fit the cable fastener (11) in the indicated position and then
attach the cable (12).
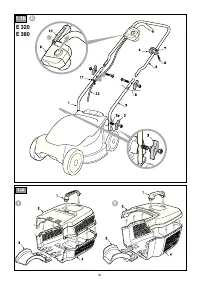
1.1b Handle assembly (Type“II”)
Assemble the lower right (1) and left (2) parts of the handle
to the screws (3a) protruding from the chassis and fasten
them with the supplied knobs (3).
Apply the cable fastener (4) to the top of the handle (5) in
the indicated position and fasten it with the supplied screw
(6) and bolt (7).
Fasten the top of the handle (5) to the bottom parts using
the knobs (8) and the supplied nuts and bolts as shown, us
-
ing one of the two holes provided for adjusting the height of
the handle to the operator’s stature.
Align the slot on the switch (9) to the support guide (10) and
push the switch (9) in the direction indicated by the arrows
as far as possible, making sure it its securely.
Fit the cable fastener (11) in the indicated position and then
attach the cable (12).
1.2 Assembling the grass catcher
(Type “l” and Type“lI”)
Assemble the handle (1) on the top part of the grass catcher
(2), snapping it into the appropriate seats.
Apply the extension (3) to the bottom part of the grass
catcher (4), snapping it into the appropriate seats.
Assemble the two parts (2) and (4), making sure you have
securely inserted the ittings in their seats until they snap
into place.
2. CONTROLS DESCRIPTION
NOTE
The meanings of the symbols on controls are
explained in the previous pages.
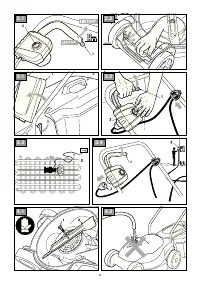
2.1 Dual-action switch
The motor is controlled by a dual-action switch to prevent
accidental start-ups.
Press the button (2) and pull the lever (1) to ignite the motor.
WARNING!
Ignition of the motor simultaneously
engages the cutting means.
The motor stops automatically when the lever (1) is re
-
leased.
2.2
Cutting height adjustment
To adjust the cutting height, turn the machine over on one
side and position the wheel axis in one of the three provid
-
ed slots inside the chassis.
The height must be the same for both axes.
DO THIS WHEN THE CUT TING MEANS IS STATIONARY.


