
Водонагреватели Timberk SWH ME1 10 VO - инструкция пользователя по применению, эксплуатации и установке на русском языке. Мы надеемся, она поможет вам решить возникшие у вас вопросы при эксплуатации техники.
Если остались вопросы, задайте их в комментариях после инструкции.
"Загружаем инструкцию", означает, что нужно подождать пока файл загрузится и можно будет его читать онлайн. Некоторые инструкции очень большие и время их появления зависит от вашей скорости интернета.


www.timberk.com • electrical storage water heater
9
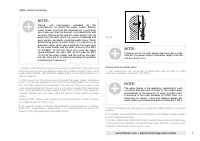
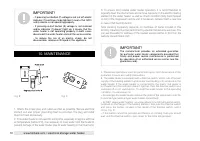
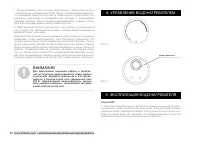
Termostat handale
SWH ME1 series
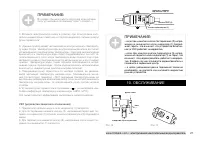
1. At first, open one of the discharge valves on the outlet of the water
heater, then open the inlet valve. The electric water heater will start filling
with water. When water flows from the outlet valve freely, it means the water
heater is fully filled with water and you can close the discharge tap.
Warning: During normal operation the inlet valve must be set “open”.
2. Plug the power cord into the outlet, an indicator light will light up.
3. The appliance can automatically control water temperature. When
water temperature in the water heater reaches the temperature, set by the
user, the heating is automatically switched off, and water temperature will
be maintained due to the heat insulation layer; when water temperature
drops to a certain level, heating is automatically switched off, in such a
way continuous hot water supply is provided. When the water heater
automatically switches off, the indicator light goes out.
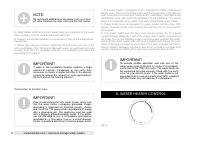
9. WATER HEATER OPERATION
IMPORTANT!
Power outlet must be designed for rated current not
less than 10A, copper stranded power cord not less
than 3 x 1.5 mm
2
in cross section (for copper).
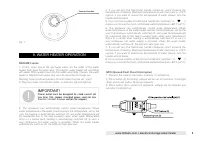
4. If you will turn the thermostat handle clockwise, you’ll increase the
temperature of heating. Maximum temperature inside inner tank is +75°C
approx. If you want to reduce the temperature of water, please, turn the
handle anticlockwise.
5. If you choose position of thermostat handle like “optimum” or , it
means you choose the most comfortable water temperature +58°C (±2°C).
6. The appliance can automatically control water temperature. When
water temperature in the water heater reaches the temperature, set by the
user, the heating is automatically switched off, and water temperature will
be maintained due to the heat insulation layer; when water temperature
drops to a certain level, heating is automatically switched off, in such a
way continuous hot water supply is provided. When the water heater
automatically switches off, the indicator light goes out.
7. If you will turn the thermostat handle clockwise, you’ll increase the
temperature of heating. Maximum temperature inside inner tank is +75°C
approx. If you want to reduce the temperature of water, please, turn the
handle anticlockwise.
8. If you choose position of thermostat handle like “optimum” or , it
means you choose the most comfortable water temperature +58°C (±2°C).
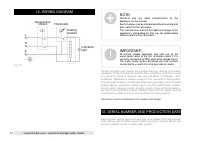
Fig. 7
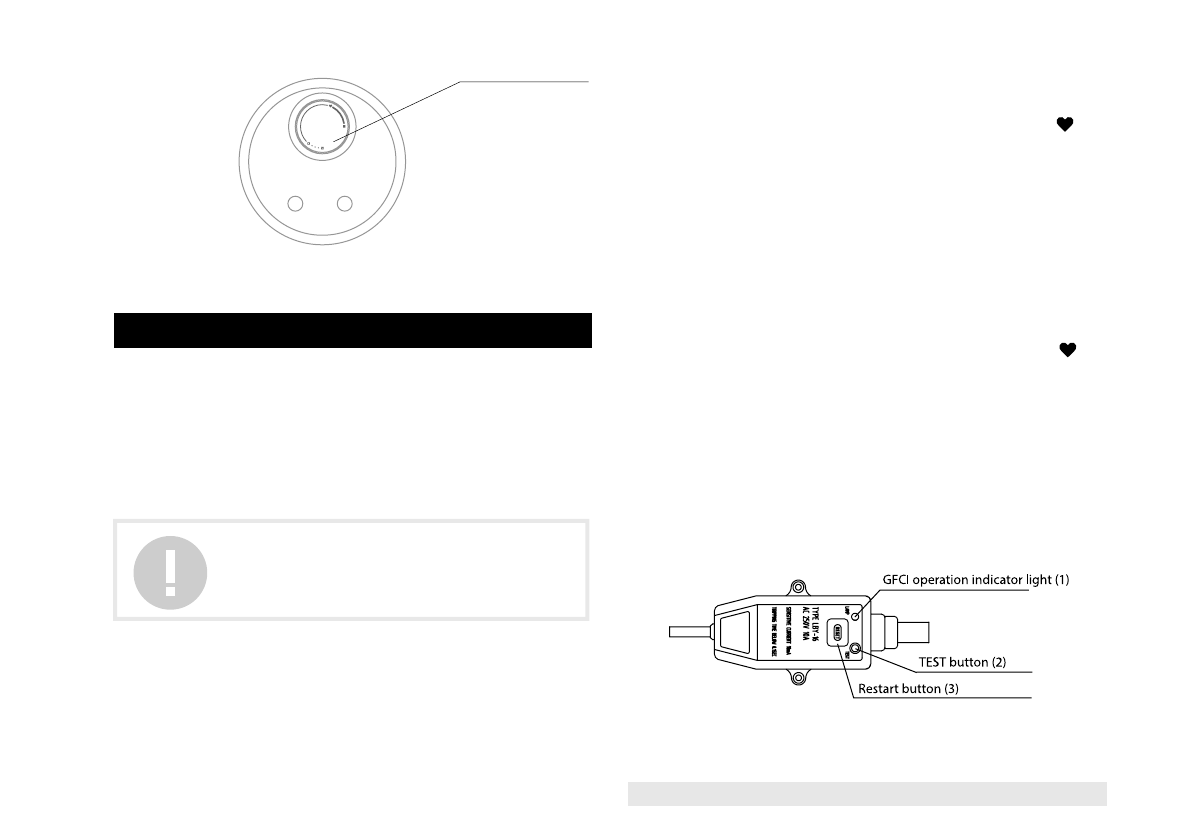
GFCI (Ground Fault Circuit Interrupter)
1. Connect the cable to the mains, indicator (1) will light up.
2. Press button (2) for testing, voltage will be cut off, indicator (1) will light
down and restart button (3) will go upwards.
3. Press button (3) to restart the appliance, voltage will be restored and
indicator (1) will light up.
Содержание
- 13 Уважаемый покупатель!; мация, касающаяся Вашей безопасности, а также рекомендации по; Важные меры предосторожности и инструкции, со-; СОДЕРЖАНИЕ
- 14 МЕРЫ ПРЕДОСТОРОЖНОСТИ
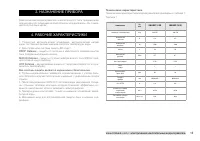
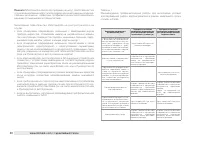
- 15 РАБОЧИЕ ХАРАКТЕРИСТИКИ; DROP Defense; Технические характеристики; НАЗНАЧЕНИЕ ПРИБОРА
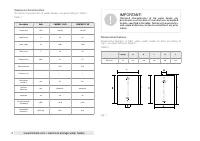
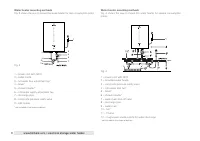
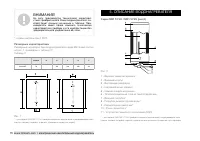
- 16 Размерные характеристики; Размерные характеристики водонагревателя серии ME1(в мм) соглас-; ОПИСАНИЕ ВОДОНАГРЕВАТЕЛЯ
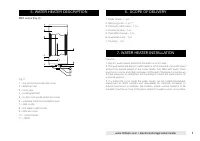
- 17 КОМПЛЕКТ ПОСТАВКИ; Местоположение; Электрический водонагреватель следует устанавливать на проч-; Способы монтажа водонагревателя
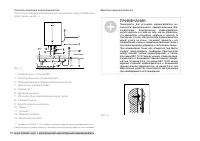
- 20 УПРАВЛЕНИЕ ВОДОНАГРЕВАТЕЛЕМ; Cерия ME1
- 21 означает, что водонагреватель работает некоррек-
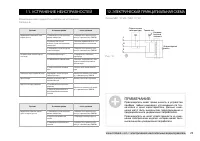
- 23 УСТРАНЕНИЕ НЕИСПРАВНОСТЕЙ; ЭЛЕКТРИЧЕСКАЯ ПРИНЦИПИАЛЬНАЯ СХЕМА
- 24 СЕРИЙНЫЙ НОМЕР И ДАТА ПРОИЗВОДСТВА
- 27 Гарантийные обязательства; Если при эксплуатации изделия Вы столкнулись с неполадками в его
- 29 Изготовитель не несет гарантийных обязательств за изделие в
- 31 ным письмом Производителя.
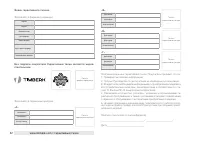
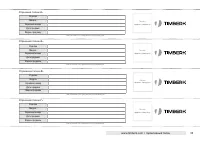
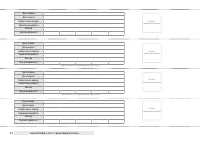
- 32 Бланк гарантийного талона.; Заполняется фирмой-продавцом; Без подписи покупателя Гарантийный талон является недей-; ности (если прибор провер ялся в его присутствии при продаже) приоб-
- 38 сообщите нам об этом, связавшись с нами по электронной почте,


