
Варочная панель Teka EH 60 4G AI AL TR CI NAT ANTHR. OS - инструкция пользователя по применению, эксплуатации и установке на русском языке. Мы надеемся, она поможет вам решить возникшие у вас вопросы при эксплуатации техники.
Если остались вопросы, задайте их в комментариях после инструкции.
"Загружаем инструкцию", означает, что нужно подождать пока файл загрузится и можно будет его читать онлайн. Некоторые инструкции очень большие и время их появления зависит от вашей скорости интернета.
14
SERVICING
WARNING:
s e r v i c i n g s h o u l d b e c a r r i e d o u t o n l y b y
authorised personnel.
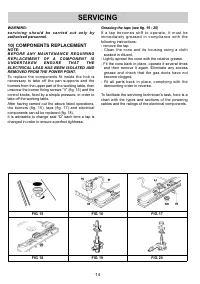
10) COMPONENTS REPLACEMENT
NOTE:
B E F O R E A N Y M A I N T E N A N C E R E Q U I R I N G
R E P L A C E M E N T O F A C O M P O N E N T I S
U N D E RTA K E N
E N S U R E
T H AT
T H E
ELECTRICAL LEAD HAS BEEN ISOLATED AND
REMOVED FROM THE POWER POINT.
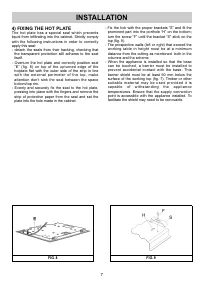
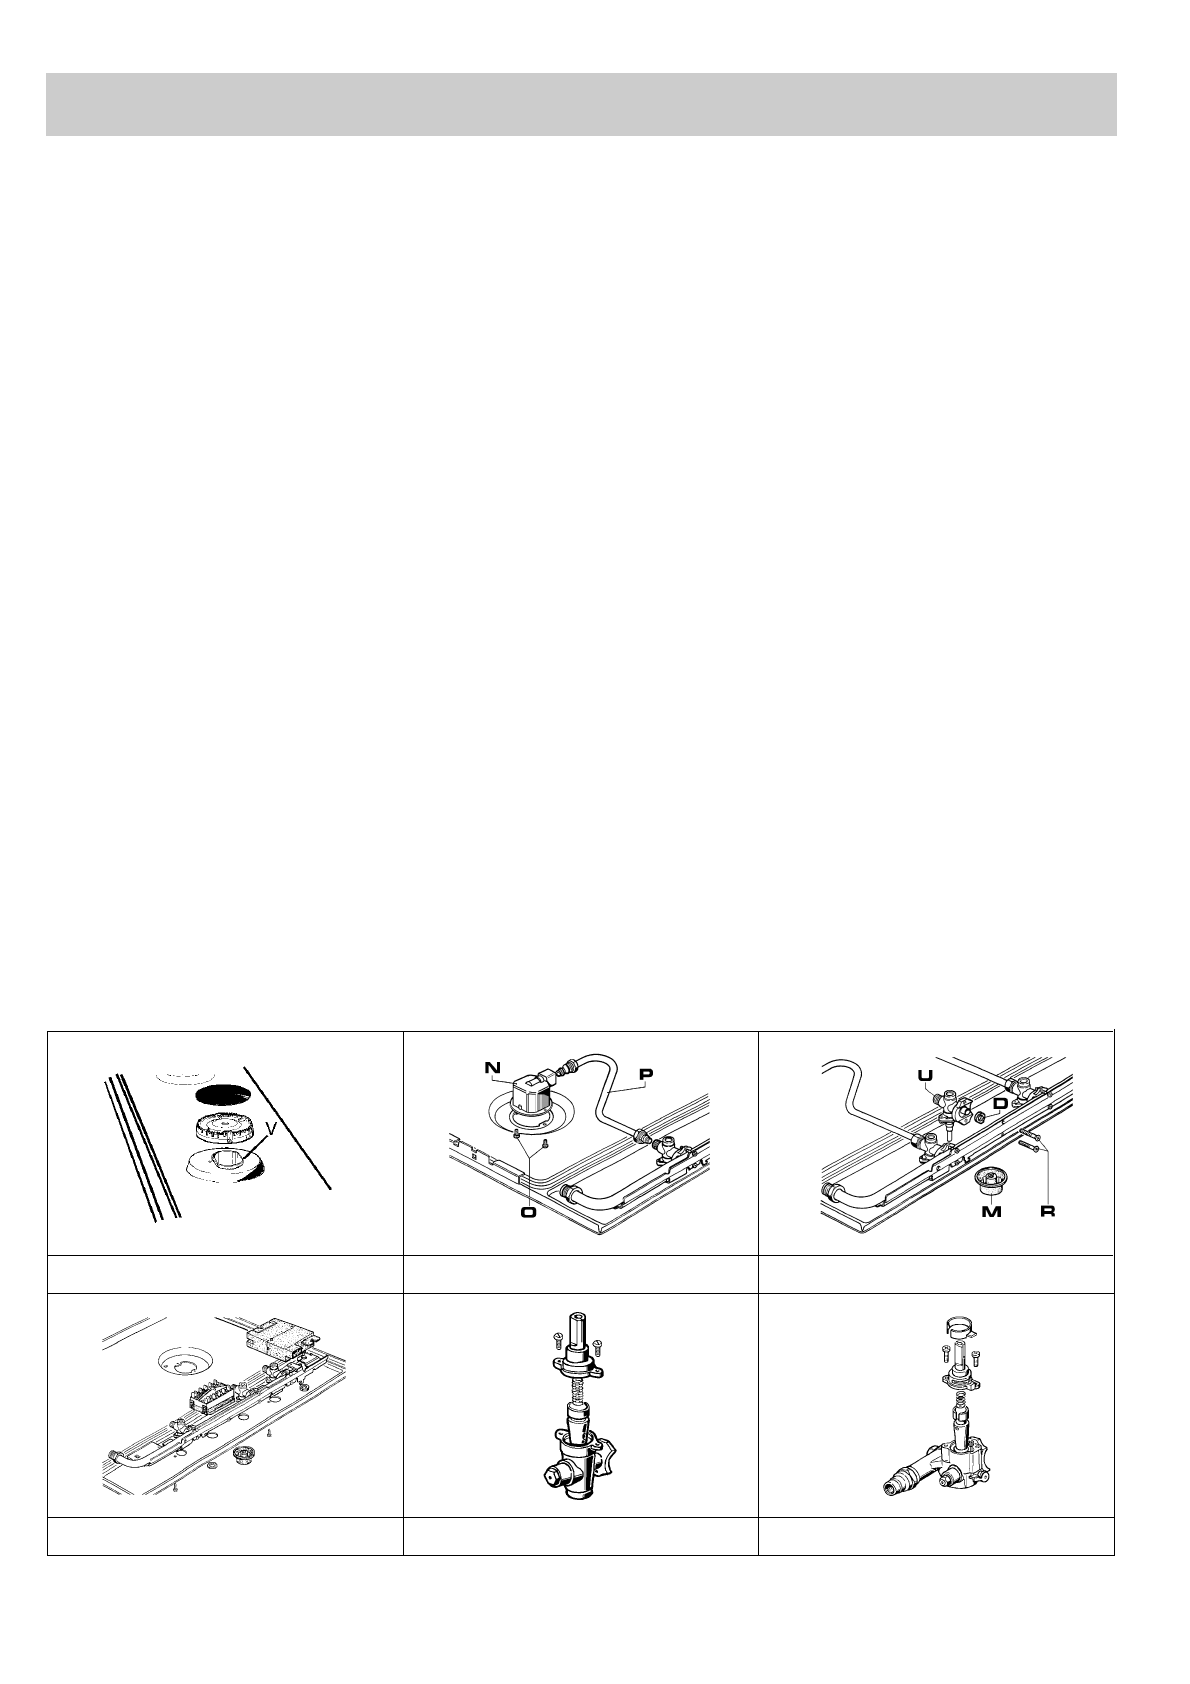
To replace the components fit inside the hob is
necessary to take off the pan supports and the
burners from the upper part of the working table, then
unscrew the burner fixing screws “V” (fig. 15) and the
control knobs, fixed by a simple pressure, in order to
take off the working table.
After having carried out the above listed operations,
the burners (fig. 16), taps (fig. 17) and electrical
components can all be replaced (fig. 18).
It is advisable to change seal “D” each time a tap is
changed in order to ensure a perfect tightness.
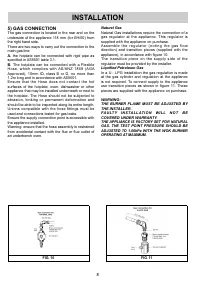
Greasing the taps (see fig. 19 - 20)
I f a ta p b e c o m e s s t i ff t o o p e r a t e , i t m u s t b e
i m m e d i a t e l y g r e a s e d i n c o m p l i a n c e w i t h t h e
following instructions:
- remove the tap.
- Clean the cone and its housing using a cloth
soaked in diluent.
- Lightly spread the cone with the relative grease.
- Fit the cone back in place, operate it several times
and then remove it again. Eliminate any excess
grease and check that the gas ducts have not
become clogged.
- Fit all parts back in place, complying with the
demounting order in reverse.
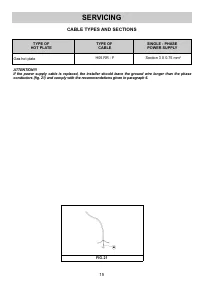
To facilitate the servicing technician’s task, here is a
chart with the types and sections of the powering
cables and the ratings of the electrical components.
FIG. 18
FIG. 19
FIG. 20
FIG. 15
FIG. 16
FIG. 17
Характеристики

Остались вопросы?Не нашли свой ответ в руководстве или возникли другие проблемы? Задайте свой вопрос в форме ниже с подробным описанием вашей ситуации, чтобы другие люди и специалисты смогли дать на него ответ. Если вы знаете как решить проблему другого человека, пожалуйста, подскажите ему :)


